Gardening Made Simple.

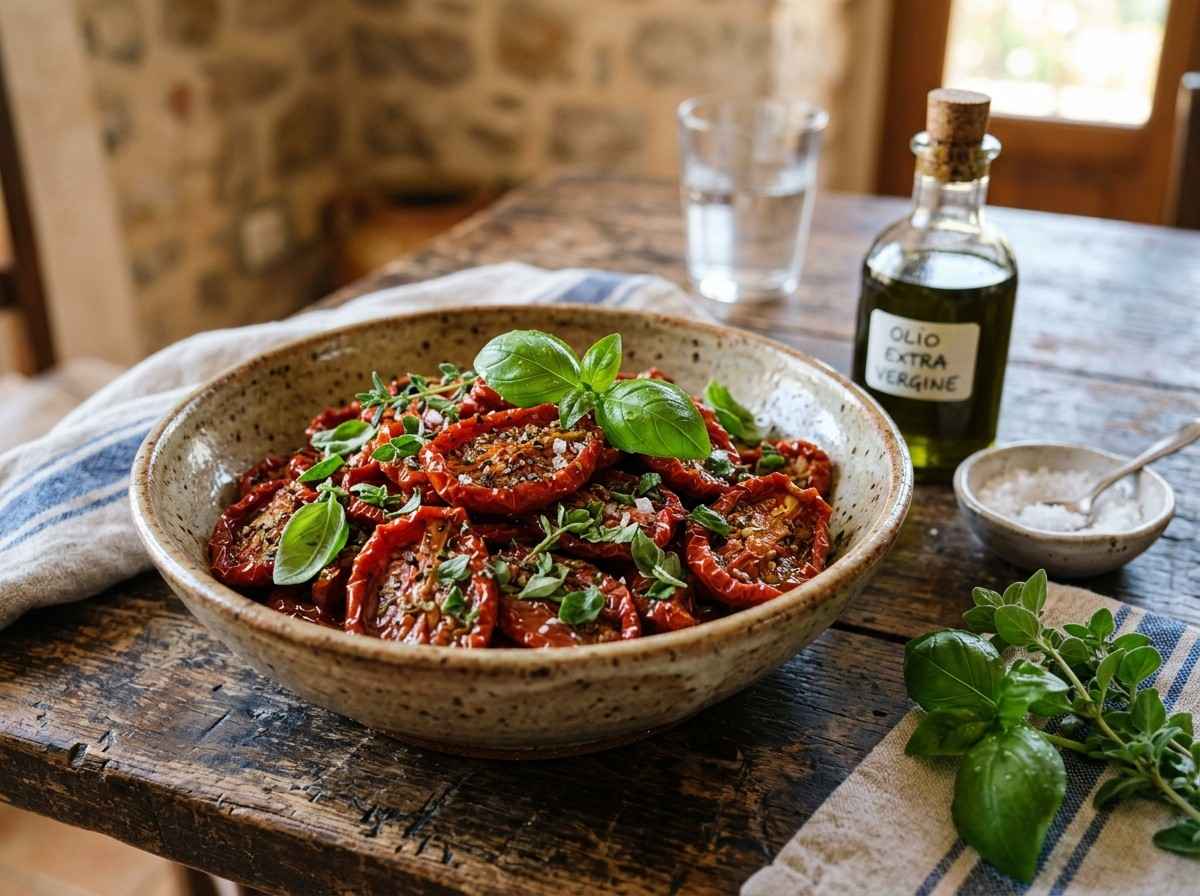
If you love bold flavors and crunchy snacks, you’re going to want to try this Pickled Cherry Peppers Recipe. Imagine biting into a tangy, slightly spicy pepper that wakes up your taste buds and keeps you coming back for more.
Whether you’re looking to spice up your sandwiches, add a zesty kick to salads, or create a unique appetizer, these pickled cherry peppers are your new secret weapon. You’ll learn how simple it is to make them at home, using ingredients you probably already have.
Get ready to add a burst of flavor to your kitchen that’s fresh, fun, and utterly delicious!
Cherry peppers, vinegar, water, salt, and sugar create the base for pickling. Fresh herbs and garlic add extra flavor. All ingredients are easy to find.
Pickled cherry peppers are spicy and tangy. They add a bright flavor to many dishes. Fresh cherry peppers are the main ingredient. Choose firm and bright red peppers for the best taste.
White vinegar or apple cider vinegar works well. Vinegar gives the pickles their sharp, sour taste. Use vinegar with 5% acidity for safe preservation.
Water balances the strong vinegar flavor. It helps control the sourness of the pickling liquid. Use clean, filtered water for best results.
Pickling or kosher salt is ideal. It enhances flavor and helps preserve the peppers. Avoid iodized salt, as it can cloud the brine.
Sugar softens the sharpness of vinegar. It adds a slight sweetness to the pickles. Use white granulated sugar for a clean taste.
Garlic cloves give a rich, savory flavor. They add depth to the pickled peppers. Use fresh, peeled garlic cloves for best flavor.
Common spices include black peppercorns, oregano, and bay leaves. They create a more complex taste. Adjust spices to your preference for heat or aroma.
Choosing the right cherry peppers is key to making tasty pickled cherry peppers. The flavor and texture depend on the peppers you select. Fresh, firm peppers give the best taste and crunch. Knowing what to look for helps pick the best ones for pickling.
Pick cherry peppers that look bright and shiny. Avoid wrinkled or soft peppers. Fresh peppers feel firm and heavy for their size. The skin should be smooth without blemishes or spots.
Small to medium-sized cherry peppers work best for pickling. They hold their shape well after pickling. Large peppers can be too soft or watery. Size affects the flavor and how they soak up the brine.
Cherry peppers range from mild to spicy. Mild peppers add flavor without too much heat. Spicy ones give a nice kick but can overpower other flavors. Choose based on how spicy you want your pickled peppers.
Most cherry peppers are red, but some come green or yellow. Red peppers tend to be sweeter. Green ones have a sharper, tangy taste. Yellow peppers offer a mild, fruity flavor. Color can change the flavor of your pickled peppers.
Preparing the cherry peppers is the first step in making delicious pickled cherry peppers. Proper preparation ensures the best flavor and texture. It also helps the peppers absorb the pickling brine evenly. This section explains how to clean and prepare the peppers for pickling.
Start by rinsing the cherry peppers under cold water. Use your hands to gently rub each pepper. This removes dirt and any residues on the skin. Avoid soaking peppers, as they can absorb too much water. After washing, dry the peppers with a clean towel or paper towel. Clean peppers help prevent spoilage during pickling.
Cut off the stems with a sharp knife. Next, slice the peppers in half lengthwise. Use a small spoon or your fingers to remove the seeds. Removing seeds reduces bitterness and controls heat levels. This step also helps the pickling liquid reach inside the pepper. Prepare the peppers evenly for consistent pickling.
Making the pickling brine is the key step for pickled cherry peppers. The brine gives the peppers their tangy and flavorful taste. It preserves the peppers and keeps them crisp. Choosing the right ingredients for the brine is very important. The balance of sour, salty, and spicy flavors depends on this mix.
Vinegar is the main ingredient in the pickling brine. It provides the sour taste and helps preserve the peppers. White vinegar is the most common choice. It has a clean, sharp flavor and a clear color. Apple cider vinegar adds a fruity note and a light amber color. Rice vinegar is milder and slightly sweet. The vinegar should have at least 5% acidity for safe pickling. Using the right vinegar ensures the best flavor and safety for your pickled peppers.
Spices bring depth and aroma to the pickling brine. Mustard seeds add a warm, tangy flavor. Black peppercorns give a mild heat and earthiness. Garlic cloves give a strong, savory taste. Dill seeds or fresh dill add a fresh, herbaceous note. Bay leaves offer a subtle bitterness and fragrance. Some recipes use crushed red pepper flakes for extra heat. Salt is essential for flavor and preservation. Choose kosher or pickling salt without additives. The right blend of spices makes your pickled cherry peppers tasty and unique.
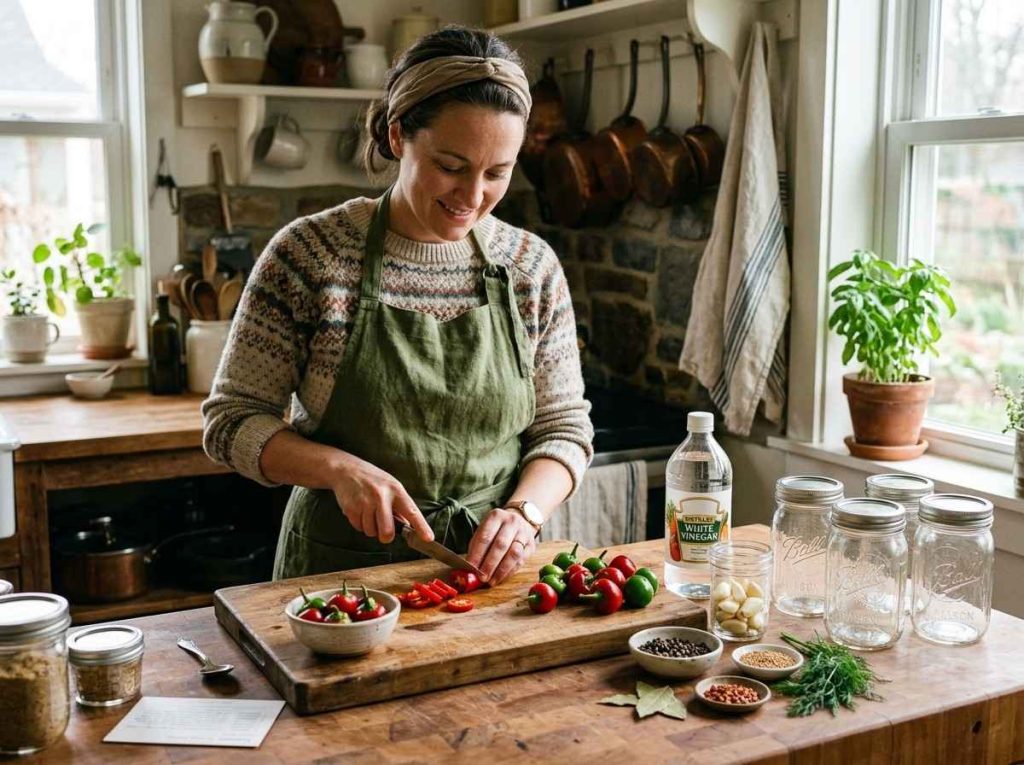
The pickling process transforms fresh cherry peppers into flavorful, tangy delights. It preserves their crispness and adds a zesty taste that brightens many dishes. This process involves a few clear steps to ensure the peppers soak up the brine perfectly. Follow along for a simple guide to pickling cherry peppers at home.
Start by mixing vinegar, water, salt, and sugar in a pot. Heat the mixture until it boils. Boiling dissolves the salt and sugar and activates the flavors. Keep the brine hot but do not let it boil for too long. Hot brine helps preserve the peppers and adds the right tang.
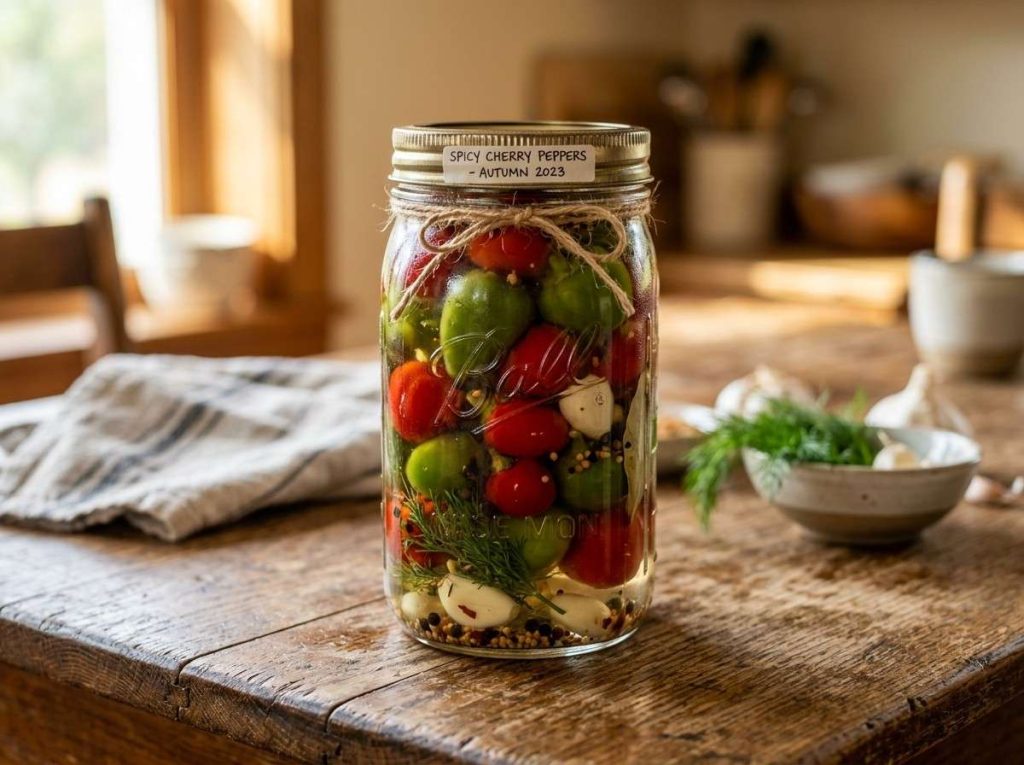
Wash the cherry peppers thoroughly and dry them. Pack the peppers tightly into clean, sterilized jars. You can add garlic or herbs for extra flavor. Leave some space at the top of the jar. This step ensures the peppers stay crisp and soak up the brine evenly.
Carefully pour the hot brine over the peppers in the jars. Make sure the peppers are fully covered with liquid. Remove any air bubbles by tapping the jars gently. Seal the jars with lids while the brine is still hot. This locks in freshness and prepares the peppers for storage.
Storing pickled cherry peppers correctly keeps their flavor fresh and crisp. Proper storage helps maintain their taste and texture. Understanding shelf life avoids spoilage and waste.
Store pickled cherry peppers in a clean glass jar. Keep the jar sealed tightly to prevent air from entering. Place the jar in the refrigerator to slow down bacteria growth. Use a clean spoon to remove peppers each time. Avoid touching the peppers directly with your hands. This helps prevent contamination and extends shelf life. Refrigerated pickled cherry peppers last about 1 to 3 months.
Pickled cherry peppers can be made shelf-stable with proper canning. Sterilize jars and lids before use to kill bacteria. Use a water bath or pressure canner to seal jars safely. Store canned jars in a cool, dark place away from sunlight. Shelf-stable jars can last up to 1 year unopened. Once opened, refrigerate and consume within 1 to 3 months. Check jars for bulging lids or off smells before use.
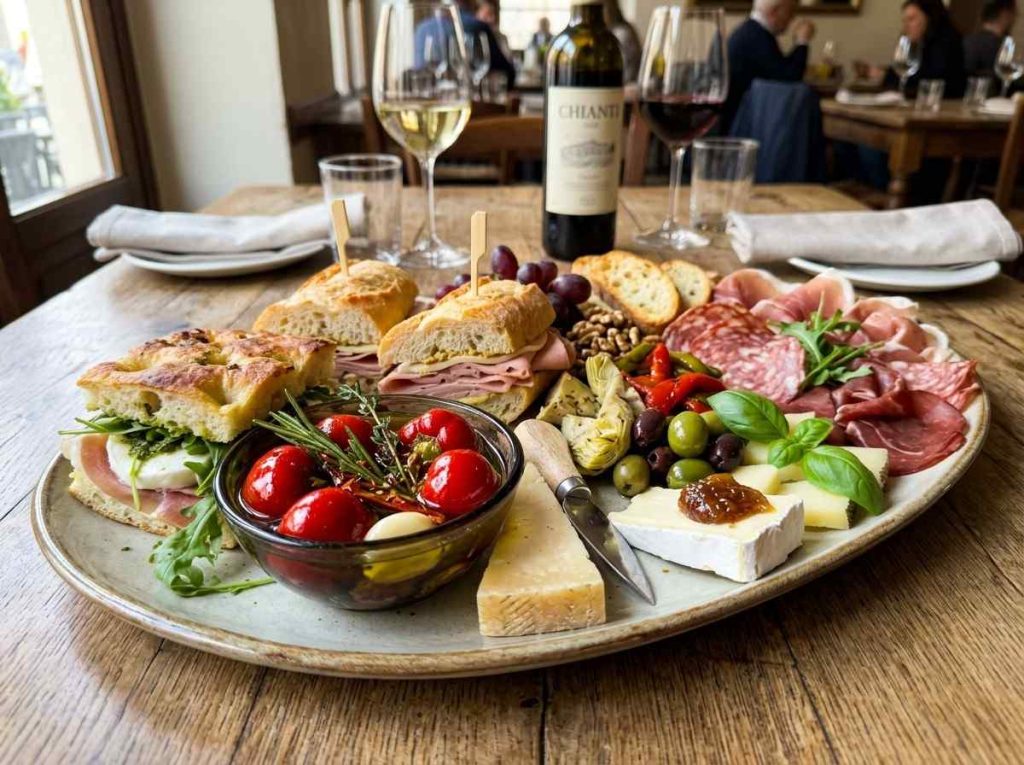
Pickled cherry peppers add a bright, tangy flavor to many dishes. Their spicy crunch can enhance simple snacks or full meals. Here are some easy ideas to enjoy them.
Serve pickled cherry peppers on a cheese platter. They pair well with creamy cheeses like mozzarella or goat cheese. Add them to charcuterie boards for a spicy twist. Use them as a topping on crackers or bread for quick bites. Stuffed with cheese or meat, they make tasty finger foods. Their sharp flavor wakes up your taste buds.
Add chopped pickled cherry peppers to salads for extra zest. Mix them into pasta dishes for a tangy kick. Use them in sandwiches or burgers to boost flavor. Include them in sauces or salsas to spice up recipes. They work well in egg dishes like omelets or frittatas. Their vibrant taste makes every meal more exciting.
Pickling cherry peppers is simple but can have some common problems. These issues can affect texture and safety. Knowing how to fix them helps keep your peppers tasty and fresh. Below are ways to avoid soft peppers and prevent mold or spoilage in your jars.
Soft peppers usually happen from overripe or bruised peppers. Choose firm and fresh cherry peppers for pickling. Keep them dry before pickling to stop extra water from making them mushy. Use the right amount of vinegar; too little vinegar makes peppers soft. Do not overcook the peppers. Cook just until slightly tender to keep a crisp texture. Store the jars in a cool, dark place to keep peppers firm.
Mold grows when air or bacteria get into jars. Always sterilize your jars and lids before use. Fill jars completely with pickling liquid to avoid air pockets. Make sure the peppers stay under the liquid after sealing. Store the jars in a cool and dark place. Check the seals after cooling. If the lid pops or moves, do not eat the peppers. Use clean utensils when removing peppers to avoid contamination.
You need cherry peppers, vinegar, water, salt, sugar, and garlic. Optional spices include peppercorns and bay leaves for extra flavor.
Pickled cherry peppers last up to 2 months in the fridge. Keep them in a sealed jar to maintain freshness.
Yes, fresh cherry peppers work best for pickling. They hold their shape and flavor well after pickling.
Pickled cherry peppers go well with sandwiches, salads, and antipasto platters. They add a spicy, tangy kick to many meals.
Pickled cherry peppers have a mild to moderate heat level. The pickling process can soften their spice, making them easier to enjoy.
Pickled cherry peppers add a bright, tangy twist to many dishes. They are easy to make and store well. You can enjoy them on sandwiches, salads, or as snacks. The recipe uses simple ingredients you can find anywhere. Making your own pickled peppers saves money and tastes fresh.
Try this recipe and bring bold flavors to your table today.