Gardening Made Simple.
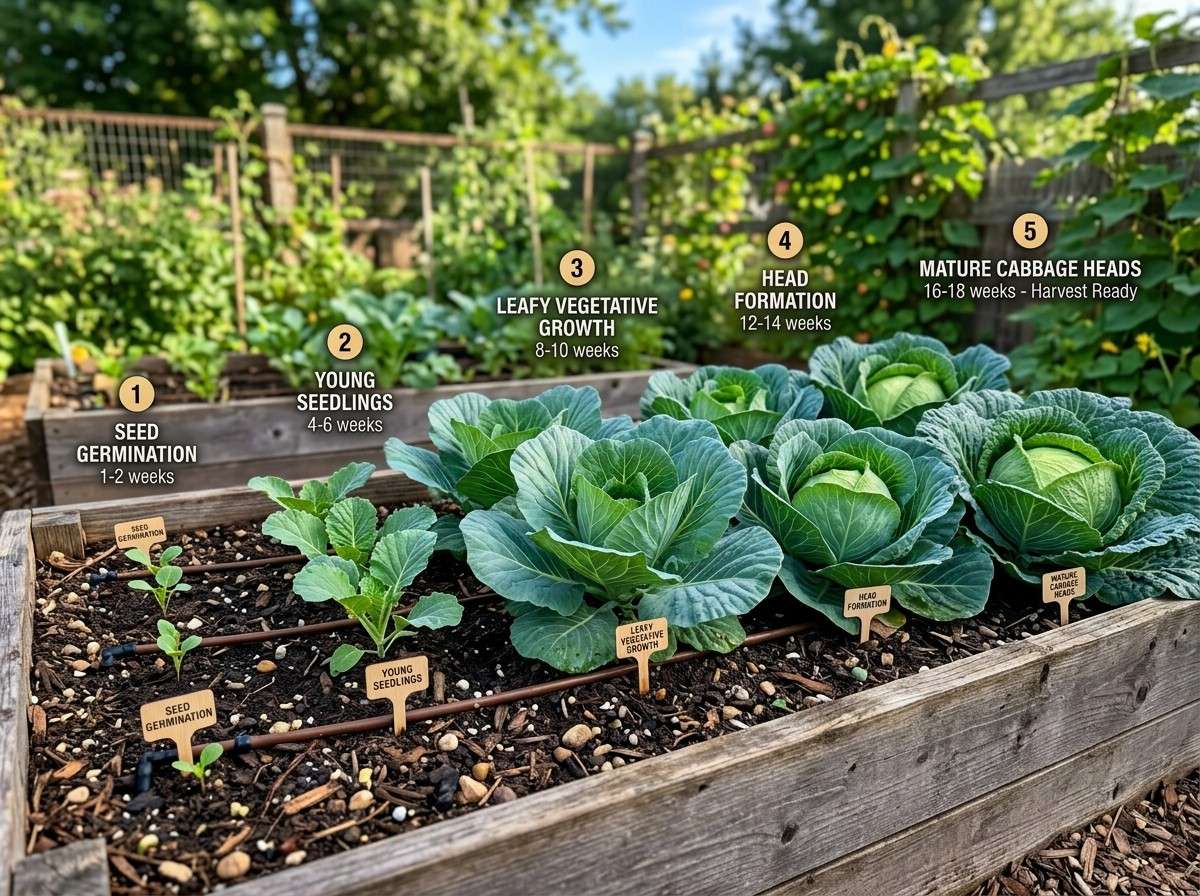
Have you ever wondered how a simple cabbage grows from a tiny seed into the crunchy vegetable on your plate? Understanding the stages of cabbage growth can help you grow healthier plants and get better yields.
Whether you’re a beginner gardener or just curious, knowing these key steps will make your gardening experience more rewarding. Keep reading, and you’ll discover exactly what happens at each stage—and how you can make the most of it for your own garden.
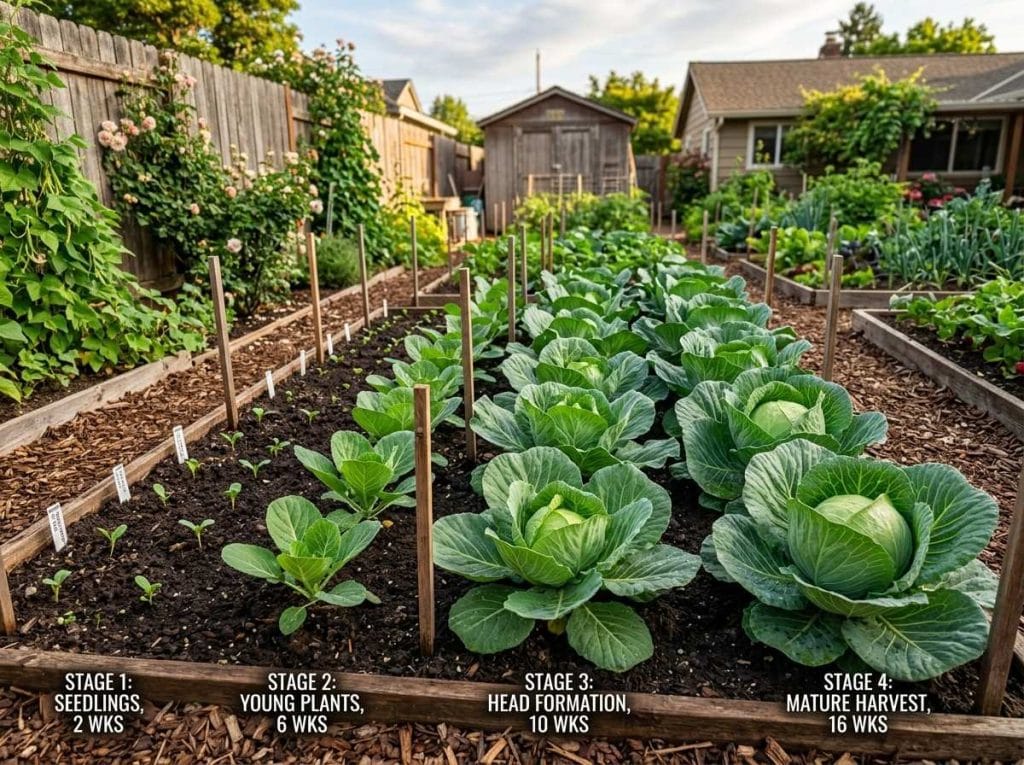
Choosing the right seeds is the first step in growing healthy cabbage plants. Seeds affect how well your cabbage will grow and how tasty it will be. Good seeds give strong plants that resist pests and weather problems. Poor seeds might not sprout or grow weak plants.
Knowing what to pick helps you start your garden well. This part explains how to select seeds that suit your needs and garden conditions.
Cabbage has many types. Some are small and round. Others are large and flat. Some grow fast, others take more time. Think about your climate and space before choosing. Pick a variety that grows well in your area. Also, consider how you want to use the cabbage. For salads, a sweeter type works best. For cooking, a stronger flavor might be better.
Good seeds look full and firm. Avoid seeds that are broken or soft. Fresh seeds sprout better. Old seeds may not grow well. Store seeds in a cool, dry place. Keep them away from sunlight and moisture. Proper storage keeps seeds healthy for a longer time. Always check the seed packet for expiration dates.
Preparing the soil is the first step to grow healthy cabbage. Good soil helps cabbage plants get enough nutrients and water. It also supports strong roots and good growth. Proper soil preparation sets the stage for a successful cabbage crop.
Test the soil to check its nutrient levels and pH. Cabbage grows best in soil with a pH between 6.0 and 7.5. Add lime if the soil is too acidic. Use organic compost or well-rotted manure to improve soil fertility. Adding these amendments helps the soil hold water and nutrients better.
Till the soil to break up clumps and loosen it. Loose soil allows roots to grow easily and absorb nutrients. Remove stones and debris during tilling. Form raised beds to improve drainage and soil warmth. Raised beds help prevent waterlogging and promote strong cabbage growth.
Planting seeds is the first step in growing healthy cabbage. This stage sets the foundation for strong plants and a good harvest. Understanding how to plant seeds properly helps the cabbage grow well from the start.
Start by choosing high-quality cabbage seeds. Sow seeds in seed trays or small pots filled with seed-starting mix. Plant seeds about ¼ inch deep. Cover lightly with soil and water gently. Keep the soil moist but not wet. Place trays in a warm spot with good light. Thin seedlings when they have two leaves, leaving the strongest plants.
Plant cabbage seeds early in the season for best results. Sow indoors 6 to 8 weeks before the last frost date. This timing helps seedlings grow strong before transplanting. Outdoor sowing works well in mild climates. Avoid planting seeds too late to prevent heat stress. Cool weather helps cabbage thrive during early growth.
The germination stage is the first step in cabbage growth. It starts when the seed absorbs water and swells. The seed coat breaks open, and the tiny root begins to grow downward. Soon, the shoot pushes upward toward the soil surface. This stage usually lasts about 5 to 10 days. Good care is important for strong seedlings.
Seeds need consistent moisture to sprout well. The soil should be damp but not soaked. Too much water can cause seeds to rot. Too little water stops germination. Check the soil daily. Use a spray bottle to water gently. Keep the top layer moist until seedlings appear.
Cabbage seeds germinate best between 45°F and 85°F. The ideal temperature is about 70°F. Cooler soil slows down sprouting. Warmer soil speeds it up but not above 85°F. Use a thermometer to check soil temperature. Warmth helps the seed’s enzymes work well.
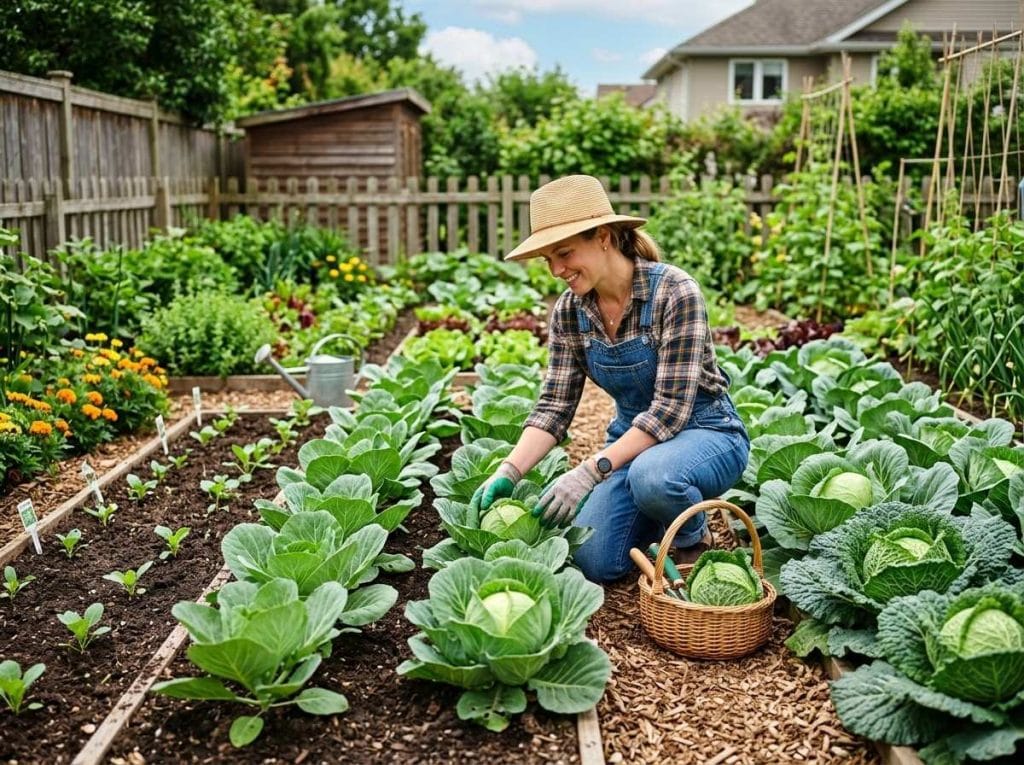
Seedling development is a critical stage in cabbage growth. Healthy seedlings lead to strong plants and good harvests. This stage starts after the seeds sprout and continue until seedlings are ready for transplanting. During this time, careful attention is vital. Proper care helps seedlings grow sturdy and resist diseases.
Thinning helps avoid overcrowding among seedlings. When seedlings have two to three leaves, thin them by removing the weaker ones. Leave the strongest plants spaced about 6 inches apart. This space allows roots and leaves to grow well.
Transplanting seedlings to the garden is best after 4 to 6 weeks. Choose a cool day or early morning for this task. Handle seedlings gently, keeping the root ball intact. Water plants after transplanting to reduce stress and help them settle.
Young cabbage seedlings attract many pests like aphids and flea beetles. Check seedlings regularly for signs of pests or damage. Use mild insecticidal soaps or natural predators to control pests. Early pest control stops damage and protects the growing plants.
Keep the garden clean by removing weeds and debris. This reduces hiding places for pests. Healthy seedlings resist pests better and grow faster. Early care makes a big difference in cabbage growth success.
Vegetative growth is a vital stage in cabbage development. During this phase, the plant focuses on growing its leaves and stem. This growth helps the cabbage build a strong base for forming the head later. Healthy leaves capture sunlight well, making food for the plant. Proper care during this stage affects the size and quality of the final cabbage.
Cabbage needs regular watering to stay healthy. The soil should be moist but not soggy. Water deeply to reach the roots. This helps the plant absorb nutrients effectively.
Fertilizing supports leaf growth. Use a balanced fertilizer with nitrogen. Nitrogen helps leaves grow thick and green. Apply fertilizer every two weeks. Avoid over-fertilizing, which can harm the plant.
Weeds compete with cabbage for water and nutrients. Removing weeds keeps the soil clean and helps cabbage grow better. Pull weeds by hand or use a hoe carefully. Mulching around cabbage plants can also reduce weeds. Keep the area free of weeds to ensure strong cabbage growth.
The head formation stage is vital in cabbage growth. This is when the plant begins to form the dense, round head we eat. The outer leaves curl inward, protecting the tender inner leaves. Proper care during this stage ensures a firm and healthy cabbage head.
Cabbage requires extra nutrients during head formation. Nitrogen helps leaves grow strong and green. Phosphorus supports root and head development. Potassium improves overall plant health and firmness. Use balanced fertilizer to supply these nutrients evenly. Avoid too much nitrogen to prevent soft heads.
Bolting means the cabbage starts flowering too early. This ruins the head quality and taste. Stress from heat or drought often causes bolting. Keep the soil moist and cool to avoid stress. Mulching helps retain moisture and regulate temperature. Choose bolt-resistant cabbage varieties for better results.
The maturation and harvest stage is crucial for cabbage growers. This phase determines the quality and taste of your cabbage. Proper timing and care can give you the best results. Understanding when your cabbage is ready and how to pick it carefully helps avoid waste and damage.
Cabbage heads feel firm when they are ready to harvest. Loose or soft heads mean the cabbage needs more time. The leaves will appear tight and compact. The size depends on the variety but usually matches the seed packet description. The color should be vibrant, without yellowing or spots.
Use a sharp knife or garden shears to cut the cabbage head. Cut close to the base, leaving some outer leaves on the plant. Handle the heads gently to avoid bruising. Harvest in the morning for the freshest taste. Store cabbages in a cool, dry place after picking.
Post-harvest care is very important for cabbage. It helps keep the cabbage fresh and safe to eat. Proper care after harvest can stop spoilage and reduce waste. This stage includes storing the cabbage well and protecting it from pests and diseases.
Store cabbage in a cool, dark place with high humidity. Ideal temperature is between 32 and 40 degrees Fahrenheit. Wrap cabbage heads in plastic to keep moisture inside. Avoid washing cabbage before storage to prevent mold. Check stored cabbage often for soft spots or rot. Use damaged cabbages quickly to avoid spreading decay.
Keep storage areas clean to reduce pests and diseases. Remove leftover plant debris to stop bugs and fungi. Use natural pest repellents like neem oil if needed. Inspect cabbage regularly for signs of insects or mold. Separate infected cabbage to protect healthy heads. Good air circulation helps prevent fungal growth.
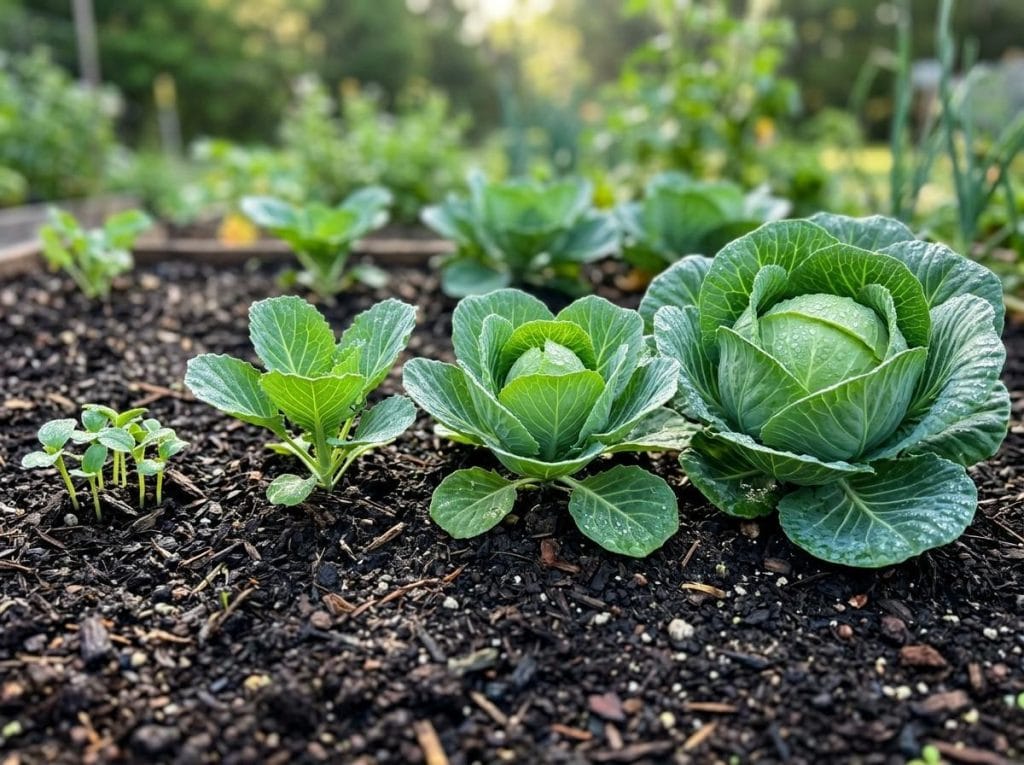
Cabbage grows in four main stages: seed, seedling, vegetative, and head formation.
Each stage varies but usually takes about 70 to 100 days from seed to harvest.
Leaves start forming during the seedling stage, about 2 to 3 weeks after planting.
Heads feel firm and solid when ready, usually after 70 to 100 days of growth.
Temperature, soil quality, water, and sunlight are key factors that impact cabbage growth stages.
Watching cabbage grow is a rewarding experience. Each stage shows how the plant changes and develops. From seed to harvest, every step matters. Knowing these stages helps you care for your cabbage better. Healthy plants mean tasty and fresh cabbage on your table.
Patience and attention bring the best results. Keep an eye on your plants and enjoy the process. Growing cabbage can be simple and fun. Try it yourself and see how nature works.