Gardening Made Simple.
If you love fresh basil in your kitchen, imagine having a never-ending supply right at your fingertips. Learning How to Propagate Basil Plant is the easiest way to grow more basil from a single plant, giving you fresh, flavorful leaves all season long.
You can multiply your plants without buying new ones. You’ll discover simple, step-by-step ways to propagate your basil plant. Whether you’re a beginner or just want to save money, these tips will help you grow healthy, flavorful basil that keeps coming back.
Ready to turn one plant into many? Let’s get started!
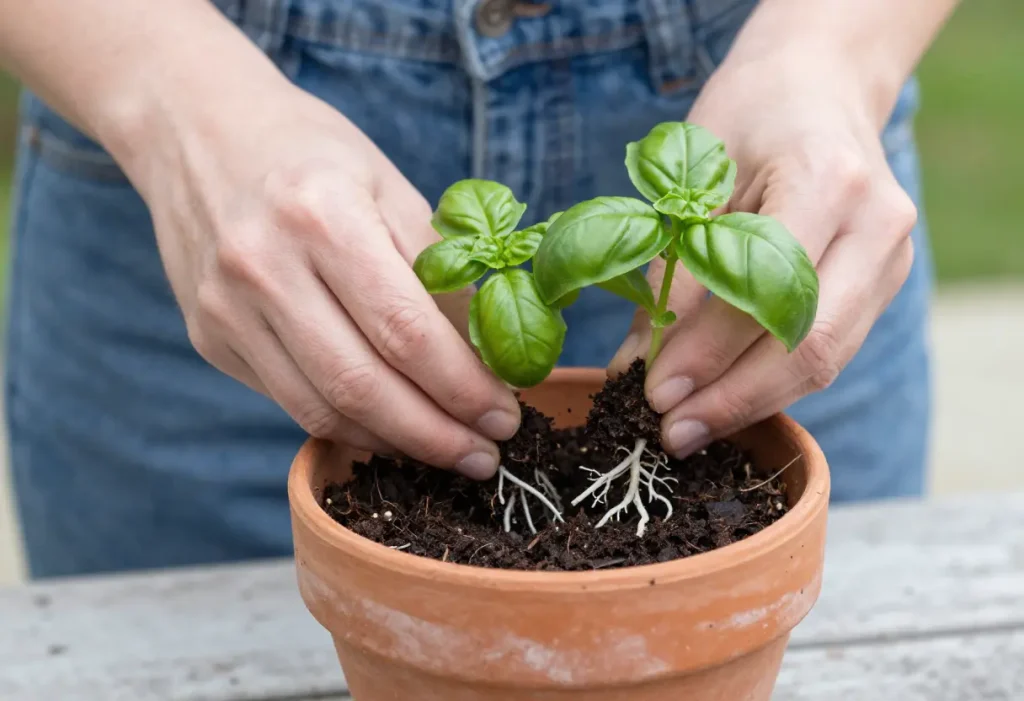
Choosing the right basil variety is important for successful propagation. Different types of basil have unique flavors, growth habits, and care needs. Picking the right one helps you enjoy fresh basil at home. It also makes the propagation process easier and more rewarding.
Italian basil, also called sweet basil, is the most common type. It has large, green leaves with a sweet, mild flavor. This variety grows quickly and is easy to propagate from cuttings. It suits many dishes like pasta and salads.
Thai basil has smaller leaves and a spicy, licorice-like taste. It grows well in warm climates and adds a unique flavor to Asian recipes. This variety can be propagated by stem cuttings and needs a bit more care.
Genovese basil is a type of sweet basil famous for pesto sauce. It has large, tender leaves and a strong aroma. This variety grows well indoors and outdoors. Propagating Genovese basil is simple and fast.
Lemon basil has a fresh citrus scent and taste. Its leaves are smaller and lighter green. This variety adds a bright flavor to dishes and drinks. Propagation is easy but requires good sunlight.
Selecting healthy cuttings is the first step to grow a strong basil plant. Healthy cuttings root faster and grow better. Choosing the right stems ensures your new plant will thrive.
Look for vibrant green leaves and sturdy stems. Avoid any parts that look yellow, brown, or wilted. These signs mean the plant is weak or sick.
Choose young stems that are flexible but firm. Old, woody stems take longer to root and may not grow well. Cut just below a leaf node to help roots form.
Inspect the stem carefully. Spots, holes, or sticky residue mean pests or disease. Do not use cuttings with any damage. Healthy plants give the best start.
Pick stems about 4 to 6 inches long. They should have several pairs of leaves. Remove leaves from the lower half to reduce water loss. This helps the cutting focus energy on root growth.
Preparing cuttings is the first step to growing new basil plants. This process helps the cuttings develop roots and grow into healthy plants. Proper preparation increases the chances of successful propagation.
Good preparation means clean, healthy cuttings. The right size and shape also matter. Follow simple steps to get your basil cuttings ready for planting.
Remove leaves from the bottom of the cutting. Leaves near the cut end can rot in water or soil. Leave only a few leaves at the top. This helps the cutting focus on root growth.
Cut large leaves in half if needed. This reduces water loss and stress on the cutting. Healthy leaves stay on the cutting to help it grow.
Cut a stem about 4 to 6 inches long. This size has enough nodes to grow roots. Nodes are small bumps where leaves and roots grow.
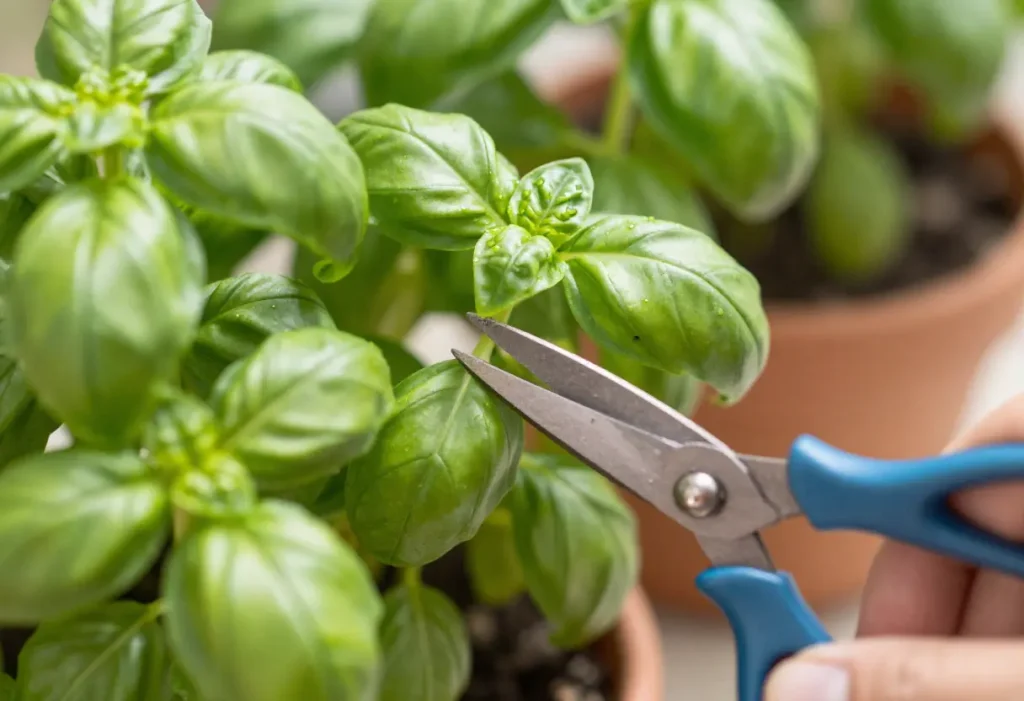
Make a clean cut just below a node. Use sharp scissors or pruning shears. A clean cut helps the cutting absorb water better.
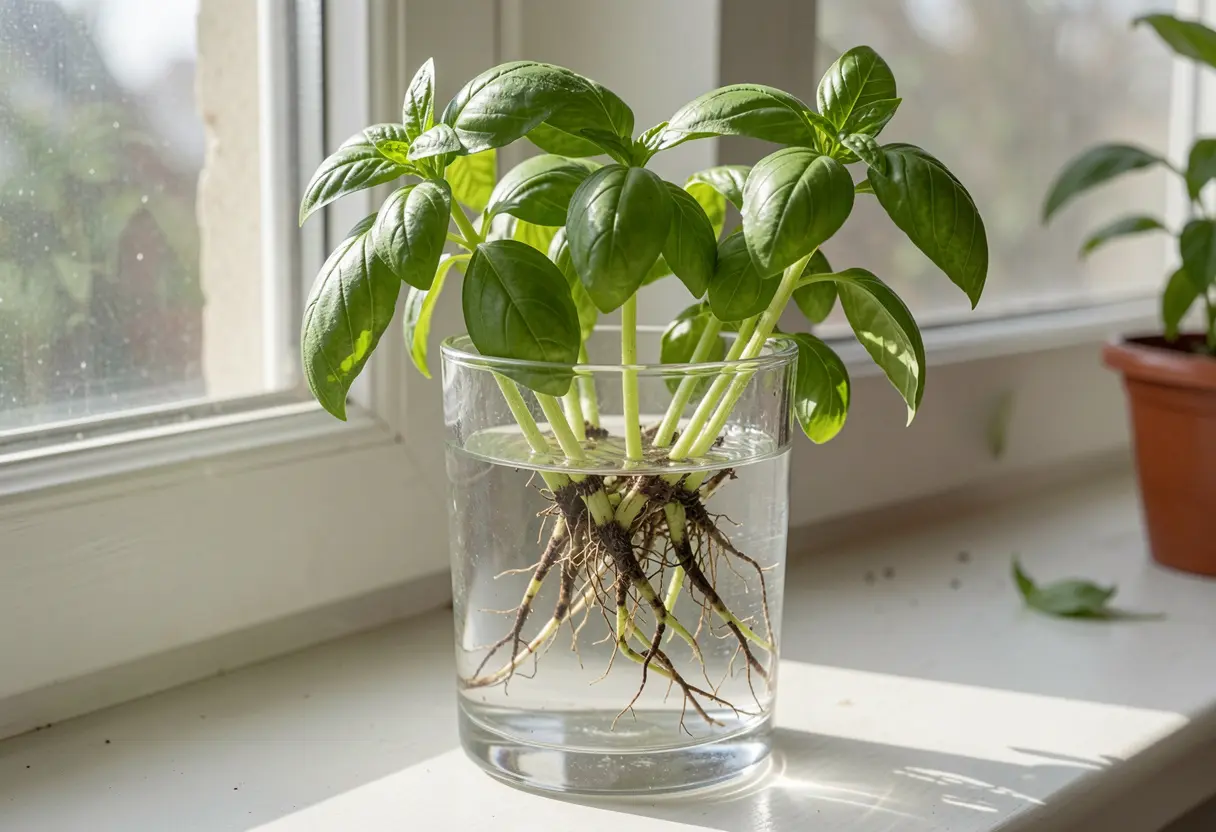
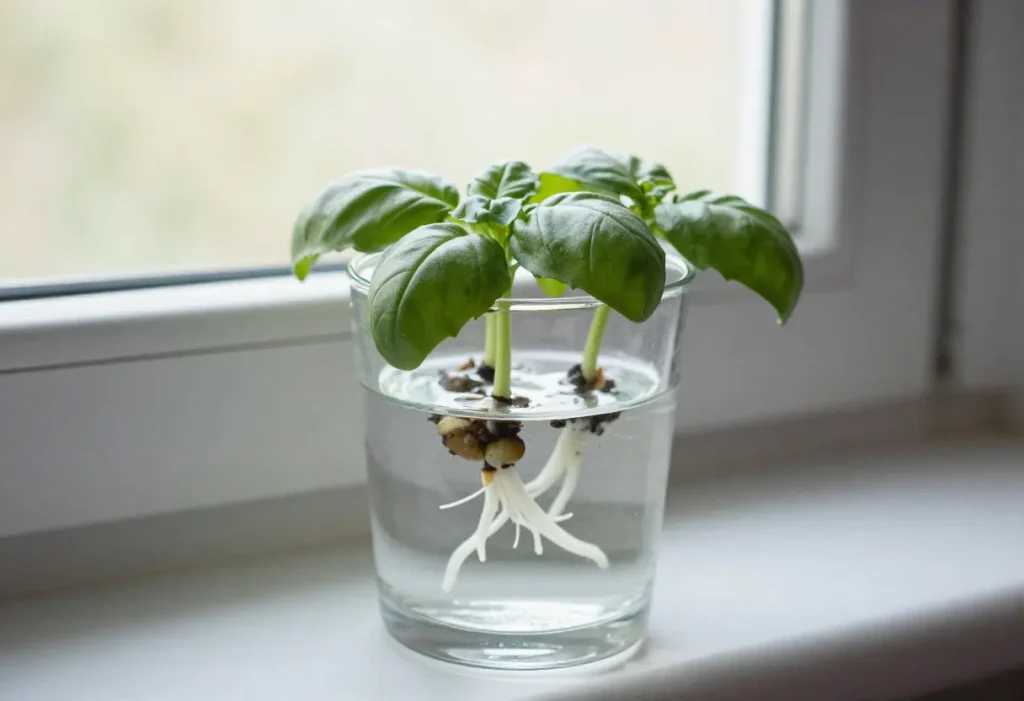
Rooting basil in water is a simple way to grow new plants. It lets you watch the roots form clearly. This method needs little space and few tools. You only need a healthy basil cutting and clean water. This technique works well for beginners and experienced gardeners alike.
Choose a small glass or jar for your basil cutting. Clear containers help you see root growth easily. Avoid containers that are too deep or wide. A narrow opening keeps the cutting upright. Make sure the container is clean to prevent bacteria.
Change the water every two to three days. Fresh water helps roots grow strong and healthy. Use room temperature water for best results. Avoid letting water become cloudy or smell bad. Clean water prevents mold and keeps the cutting alive.
Look for white or light brown roots at the base. Roots usually appear within one to two weeks. Healthy roots are firm and about one to two inches long. If roots look slimy or dark, remove the cutting. Strong roots mean the basil is ready to plant in soil.
Planting basil cuttings directly in soil is a simple way to grow new plants. It helps the basil roots develop strong and healthy. This method works well for beginners and experienced gardeners alike.
Start with fresh cuttings. Choose stems about 4 to 6 inches long. Remove the leaves from the bottom half. This step prevents rotting and encourages root growth.
Use light, well-draining soil for basil cuttings. A mix of potting soil and sand or perlite works best. Avoid heavy or clay soils. They keep too much water and can cause root rot.
Fill small pots or containers with soil. Leave some space at the top for watering. Moisten the soil before planting. The soil should be damp but not soaked.
Make a small hole in the soil with your finger or a stick. Gently place the basil cutting into the hole. Cover the base with soil and press lightly. Ensure the cutting stands upright and stable.
Plant only one cutting per pot. This gives each plant enough room to grow roots. Keep the pots in a warm place with indirect light. Direct sunlight can dry out young cuttings too fast.
Water the cuttings right after planting. Keep the soil moist, not wet. Check daily and water when the top feels dry. Avoid overwatering to prevent mold and root rot.
Watch for new leaves. This means roots are forming. After a few weeks, the basil cuttings will grow stronger. At this point, start feeding with a light fertilizer every two weeks.
Using seeds for basil propagation is a simple and effective way to grow healthy plants. Seeds give you control over the varieties you want to grow. They are easy to find and cost less than buying young plants. Starting basil from seeds lets you enjoy fresh leaves all season long.
Growing basil from seeds needs some care. Choosing good seeds and knowing how to plant them helps your plants grow strong. The right environment speeds up germination and keeps seedlings healthy. Let’s explore the key steps for growing basil from seeds.
Choose fresh basil seeds from a trusted source. Look for seeds labeled for culinary use. Pick varieties like sweet basil or Genovese for cooking. Avoid seeds that look old or damaged. Fresh seeds have higher chances of germination. Store seeds in a cool, dry place until planting.
Fill a seed tray or small pots with light, well-draining soil. Moisten the soil before planting. Sprinkle seeds thinly on the surface. Cover seeds lightly with a thin layer of soil, about ¼ inch deep. Press gently to ensure good soil contact. Keep the soil moist but not soaked during germination.
Place the tray in a warm spot with indirect sunlight. Basil seeds germinate best at 70-75°F (21-24°C). Cover the tray with plastic wrap or a clear lid to keep humidity high. Remove the cover once seedlings appear to prevent mold. Seeds usually sprout in 5 to 10 days. Keep seedlings under bright light to grow strong stems and leaves.
Propagating basil is fun but can come with small problems. Knowing common issues helps keep your plants healthy. Troubleshooting early saves your basil from dying. Here are simple tips to handle frequent problems during propagation.
Root rot happens when soil stays too wet for too long. Basil roots need air to grow strong. Use well-draining soil and pots with holes. Water only when the top inch of soil feels dry. Avoid water sitting in the tray under the pot. Remove any black or mushy roots quickly to stop rot from spreading.
Basil plants attract pests like aphids and spider mites. Check leaves daily for small bugs or sticky spots. Spray plants gently with water to wash off pests. Use natural insect sprays made from neem oil or soap. Keep your basil away from other plants that have bugs. Regular cleaning of leaves helps keep pests away.
Wilting means the plant is stressed or lacks water. Check soil moisture to know if the plant is dry or overwatered. Move basil to a spot with enough sunlight but not direct hot sun. Trim dead or yellow leaves to help the plant focus on new growth. Good airflow around the plant reduces wilting risks.
Growing basil successfully needs more than just planting it. To get lush, healthy leaves, you must care for it well. Pay attention to light, food, and trimming. These tips help your basil grow strong and full.
Basil loves sunlight. Give it at least six hours of direct sun daily. Place your plant near a bright window or outside in a sunny spot. Too little light makes basil weak and leggy. Bright light keeps leaves green and flavorful.
Feed basil every two weeks during the growing season. Use a balanced liquid fertilizer diluted to half strength. Too much fertilizer can harm the plant. Proper feeding helps leaves grow big and tasty. Stop fertilizing in late fall to let the plant rest.
Trim basil regularly to encourage new growth. Cut above a leaf pair to keep the plant bushy. Remove flower buds quickly to keep leaves fresh. Pruning stops the plant from getting too tall and spindly. This keeps basil full and ready to harvest.
Take a healthy basil stem about 4 inches long. Place it in water until roots grow, then plant it in soil.
Yes, basil cuttings grow roots in water within 1-2 weeks. Change water regularly to keep it fresh and clean.
Spring and early summer are ideal for basil propagation. Warm temperatures help roots develop faster and stronger.
Roots usually appear within 7 to 14 days. Watch for small white roots before planting in soil.
Keep a few leaves but remove lower ones under water. This prevents rot and helps the cutting focus on root growth.
Propagating basil is simple and rewarding. Just cut, place in water, and wait. Roots will grow in days. Then, plant in soil and watch it thrive. Fresh basil always at hand. A great way to save money and enjoy homegrown herbs.
Start small, be patient, and enjoy the process. Your kitchen garden will thank you. Try it today and add fresh flavor to your meals.