Gardening Made Simple.

To grow chickpeas successfully, plant them in well-drained soil with full sun exposure, water them moderately, and maintain proper spacing. Understanding How to Grow Chickpeas ensures healthy plants and a bountiful harvest of these nutritious legumes.
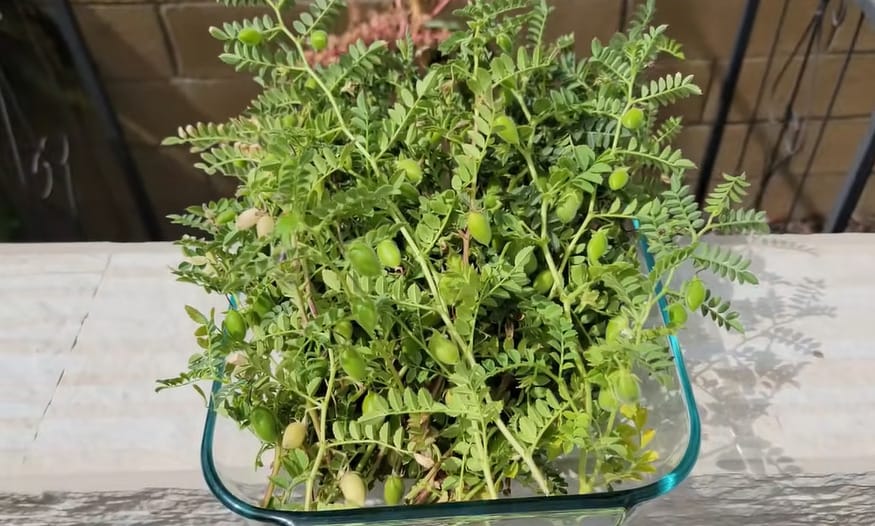
Chickpeas, also known as garbanzo beans, are nutrient-dense legumes. They thrive in warm climates and require minimal maintenance, making them ideal for home gardens. The growing process starts with selecting a sunny spot and preparing well-drained soil. Ensure the soil is rich in organic matter for optimal growth.
Plant seeds about 1 to 2 inches deep and space them 6 inches apart. Water the plants moderately, especially during flowering and pod formation. Harvest chickpeas when the pods turn brown and dry. Growing chickpeas not only provides a healthy food source but also enriches the soil with nitrogen.
Choosing the right chickpea variety is key for a successful harvest. Different types thrive in different climates. Understanding popular types and climate needs helps ensure healthy growth.
Chickpeas prefer cool, dry climates. Too much rain can cause root rot.
Below is a table showing the ideal climate conditions for different chickpea types:
| Chickpea Type | Temperature Range (°C) | Rainfall (cm) |
|---|---|---|
| Desi | 10-25 | 40-60 |
| Kabuli | 10-20 | 30-50 |
| Black | 15-25 | 35-55 |
| Green | 10-22 | 40-60 |
Chickpeas need well-drained soil. Sandy loam is best for planting.
Plant chickpeas in the spring. They need full sun and cool weather.
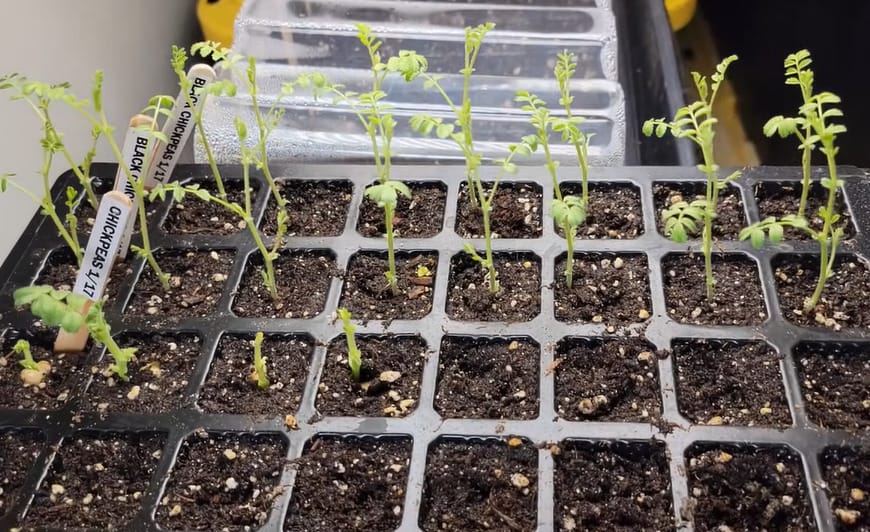
Growing chickpeas starts with preparing the soil properly. Healthy soil ensures robust plant growth. Follow the steps below for the best results.
Before planting chickpeas, test the soil. Soil testing checks nutrient levels and pH balance. You can buy a soil test kit from a garden store.
Testing the soil helps identify nutrient deficiencies. It also shows the soil's pH level.
Chickpeas grow best in soil with a pH level between 6.0 and 7.0. Adjust the soil's pH if needed.
| pH Level | Adjustment |
|---|---|
| Below 6.0 | Add lime to raise the pH. |
| Above 7.0 | Add sulfur to lower the pH. |
Keep the pH within the ideal range. This ensures the best growth for chickpeas.
Growing chickpeas in your garden can be rewarding. These legumes are rich in protein and beneficial for soil health. Let's explore the best practices for planting chickpeas to ensure a bountiful harvest.
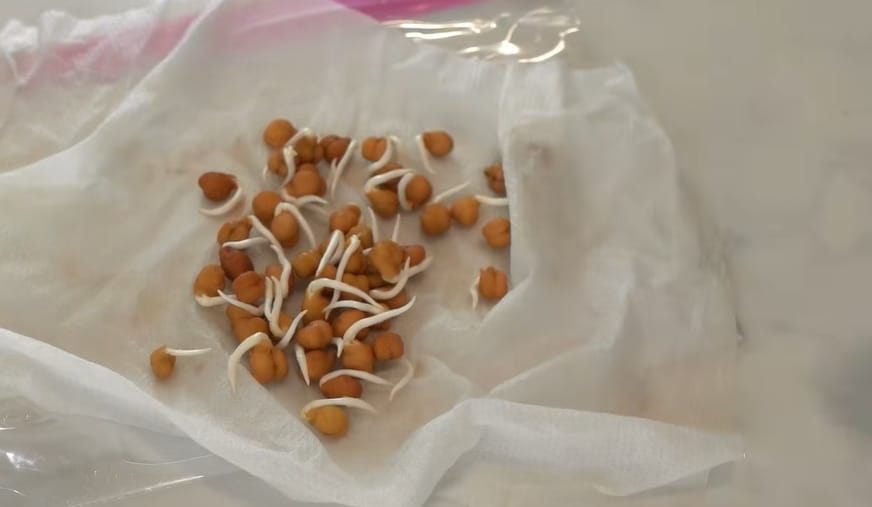
Chickpeas thrive with direct sowing. Plant the seeds about 1.5 inches deep. Space the seeds 3 inches apart in rows. Rows should be 18 inches apart for proper growth. This spacing allows for good air circulation.
Use a hoe to cover the seeds with soil. Ensure seeds are not exposed. Press the soil gently to remove air pockets.
The best time to plant chickpeas is in the spring. Ensure the soil temperature is at least 50°F. Chickpeas need a long growing season. Plant them early to avoid frost damage. They require 90-100 days to mature.
Follow this planting schedule for optimal growth:
| Region | Planting Time |
|---|---|
| Southern States | Late February to March |
| Northern States | April to May |
Check local frost dates before planting. This helps prevent seedling damage. Early planting ensures higher yields.
Ensuring the right watering needs for your chickpeas is crucial. Chickpeas require a balanced amount of water to thrive. Overwatering or underwatering can harm their growth. Let's explore the best practices for watering chickpeas.
Choose the right irrigation method for your chickpeas:
Understanding the frequency and amount of water needed is key:
| Growth Stage | Frequency | Amount |
|---|---|---|
| Seedling | Every 2-3 days | 1 inch per week |
| Vegetative | Once a week | 1.5 inches per week |
| Flowering | Twice a week | 2 inches per week |
| Pod Formation | Once a week | 1 inch per week |
Ensure the soil is moist but not waterlogged. Overwatering can lead to root rot. Always check the soil before watering.
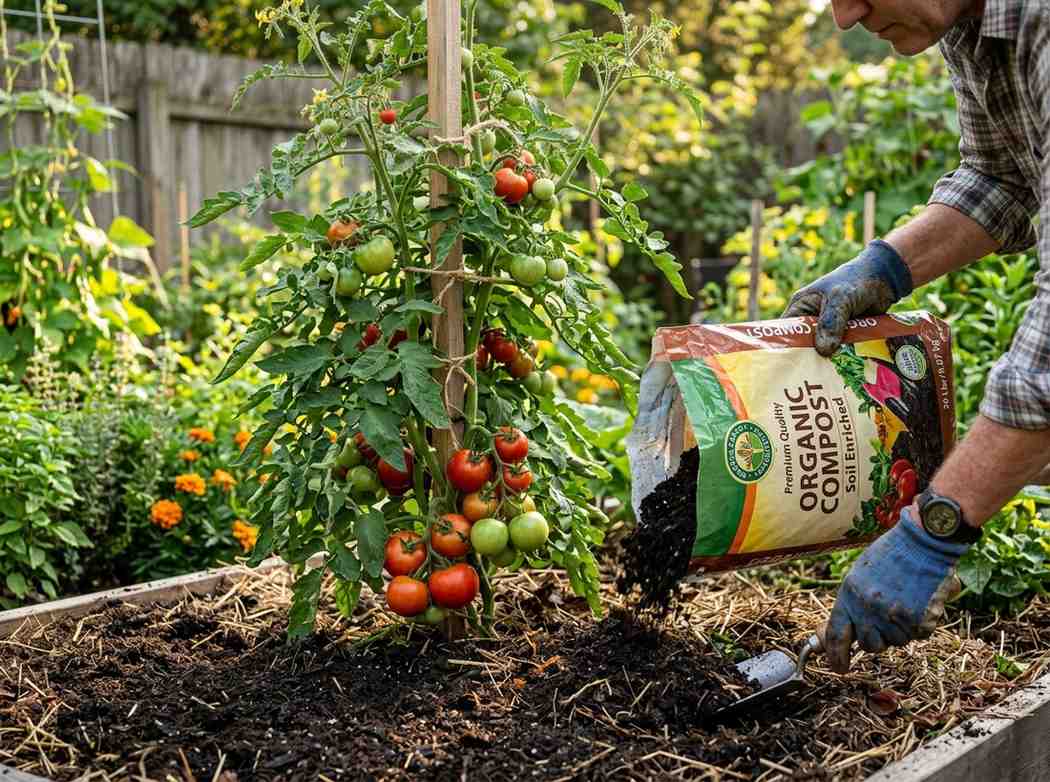
Fertilizing chickpeas is crucial for ensuring healthy plants and a bountiful harvest. Proper nutrient management helps chickpeas grow strong and resilient. This section guides you through the nutrient requirements and the different fertilizing options available.
Chickpeas need specific nutrients to thrive. These include:
Chickpeas also benefit from calcium, magnesium, and sulfur. Micronutrients like zinc and manganese are needed in smaller amounts.
Choosing between organic and synthetic fertilizers depends on your gardening preferences. Here's a comparison:
| Organic Fertilizers | Synthetic Fertilizers |
|---|---|
| Derived from natural sources like compost or manure. | Manufactured with chemical processes. |
| Improves soil health and structure. | Provides immediate nutrient availability. |
| Releases nutrients slowly over time. | Can be precisely measured for specific needs. |
| Eco-friendly and sustainable. | May cause nutrient runoff if overused. |
Organic fertilizers include:
Synthetic fertilizers often come in balanced blends, such as:
Choosing the right fertilizer ensures your chickpeas get the nutrients they need.
Growing chickpeas can be rewarding but also challenging. Effective pest and disease management is crucial for a healthy crop. Learn how to protect your chickpea plants with these simple tips.
Chickpeas face several common pests that can damage the crop. Identifying these pests early helps in taking timely action.
Regularly inspect your plants for these pests. Use organic pesticides or natural predators to control them.
Preventing diseases is easier than treating them. Follow these tips to keep your chickpeas healthy:
Here is a table summarizing common diseases and their prevention methods:
| Disease | Prevention Method |
|---|---|
| Ascochyta Blight | Use resistant varieties and rotate crops. |
| Fusarium Wilt | Ensure good drainage and avoid overwatering. |
| Root Rot | Improve soil drainage and use healthy seeds. |
Vigilance and early action are key to managing pests and diseases in chickpeas. Keep your plants healthy for a bountiful harvest.
Harvesting chickpeas correctly ensures a good yield and quality produce. Learn the signs of maturity and proper methods to harvest chickpeas. This guide will help you get the best results.
Knowing when to harvest chickpeas is crucial. Here are the signs:
Different methods can be used for harvesting chickpeas, depending on the scale of cultivation.
| Method | Description |
|---|---|
| Hand Picking | This method is suitable for small gardens. Use your hands to pick the pods. |
| Mechanical Harvesting | Use a combine harvester for large fields. This saves time and labor. |
Follow these steps for hand picking:
For mechanical harvesting:
After harvesting, store chickpeas in a cool, dry place. Proper storage maintains quality and freshness.
Storing chickpeas properly ensures they remain fresh and nutritious. Proper storage also extends their shelf life. This section covers the best practices for drying and storing chickpeas.
After harvesting, chickpeas need to be dried. This step is crucial for long-term storage. Follow these steps for effective drying:
Drying chickpeas properly prevents mold and spoilage. It is a key step in storing chickpeas.
Once dried, store chickpeas in optimal conditions. Follow these guidelines:
Airtight containers preserve freshness and prevent pests. Proper labeling helps you keep track of storage time.
| Storage Tips | Benefits |
|---|---|
| Use Mylar bags with oxygen absorbers | Extended shelf life |
| Store in a pantry or cupboard | Maintains consistent temperature |
| Check for pests periodically | Prevents infestation |
Proper storage conditions are essential for maintaining chickpea quality. Follow these tips to keep your chickpeas fresh and ready to use.
Chickpeas typically take 90 to 100 days to mature.
Plant chickpeas in early spring when the soil temperature reaches 50°F.
Water chickpeas once a week, ensuring the soil stays moist but not waterlogged.
Yes, chickpeas can grow in containers with proper drainage and sufficient sunlight.
Chickpeas thrive in well-drained, sandy loam soil with a pH level between 6. 0 and 7. 0.
Growing chickpeas can be a rewarding experience. Follow our tips for healthy plants and a bountiful harvest. Enjoy fresh, homegrown chickpeas in your favorite dishes. Remember, patience and care are key to successful chickpea farming. Happy gardening!