Gardening Made Simple.
Growing your own spaghetti squash is rewarding, practical, and surprisingly easy once you know the steps. This unique vegetable is famous for its stringy flesh, which turns into noodle-like strands after cooking. Many gardeners love it because it’s healthy, low-carb, and versatile in the kitchen.
Learning How to Grow Spaghetti Squash will help you produce healthy vines, abundant harvests, and delicious homegrown squash for a variety of meals.
Whether you’re new to gardening or want to improve your harvest, this guide will help you grow spaghetti squash from seed to table with confidence. You’ll find expert tips, common mistakes to avoid, and practical advice tailored for both beginners and experienced growers. Let’s dig in and discover how you can enjoy abundant spaghetti squash from your own garden.
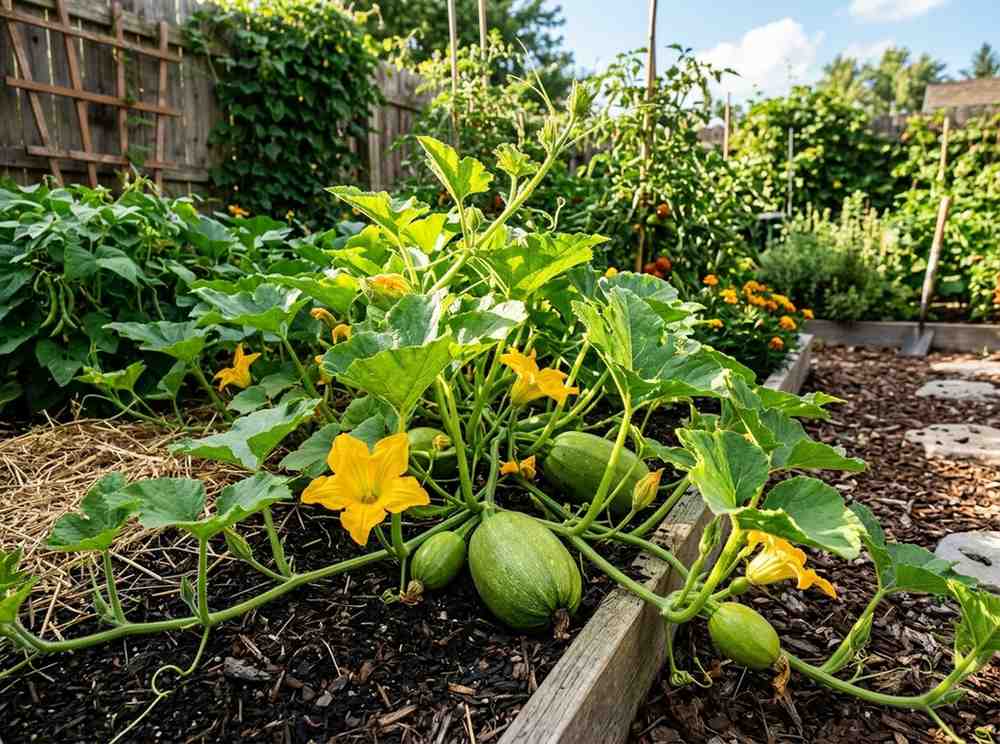
Spaghetti squash is a member of the Cucurbita pepo family, closely related to zucchini and pumpkins. Its pale yellow skin and oval shape make it easy to spot, but its real magic appears after cooking. The flesh separates into thin, spaghetti-like strands, making it a popular substitute for pasta.
This squash is native to North America and thrives in warm climates. It’s a winter squash, meaning it matures in late summer and stores well through the colder months. Each plant produces large vines and can yield three to five squashes per season, depending on care and conditions.
Spaghetti squash is low in calories, with about 40 calories per cup. It’s rich in vitamin C, fiber, and antioxidants. Because it’s gluten-free and suitable for many diets, demand for this squash keeps rising. According to USDA data, spaghetti squash sales have grown by more than 15% over the past five years in the US.
There are several spaghetti squash varieties. Some popular options include:
Choosing the right variety depends on your garden space and local climate. If you have limited room, bush-type varieties are easier to manage.
Spaghetti squash grows best in full sun with well-drained, fertile soil. Start preparing your plot as soon as winter ends and soil begins to warm.
Pick a site that gets at least 6–8 hours of sunlight daily. The vines can spread up to 10 feet, so allow plenty of space between plants. If you’re short on space, try vertical gardening—training the vines up a sturdy trellis. This method keeps fruit off the ground, reducing disease risk.
Spaghetti squash prefers soil with a pH of 6.0–7.5. Test your soil using a home kit or local extension service. If needed, add lime to raise pH or sulfur to lower it.
To enrich your soil:
Many new gardeners forget to check soil drainage. If your plot stays soggy after rain, spaghetti squash roots may rot. To fix this, plant on raised beds or mounds.
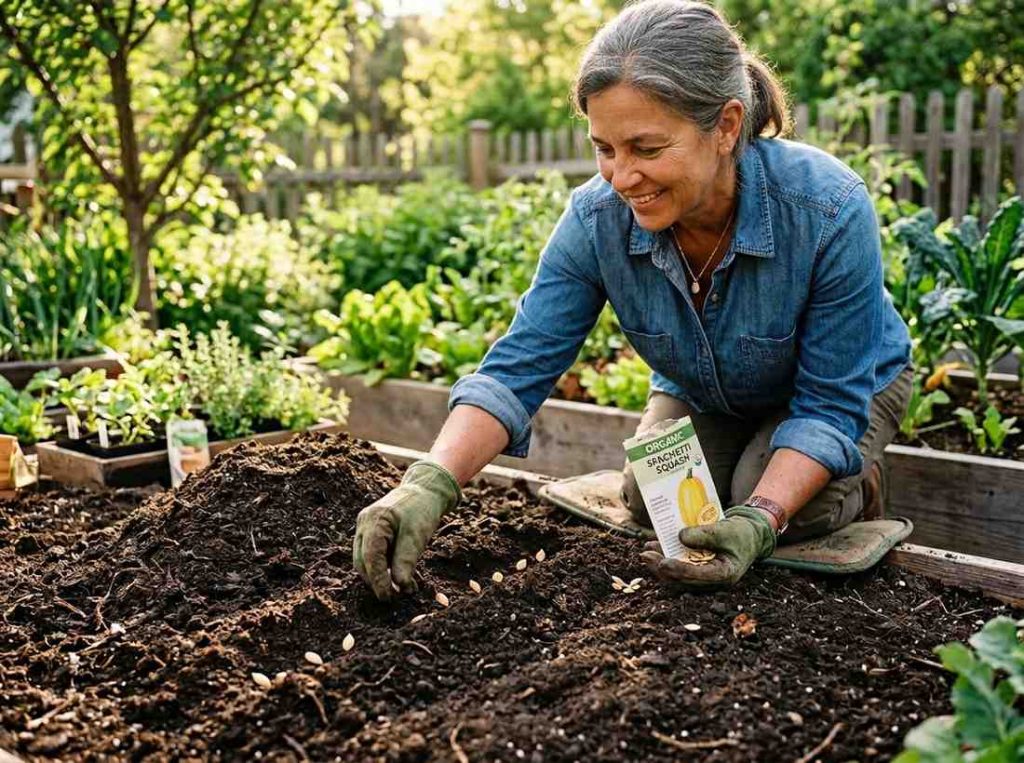
You can grow spaghetti squash from seeds or young transplants. Most gardeners prefer to start from seed, as it’s cheaper and easier.
Plant seeds after the last frost date in your area. Soil temperature should be at least 60°F (16°C). In most US regions, this means planting in late April to early June.
If using transplants, plant them at the same depth as in their pots. Handle gently to avoid damaging roots.
For patio gardens, use large containers (minimum 20 gallons). Fill with high-quality potting mix and add slow-release fertilizer. Choose bush varieties for best results.
Many gardeners plant all seeds at once. Try staggering your planting by two weeks. This gives you a longer harvest window and reduces pest risks.
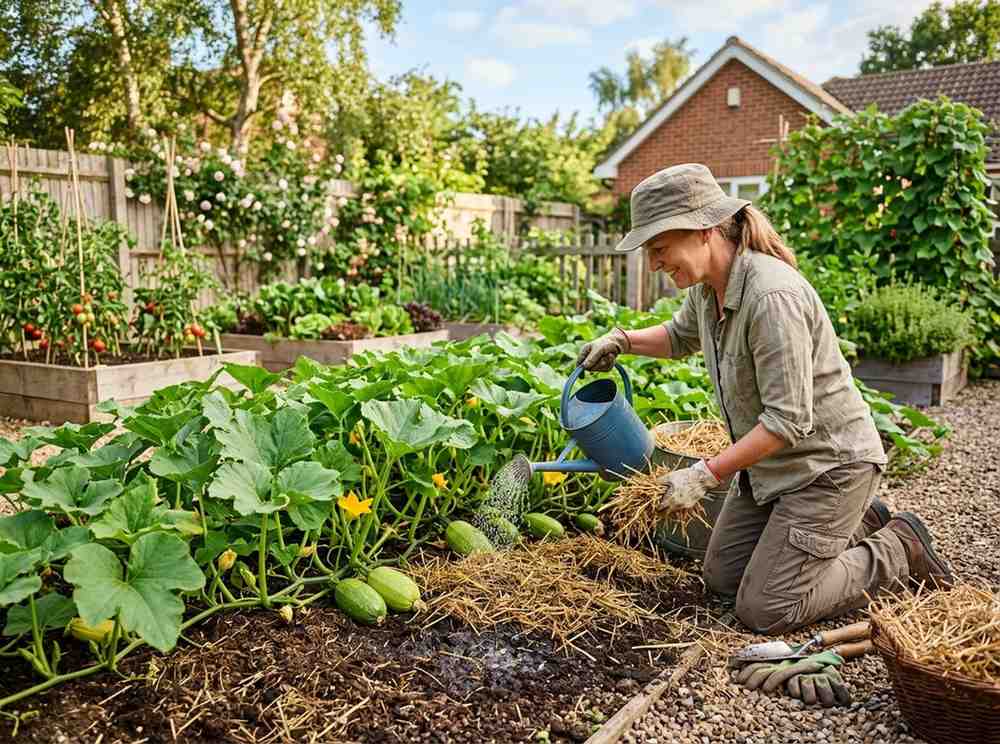
Proper care ensures healthy growth and high yields. The main tasks are watering, fertilizing, mulching, and pest control.
Spaghetti squash needs 1–2 inches of water per week. Water deeply, so moisture reaches roots. Avoid overhead watering, which can cause leaf diseases.
During hot, dry weather, check soil daily and water as needed. Mulch helps retain moisture and keeps roots cool.
Feed plants with a balanced fertilizer when vines start growing. Once fruits set, switch to a fertilizer higher in potassium and phosphorus (like 5-10-10). This supports strong fruit development.
Avoid over-fertilizing with nitrogen after flowering. Too much nitrogen causes leafy growth but fewer fruits.
Apply 2–3 inches of straw or wood chips around plants. Mulch keeps weeds down, conserves moisture, and helps regulate soil temperature.

If growing vertically, tie vines gently to trellis using soft cloth or garden twine. As fruits grow, make slings from old t-shirts to support their weight.
Here’s a comparison of fertilizer types for spaghetti squash:
| Type | N-P-K Ratio | Best Use | Application Rate |
|---|---|---|---|
| All-purpose granular | 10-10-10 | Soil preparation | 1 lb per 100 sq ft |
| Liquid feed | 5-10-10 | After fruit set | 1 oz per gallon water |
| Organic compost | Varies | Mulching & maintenance | 2–3 inches per plant |
Spaghetti squash attracts several pests and diseases. Early detection and prevention are key.
Never plant squash in the same spot two years in a row. Rotate with non-cucurbit crops like beans or corn. This breaks pest cycles and improves soil health.
Many gardeners skip cleaning tools. Always disinfect garden tools before use. Dirty tools can spread viruses and fungus from plant to plant.
Spaghetti squash plants have separate male and female flowers. Bees and other insects are vital for pollination. Without pollination, fruits won’t form.
If pollinators are scarce, hand pollinate by transferring pollen from male to female flowers using a small brush.
After successful pollination, the fruit grows rapidly. Most spaghetti squash reach maturity in 80–100 days from planting. Monitor fruit development and ensure consistent watering.
Here’s a summary of pollination options:
| Method | Effectiveness | Best For |
|---|---|---|
| Natural (bees) | High | Outdoor gardens |
| Hand pollination | Moderate | Greenhouses or low bee presence |
| Wind | Low | Rarely effective |
Knowing when and how to harvest is important for taste and storage.
The squash is ready when:
Harvest before the first frost, as cold damages the fruit.
Let squash cure in a warm, dry place for 7–10 days. This helps harden the skin and improves flavor. After curing, store squash in a cool, dark place (50–55°F). Properly stored, spaghetti squash lasts up to 3 months.
Compare storage methods for spaghetti squash:
| Method | Temperature | Duration | Notes |
|---|---|---|---|
| Room temperature | 68–72°F | 2 weeks | Eat soon; not for long-term |
| Cool storage | 50–55°F | 3 months | Best for winter squash |
| Refrigeration | 35–40°F | 1 week (cut squash) | Store cooked or cut squash |
Spaghetti squash is versatile in recipes. After harvesting, it’s simple to cook and use.
You can also microwave, steam, or slow-cook spaghetti squash. Each method produces soft, tender “noodles. ”
For firmer strands, bake instead of microwaving. Microwaving produces softer “noodles,” which may not hold sauces as well.
Even with the best care, problems can happen. Here’s how to handle some frequent challenges.
If plants bloom but don’t produce squash, check pollinator activity. Encourage bees by planting flowers nearby or hand pollinate.
Wilting can mean too little water, disease, or pest damage. Examine stems for borers and adjust watering. Yellow leaves may mean nutrient deficiency; feed with balanced fertilizer.
This often results from poor pollination or inconsistent watering. Improve pollination and keep soil evenly moist.
Many gardeners panic when leaves die back late in the season. This is natural—plants focus energy on ripening fruit. Only worry if leaves die early.
Success with spaghetti squash comes from combining good habits and avoiding common errors.
Most guides tell you to plant in full sun. But in extremely hot climates, afternoon shade can prevent fruit scald and leaf burn. Use shade cloth if temperatures regularly exceed 95°F.
Plant seeds after the last frost in your area, when soil is at least 60°F. In most US regions, this is late April to early June. Early planting risks frost damage, while late planting may shorten your harvest season.
Check for deep yellow skin and a hard rind. If you can’t pierce the skin with your fingernail, it’s ready. Also, the vine usually starts to die back when squash is mature.
Yes, but choose bush varieties and use large containers (at least 20 gallons). Provide rich soil, regular water, and support for the vines. Container squash may produce fewer fruits but is ideal for small spaces.
Look out for squash bugs, aphids, and squash vine borers. Inspect plants often, hand-pick bugs, and use organic controls when needed. Rotate crops and clean up debris to prevent pest buildup.
If cured and stored in a cool (50–55°F), dark place, spaghetti squash lasts up to 3 months. Room temperature storage is shorter—about 2 weeks. Refrigerate cooked or cut squash for up to 1 week.
Growing spaghetti squash offers both gardening satisfaction and healthy meals. With careful planning, proper care, and attention to detail, you can enjoy a steady supply of this unique vegetable. Whether you’re planting your first seeds or improving your harvest, follow these practical steps for a successful season. For more information on vegetable gardening, visit National Gardening Association. Happy gardening—and enjoy your homegrown spaghetti squash!