Gardening Made Simple.
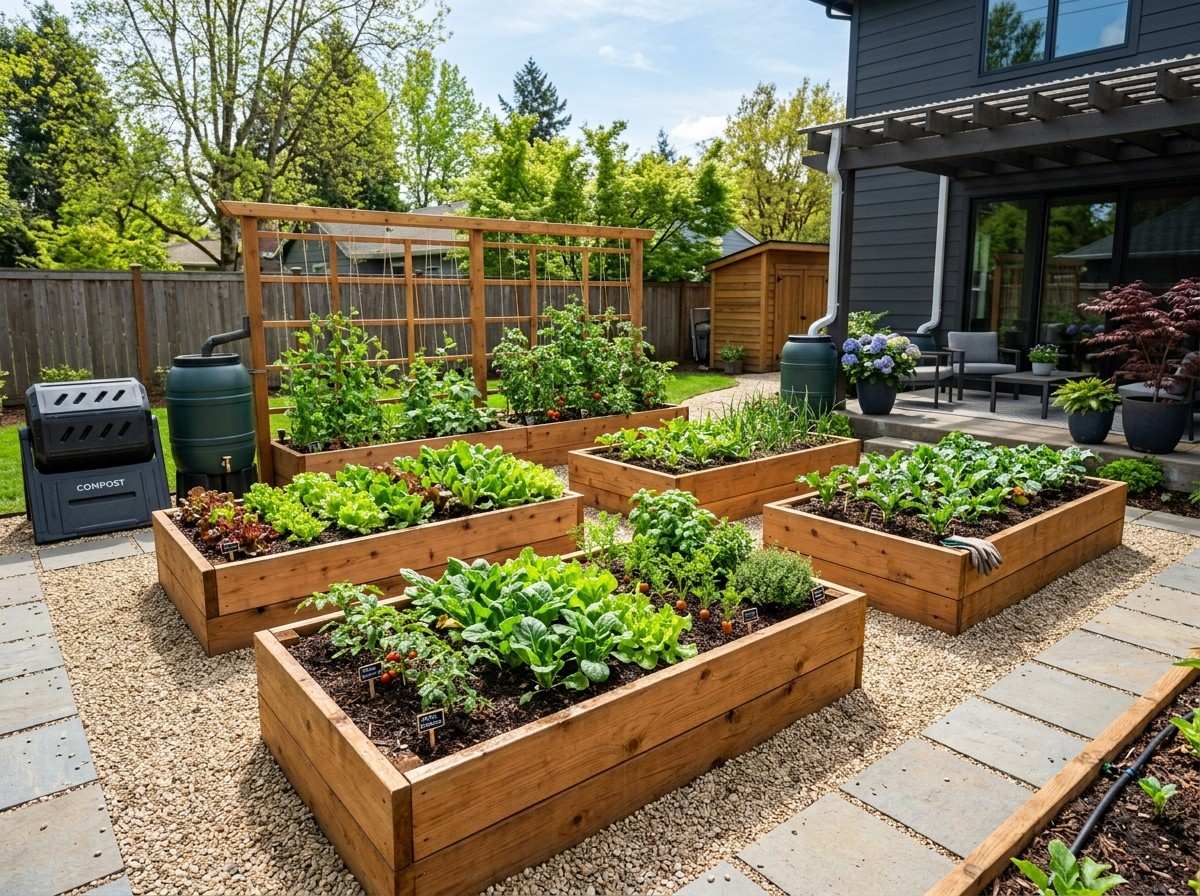
A raised bed vegetable garden offers a practical solution for anyone who wants better yields, healthier plants, and a more organized garden. Whether you have a small backyard, poor native soil, or just want a more manageable space, raised beds can change how you grow food.
But the secret to success isn’t just building the beds—it’s planning the layout. A well-designed raised bed layout maximizes space, improves plant health, and reduces maintenance. This article explores everything you need to know to create raised bed vegetable garden layout plans that fit your space, goals, and gardening style.
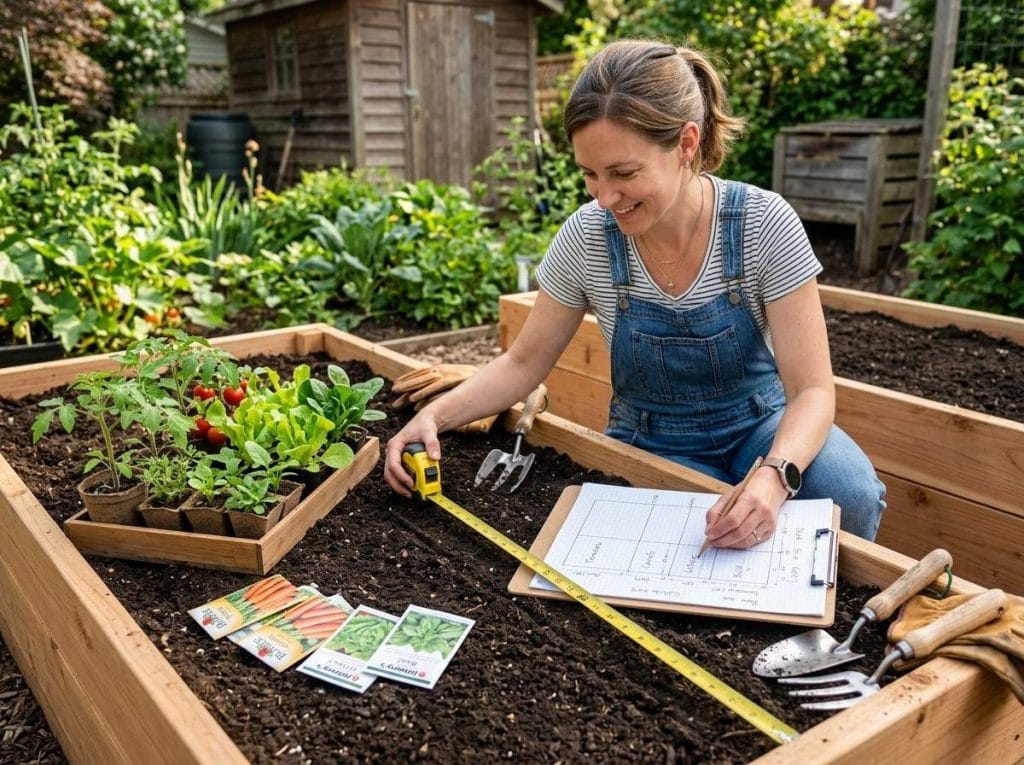
Many new gardeners are excited to build raised beds, but overlook the importance of a thoughtful plan. Without a good layout, you may end up with overcrowded plants, wasted space, or a garden that’s hard to maintain. Good planning helps you:
A well-planned layout can mean the difference between a lush, productive garden and one that struggles.
Before sketching your first plan, it’s important to evaluate your site and needs. Here are the main factors to consider:
Most vegetables need at least 6-8 hours of direct sun each day. Observe your garden area throughout the day. Notice where shadows fall from buildings, trees, or fences. Place beds where they’ll get the most light, especially for crops like tomatoes, peppers, and beans.
Raised beds dry out faster than in-ground gardens. Plan beds close to a water source—either a hose, rain barrel, or irrigation system. This saves time and ensures plants get consistent moisture.
One big advantage of raised beds is the ability to control soil quality. Make sure your beds sit on well-draining ground. Avoid low spots where water pools after rain. If drainage is a problem, build beds higher or add coarse material at the bottom.
Most raised beds are 3 to 4 feet wide—wide enough for several rows, but narrow enough to reach the center from each side. Length can vary, but 6 to 12 feet is common. Paths between beds should be at least 18-24 inches wide for comfort and access.
Your local weather affects plant choices and timing. In colder areas, raised beds warm up faster in spring, allowing an earlier start. In hot climates, consider shading or mulching to keep roots cool.
If anyone in your household uses a wheelchair or has limited mobility, plan for wider paths and beds raised to a comfortable height (24-36 inches).
Insight: Many beginners forget to plan for future expansion. Leave space for adding more beds or a compost area as your garden grows.
There are many ways to organize your raised bed garden. Here are some of the most effective and popular layout styles.
This simple design has beds lined up in straight rows with pathways in between. It’s easy to build, expand, and maintain.
Benefits:
Drawbacks:
A keyhole bed is a circular or horseshoe-shaped bed with a path to the center. This design gives maximum growing space with minimal walking.
Benefits:
Drawbacks:
Beds are divided into 1x1 foot squares. Each square is planted with a different crop based on spacing needs.
Benefits:
Drawbacks:
These layouts fit well in corners or along fences. The shape allows easy reach to all plants and fits neatly into awkward areas.
Benefits:
Drawbacks:
Some gardeners like to create spiral, circular, or free-form beds for visual interest. These are best for herbs or small vegetables.
Benefits:
Drawbacks:
Insight: Mixing different layout styles within one garden can solve space problems and add visual interest.
Seeing real-world layout examples helps bring ideas to life. Here are three sample raised bed garden layouts for different yard sizes and needs.
This layout fits a typical city backyard or side yard. One bed is for tall, sun-loving crops (tomatoes, peppers). The other is for leafy greens and root vegetables. Herbs are tucked in corners. A simple drip line runs between the beds for watering.
This plan supports a family of four with enough space for succession planting and companion crops. A main path allows for a wheelbarrow. Flowers at bed ends attract pollinators.
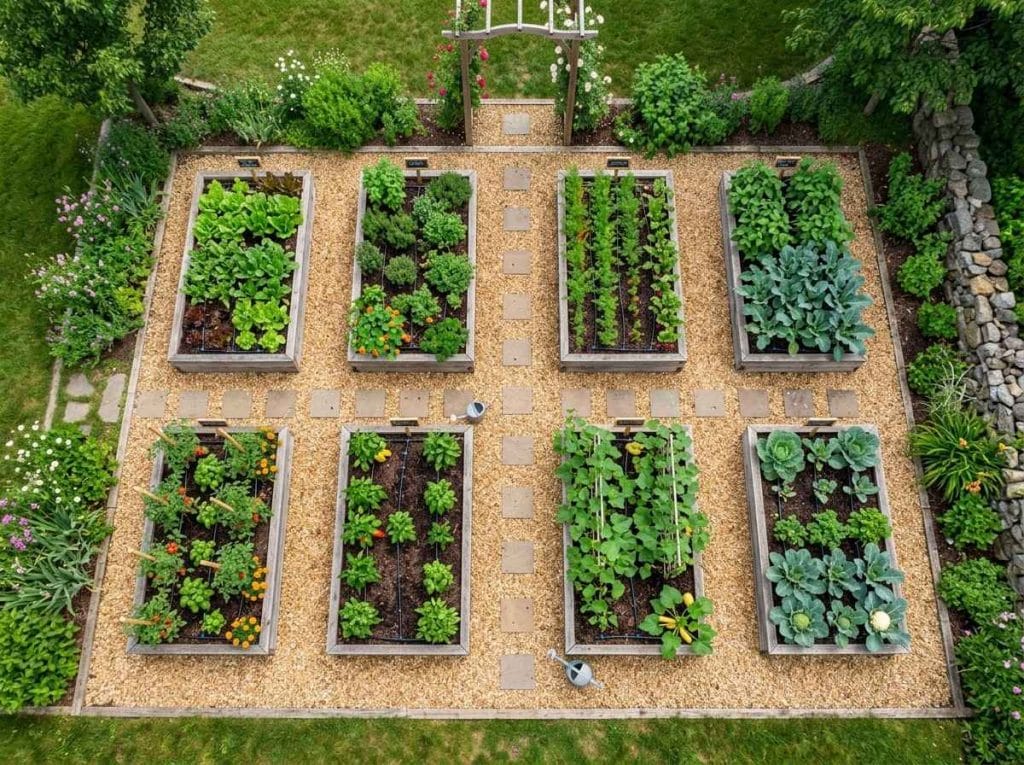
This layout is for serious food production. Beds are grouped for crop rotation. A central path allows carts and tools. Perennial beds (asparagus, strawberries) are along one edge.
Pro Tip: Always sketch your plan on paper or use free online tools before building. Measure your space carefully to avoid surprises.
Now that you know your options, here’s a step-by-step approach to designing a raised bed vegetable garden layout that works for you.
Use a tape measure to get accurate dimensions of your available area. Note obstacles like trees, utility lines, or slopes. Draw a simple map (graph paper helps).
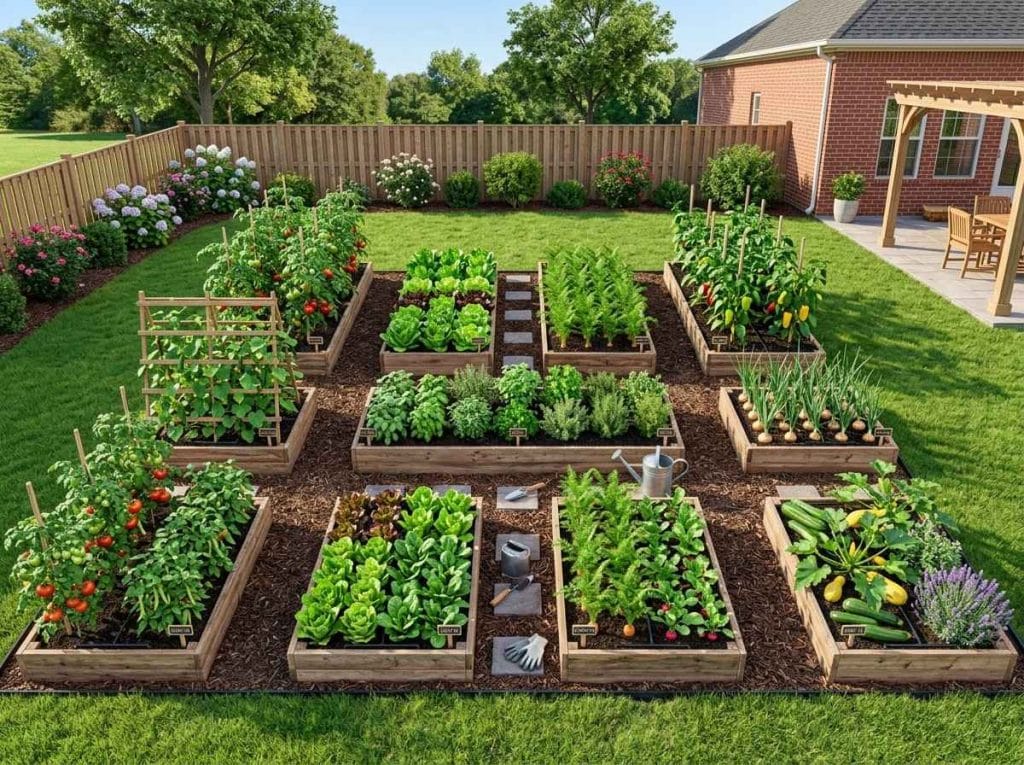
For most gardeners, 4’ x 8’ or 4’ x 10’ beds are ideal. Beds wider than 4 feet are hard to reach across. For children or limited mobility, try 3 feet wide.
Paths should be at least 18 inches wide for walking, 24-36 inches for wheelbarrows or accessibility. Remember to allow space at garden edges for mowing or fences.
Beds should run north to south for even sun exposure. This prevents tall crops from shading shorter ones. Adjust orientation if your yard shape requires it.
Put plants with similar water, sun, and soil needs together. For example, group lettuce and spinach (cool, moist) away from peppers (hot, dry).
Avoid planting the same crop family in the same bed each year. This reduces pests and disease buildup. Rotate crops like this: legumes → brassicas → root crops → fruiting crops.
Consider adding:
Double-check bed spacing and sun exposure. Ask yourself: Can I reach every plant easily? Will the plan fit my tools and lifestyle? Adjust as needed before building.
Common Mistake: Many beginners forget to allow enough space for paths, making beds hard to access later.
Smart plant placement is key to a healthy, productive garden. Raised beds allow for intensive planting—plants are closer together, which crowds out weeds and maximizes yields. But you must consider plant spacing and companion planting.
Use the “mature size” of each plant to plan spacing. For example:
Plant in staggered rows or grids to fit more in each bed.
Some plants help each other grow. For example:
Avoid planting crops from the same family together every year (e. g. , tomatoes and potatoes), as they share pests.
This plan uses sun-loving crops at the north, shade-tolerant greens at the south, and compatible companions throughout.
Insight: Overcrowding is a common mistake. Give each plant enough room to reach its full size.
The material you choose for your raised beds affects their look, cost, and lifespan.
Cedar, redwood, and hemlock are naturally rot-resistant. Untreated pine is cheaper but may last only 3-5 years. Avoid old railroad ties or treated lumber with harmful chemicals.
Galvanized steel beds are durable, modern, and easy to assemble. They heat up quickly, which is good for spring but may need extra watering in hot climates.
Very long-lasting and good for permanent beds. Blocks can also act as mini planters for herbs.
Made from recycled plastic and wood fibers. Long-lasting and safe for food crops.
Building Tips:
Pro Tip: If you’re on a tight budget, you can start with temporary beds made from straw bales or stacked logs.
A good layout plan also considers how you’ll care for your beds.
Drip irrigation or soaker hoses are best for raised beds. They deliver water directly to roots and save time. Hand watering is fine for small beds but can become a chore.
Add 2-3 inches of mulch (straw, leaves, or wood chips) on top of the soil to keep moisture in, control weeds, and regulate temperature.
Insight: Many gardeners water too much, causing root problems. Raised beds drain quickly—water deeply but not daily unless it’s very hot.
To get more from your raised beds, grow up as well as out. Vertical gardening is perfect for small spaces.
Growing vertically not only saves space but also improves air flow and reduces disease.
Here’s a comparison of three common raised bed layouts to help you choose the best fit:
| Layout Type | Space Efficiency | Skill Required | Best For |
|---|---|---|---|
| Parallel Rows | Good | Beginner | Most gardens |
| Keyhole | Excellent | Intermediate | Small spaces |
| Square Foot | Excellent | Beginner to Intermediate | High-yield, small gardens |
Even experienced gardeners make layout mistakes. Here’s what to avoid:
Pro Tip: Start small. It’s better to maintain two well-planned beds than six messy ones.
Good crop rotation keeps soil healthy and productive. Here’s a simple 4-bed rotation plan:
| Year | Bed 1 | Bed 2 | Bed 3 | Bed 4 |
|---|---|---|---|---|
| 1 | Tomatoes (Nightshades) | Beans/Peas (Legumes) | Carrots, Onions (Roots) | Cabbage, Broccoli (Brassicas) |
| 2 | Beans/Peas | Carrots, Onions | Cabbage, Broccoli | Tomatoes |
| 3 | Carrots, Onions | Cabbage, Broccoli | Tomatoes | Beans/Peas |
| 4 | Cabbage, Broccoli | Tomatoes | Beans/Peas | Carrots, Onions |
Rotate each group forward one bed every year to avoid soil-borne diseases and nutrient depletion.
Today, there are many free and low-cost tools to help design your raised bed layout.
These tools can save you time, help avoid mistakes, and let you experiment with different designs before you start building.
Insight: Digital plans are easy to share with family, friends, or local gardening groups for feedback.
Here are stories from real gardeners and how they designed their raised bed layouts:
Pro Tip: Always ask local gardeners or community gardens for layout ideas that work in your climate.
If you have a tiny yard or only a patio, you can still use raised beds effectively.
Choose crops that give high yields in small areas, such as salad greens, radishes, or bush beans.
Insight: Many small-space gardeners forget to use vertical space—trellised peas or cucumbers can double your harvest.
Raised beds can be very eco-friendly, especially with the right planning.
A sustainable layout considers both the present and future health of your garden.
For more on sustainable gardening, visit the Planet Natural Research Center.
Most vegetables grow well in beds that are 10-12 inches deep. Root crops like carrots or potatoes may need deeper beds (up to 18 inches). Shallow beds are fine for herbs or salad greens.
Yes, but make sure beds are at least 12 inches deep and filled with quality soil. Add a layer of cardboard or landscape fabric at the bottom to prevent soil loss and help drainage.
A common mix is 60% topsoil, 30% compost, and 10% soilless material (like perlite or peat moss). This blend provides nutrients and good drainage. Always use high-quality, weed-free compost.
Use row covers, netting, or floating fabric to protect from insects. For animals, install short fences or use raised beds with built-in covers. Crop rotation and healthy soil also prevent many pest problems.
For a steady supply of vegetables, most families start with three to four 4’ x 8’ beds. This provides enough space for a variety of crops and easy rotation. Start small and expand as you learn what your family eats most.
Creating a raised bed vegetable garden layout plan is both an art and a science. With careful planning, you can turn any space into a productive, beautiful garden. Every yard is unique, so experiment, adapt, and enjoy the process. Your perfect garden layout is one that fits your space, your needs, and your dreams.
Happy gardening!