Gardening Made Simple.
Have you ever thought about growing your own garlic right at home? It’s easier than you might believe, and starting with garlic cloves is the perfect way to get fresh, flavorful garlic without the hassle. Learning Growing Garlic from Cloves will help you grow healthy bulbs and enjoy a reliable, homegrown harvest.
Imagine stepping into your garden and picking garlic that you planted yourself—full of taste and free from chemicals. In this guide, you’ll discover simple steps that anyone can follow to grow garlic successfully. Ready to turn those cloves into a thriving garlic crop?
Let’s dive in and make it happen!
Choosing the right garlic variety is key to a good harvest. Different types grow better in different places. Picking the right one saves time and effort. It also improves the flavor and size of your garlic bulbs. Let’s explore the main types and which suits your climate best.
Hardneck garlic has a stiff stem. It produces flower stalks called scapes. These scapes are tasty and can be eaten. Hardneck types usually have bigger cloves. They have a stronger, more complex flavor. Hardneck garlic grows well in cold climates.
Softneck garlic has a flexible stem. It stores longer than hardneck types. Softneck garlic has more cloves in each bulb. The flavor is milder and sweeter. It grows well in warm climates and indoors.
Cold regions suit hardneck garlic best. It can survive freezing winters easily. Popular hardneck types include Rocambole and Purple Stripe. These varieties handle frost and cold soils well.
Warm regions do better with softneck garlic. It thrives in mild winters and hot summers. Silverskin and Artichoke are common softneck types. These varieties grow well in southern areas and coastal zones.
Preparing your garden bed sets the stage for healthy garlic growth. Proper soil and space help cloves turn into strong bulbs. Taking time to prepare the bed boosts your chances of a good harvest.
Start by clearing the area of weeds and debris. Loosen the soil to a depth of at least 8 inches. This allows garlic roots to spread easily. Mixing in organic matter improves soil texture and nutrition.
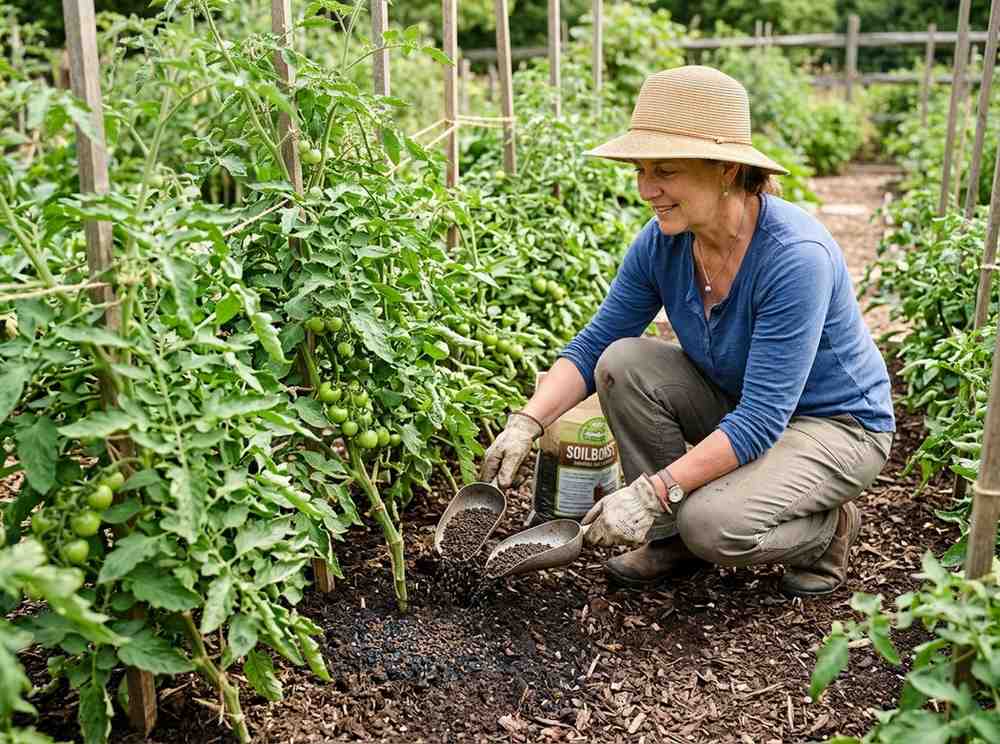
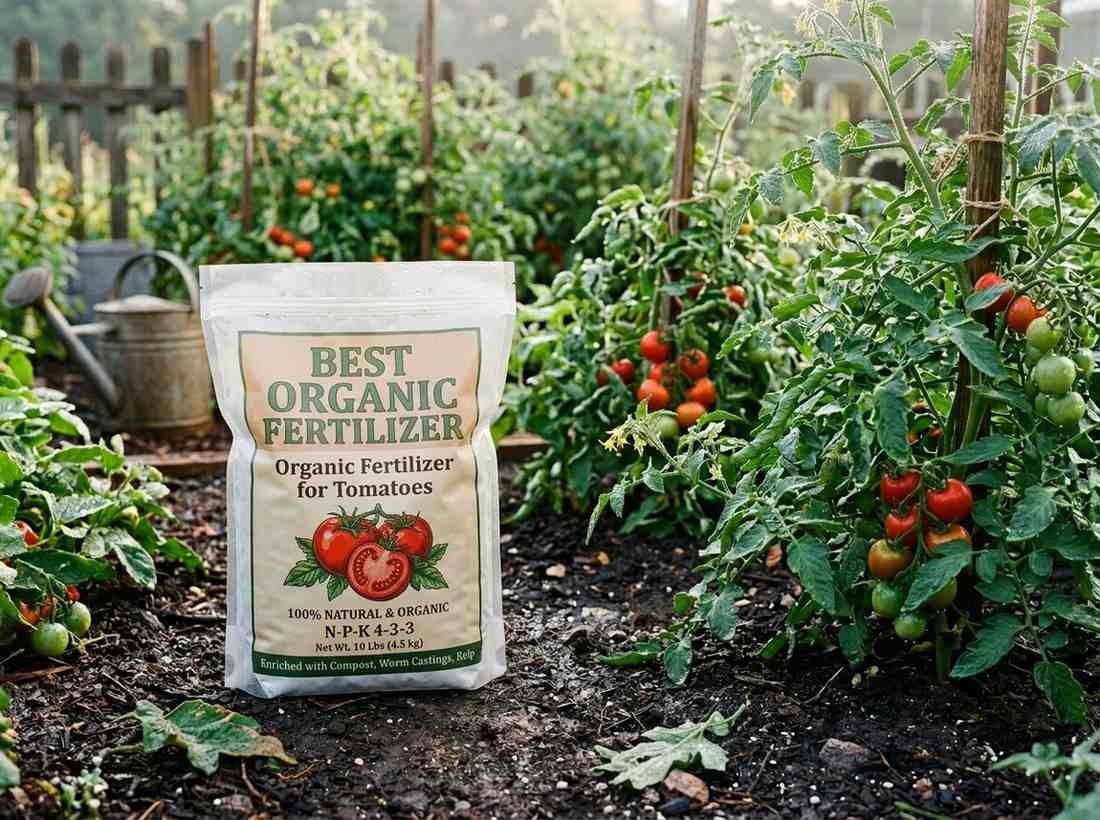
Garlic thrives in well-drained soil with good nutrients. Avoid heavy clay soils that hold too much water. Sandy loam or loamy soil works best. The soil pH should be between 6.0 and 7.0. Test your soil and adjust pH as needed. Adding compost enriches the soil and helps retain moisture.
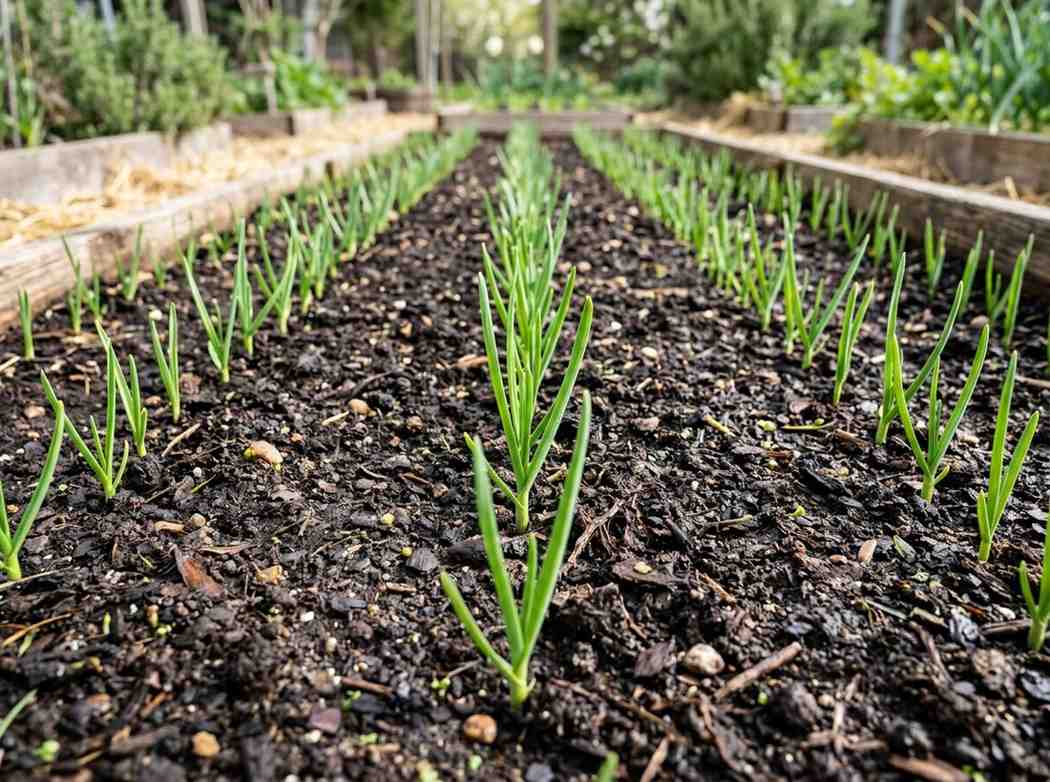
Garlic needs full sun, at least 6 hours daily. Choose a sunny spot in your garden. Plant cloves 4 to 6 inches apart in rows. Space rows about 12 inches apart. This gives each plant room to grow. Crowding can reduce bulb size and increase disease risk.
Selecting and preparing garlic cloves is the first step to growing healthy garlic plants. The quality of cloves affects the growth and final yield. Careful choice and proper preparation help prevent diseases and give your garlic a strong start.
Choose large, firm cloves without cracks or soft spots. Avoid cloves with signs of mold or damage. Healthy cloves produce stronger shoots and better bulbs. Use cloves from organic or untreated garlic for best results. Separate cloves carefully from the bulb, keeping their skins intact.
Remove any dirt gently but do not peel the cloves. Soak cloves in water for a few hours to hydrate them. Some gardeners soak cloves in a mild fungicide solution to prevent fungal infections. Let cloves dry before planting to avoid rot. Treating cloves boosts their chance to sprout well in the soil.

Planting garlic cloves correctly is key for a strong harvest. Simple steps help cloves grow into healthy bulbs. Understanding how to plant cloves makes gardening easier and more fun. Follow these planting techniques for the best results.
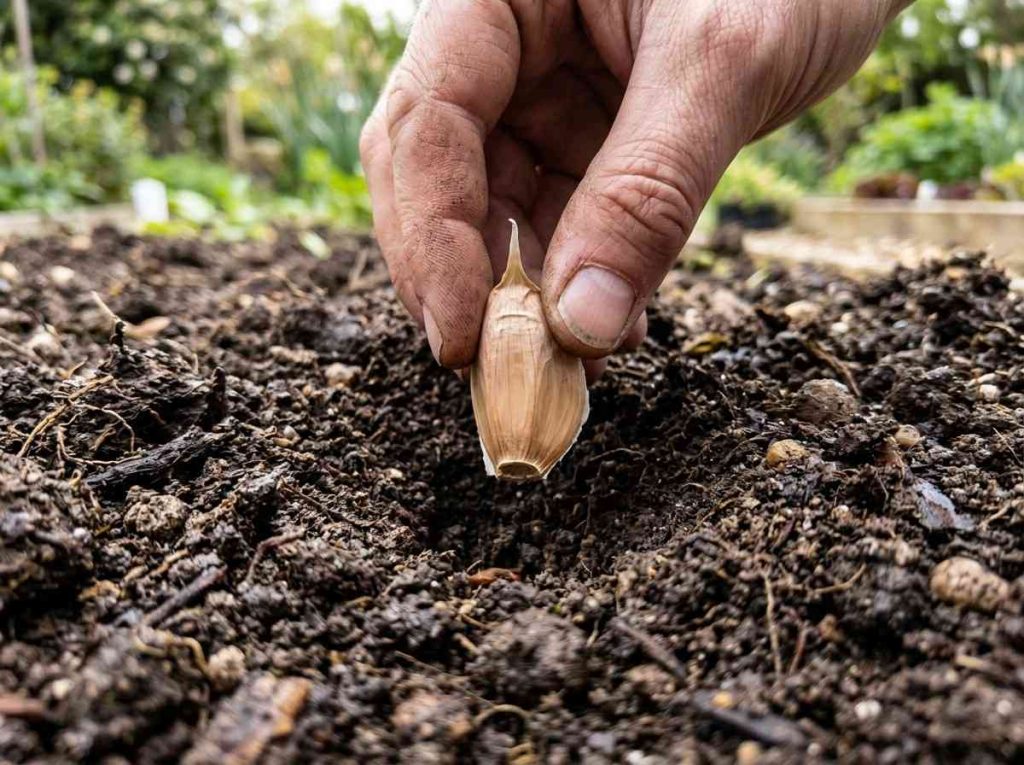
Plant garlic cloves about 2 inches deep. This depth protects cloves from frost and pests. Place the pointed end of the clove facing up. The flat end should be down in the soil. This helps roots grow downward and shoots grow upward. Space cloves 4 to 6 inches apart to give them room. Loose soil makes planting easier and helps water drain well.
Plant garlic cloves in the fall for a summer harvest. Soil should be cool but not frozen. This timing allows cloves to develop roots before winter. In mild climates, planting in late fall or early winter works best. In colder areas, plant cloves 4 to 6 weeks before the ground freezes. Proper timing helps garlic grow strong and healthy.
Caring for growing garlic is key to a good harvest. Garlic plants need steady attention to thrive. Simple care steps help bulbs grow large and healthy.
Water, soil, and weeds affect garlic growth. Proper care supports strong roots and full cloves. Small efforts bring better results in your garden.
Garlic needs regular watering, especially in dry weather. Water deeply once a week to reach roots. Avoid watering leaves to prevent disease. Keep soil moist but not soggy. Too much water can cause rot. Stop watering two weeks before harvest to dry bulbs.
Mulch keeps soil cool and holds moisture. Use straw or leaves around garlic plants. Mulch also stops weeds from growing nearby. Remove weeds by hand carefully to avoid root damage. Clean soil lets garlic get more nutrients and water. Mulching and weeding make garlic grow stronger and healthier.
Growing garlic from cloves is simple but needs care to keep plants healthy. Pests and diseases can slow growth and reduce harvest. Managing these problems early helps garlic grow strong and tasty.
Garlic plants face attacks from pests like onion maggots and aphids. Onion maggots eat roots and bulbs, causing plants to wilt. Aphids suck sap from leaves, spreading viruses. Thrips can also damage leaves by feeding on them. Watch plants often for signs of these pests. Remove any bugs by hand or use natural sprays. Healthy soil and crop rotation keep pests away.
Diseases like white rot and fusarium wilt harm garlic bulbs and roots. Avoid planting garlic in the same spot each year. Use disease-free cloves to start your crop. Water plants at the base, not on leaves, to prevent fungus. Remove dead leaves and debris to reduce disease spread. Keep garlic beds clean and well-drained. Applying organic mulch helps control moisture and disease.
Harvesting and storing garlic properly ensures fresh, flavorful bulbs all year. Knowing when to harvest and how to store garlic helps keep it firm and tasty. Proper care after harvesting stops garlic from rotting or sprouting too soon.
Check the leaves to know when garlic is ready to harvest. When the bottom leaves turn brown, the garlic is mature. Leave the top leaves green for a few days before pulling the bulbs. Bulbs should feel full and firm under the soil. Avoid waiting too long; overripe garlic can split and spoil.
After harvesting, dry garlic bulbs in a warm, airy place. Hang them in bundles or spread them on a rack. Let garlic cure for two to three weeks until skins feel dry and papery. Remove extra dirt but keep the outer skin intact. Store cured garlic in a cool, dark spot with good air flow. Avoid storing garlic in the fridge; it can sprout or become soft. Use mesh bags, baskets, or paper bags for storage. Proper curing and storage keep garlic fresh for months.
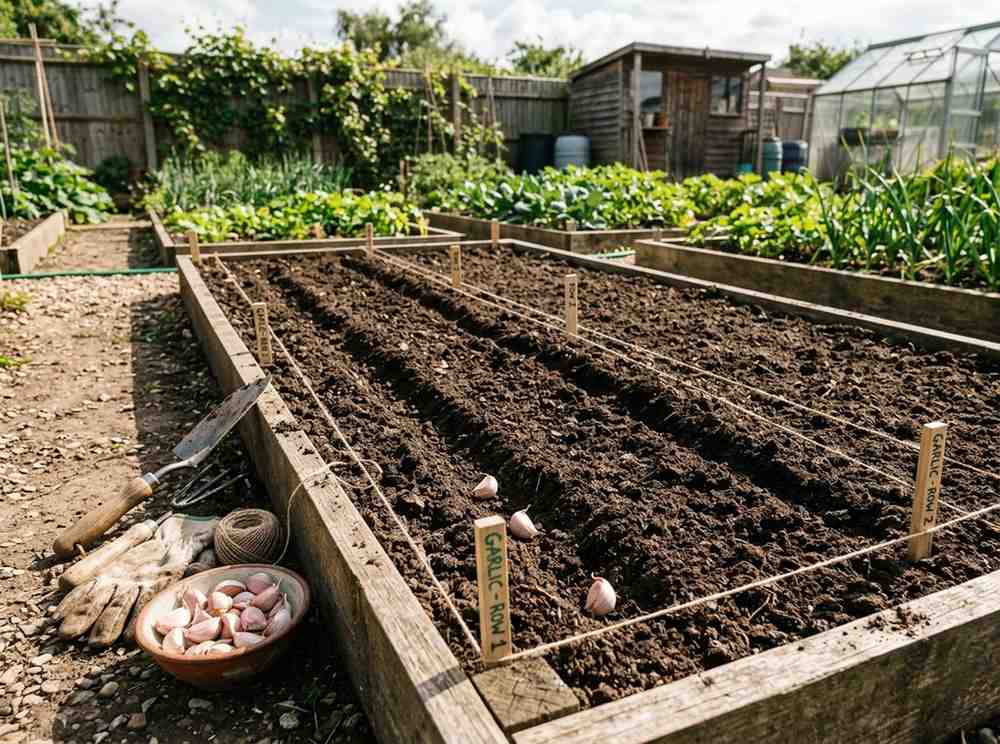
Plant cloves pointy side up, 2 inches deep, 4-6 inches apart in well-drained soil.
Plant garlic cloves in fall, about 4-6 weeks before the first frost.
Water garlic regularly but avoid waterlogging; keep soil moist during dry periods.
Garlic takes about 8-9 months to mature from cloves to full bulbs.
Grocery store cloves may not grow well; use seed garlic from garden centers.
Growing garlic from cloves is simple and rewarding. Plant cloves in well-drained soil. Water them regularly but avoid overwatering. Watch for green shoots to appear in weeks. Garlic needs sunlight and space to grow strong. Harvest when leaves start to dry and turn brown.
Store bulbs in a cool, dry place. This method saves money and gives fresh garlic at home. Start small and enjoy the process. Gardening can be easy and fun with garlic. Try it and see the results yourself.