Gardening Made Simple.

Plant shallots in early spring or late fall, as they need cool weather to establish strong roots before the summer heat sets in. Knowing When to Plant Shallots ensures healthy growth and a bountiful, flavorful harvest.
Shallots are a versatile and flavorful addition to many dishes. They are easy to grow and require minimal maintenance. Planting them at the right time ensures a bountiful harvest. Early spring or late fall planting helps shallots develop strong roots.
This period provides the cool temperatures they need to thrive. Prepare the soil well by adding compost or organic matter. Space the bulbs about six inches apart for proper growth. Ensure they receive adequate sunlight and water. With proper care, you can enjoy fresh shallots from your garden. They are a great addition to both home gardens and larger farming operations.

Shallots thrive when planted in the right season. Knowing the best time to plant shallots ensures a healthy and abundant harvest. The two primary planting seasons are spring and fall. Each season has its advantages and specific requirements.
Spring is a popular season for planting shallots. The soil is warming up, which encourages root growth. Follow these steps for a successful spring planting:
Spring-planted shallots mature in summer. They offer a delicious addition to many dishes. Keep the soil moist but not waterlogged during growth.
Fall planting allows shallots to establish strong roots. This method is often used in milder climates. Follow these steps for a successful fall planting:
Fall-planted shallots overwinter and are ready to harvest in late spring. They develop a robust flavor and are perfect for many recipes.
| Season | Planting Time | Harvest Time |
|---|---|---|
| Spring | Early Spring | Summer |
| Fall | Late Fall | Late Spring |
When planting shallots, understanding the climate is key. Shallots thrive in specific conditions. This guide explains the best climate for shallots.
Shallots need a cool climate. They grow best in temperatures between 32°F and 77°F. Planting in early spring or late fall is ideal. This avoids extreme heat or cold. During germination, temperatures should stay around 50°F. Shallots can handle light frost but not heavy freezes. Protect them with mulch if temperatures drop too low.
Humidity affects shallot growth. They prefer moderate humidity levels. High humidity can lead to fungal diseases. Ensure good air circulation around the plants. Low humidity can dry out the soil. Water regularly to maintain moisture. Avoid overwatering to prevent root rot.
| Climate Factor | Optimal Condition |
|---|---|
| Temperature | 32°F to 77°F |
| Humidity | Moderate |
By monitoring these climate factors, your shallots will thrive.
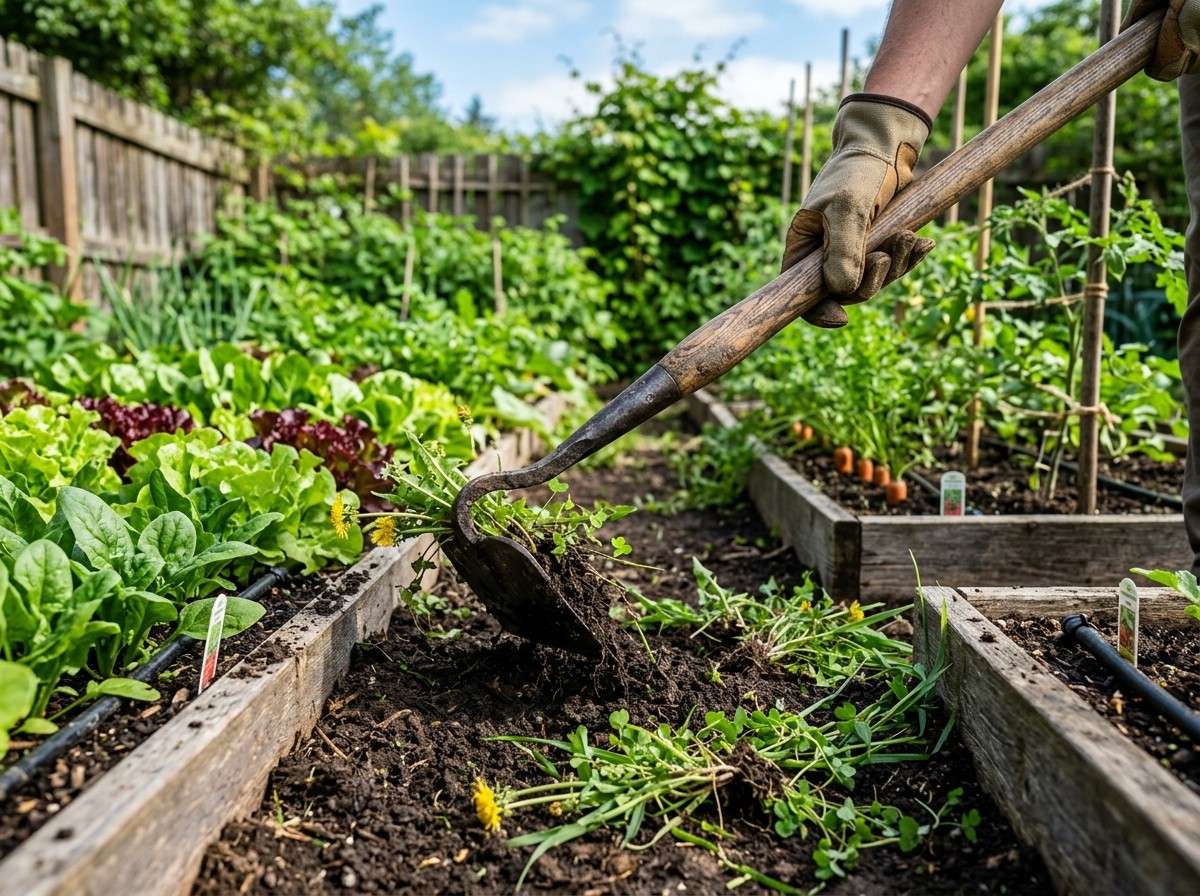
Proper soil preparation is crucial for growing healthy shallots. The right soil type and pH levels ensure optimal growth. Understanding these factors can make a significant difference in your harvest.
Shallots thrive in well-drained, fertile soil. Clay or sandy soils are not ideal. A loamy soil with good structure works best. Ensure the soil is free of rocks and debris.
Consider adding organic matter like compost to enrich the soil. This helps improve soil texture and nutrient content. Here's a simple table to guide you:
| Soil Type | Suitability |
|---|---|
| Loamy | Best |
| Clay | Poor |
| Sandy | Poor |
The ideal pH level for shallots is between 6.0 and 7.0. Use a pH meter to test your soil. Adjust the pH if it is too acidic or alkaline.
Lime can increase pH levels, making soil less acidic. Sulfur can lower pH levels, making soil more acidic. Follow these steps to adjust pH:
Maintaining the right pH ensures nutrient availability for shallots.

Proper planting techniques ensure a bountiful shallot harvest. Let's explore key aspects of planting shallots for optimal growth.
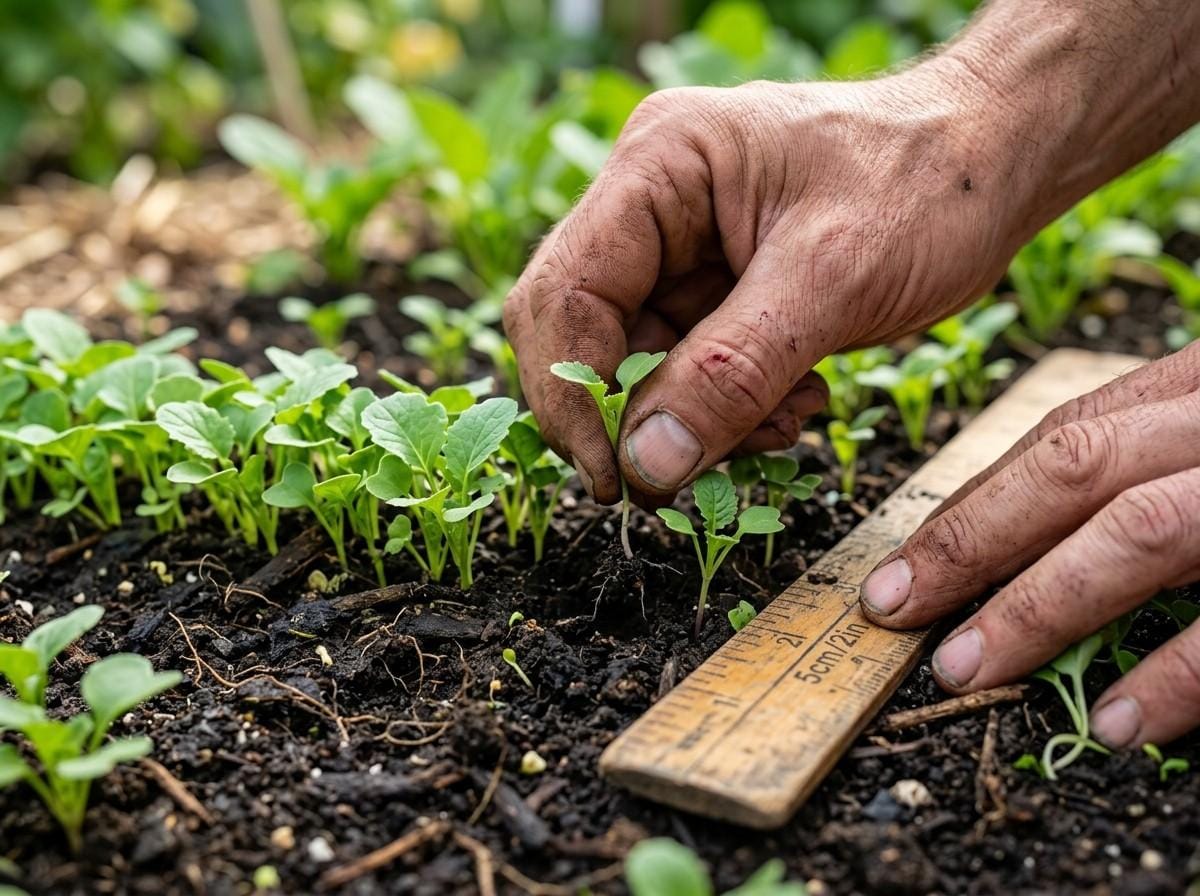
Shallots need space to grow well. Plant each shallot bulb about 6 inches apart. This spacing allows for proper air circulation and root expansion.
Place the bulbs in the soil with their pointed ends up. They should be planted at a depth of 1-2 inches. This ensures they are well-anchored and protected from environmental stress.
| Spacing | Depth |
|---|---|
| 6 inches apart | 1-2 inches deep |
Watering is crucial for shallots. Keep the soil consistently moist but avoid waterlogging. Over-watering can lead to root rot.
Water the plants thoroughly once a week. Increase frequency during dry periods. Use a soaker hose to deliver water directly to the roots.
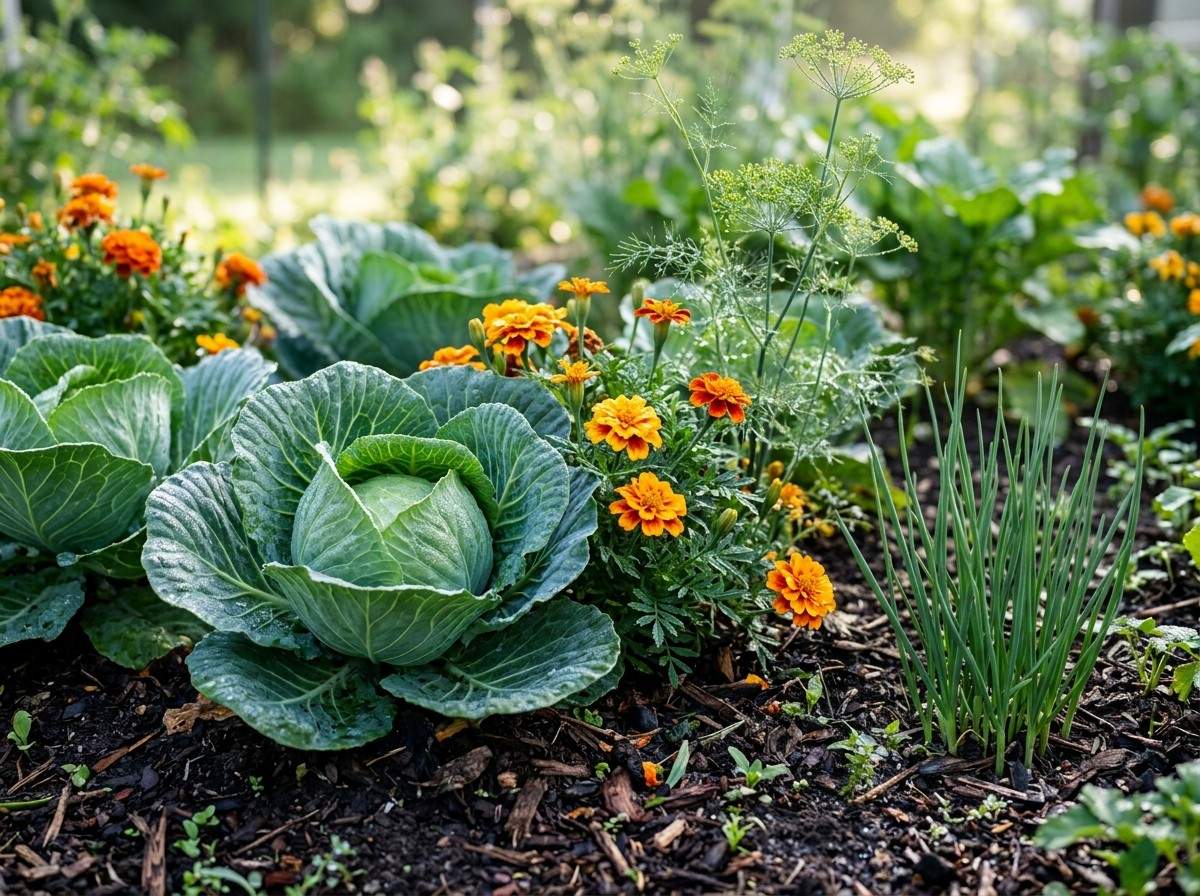
Companion planting is an excellent method to grow shallots. By planting them with certain plants, you can improve their growth and protect them from pests. Knowing which plants to grow alongside shallots is essential for a successful harvest.
Some plants help shallots grow better. These are called beneficial companions. Below is a table of plants that are good to grow with shallots:
| Plant | Benefits |
|---|---|
| Carrots | Repels carrot flies |
| Strawberries | Enhances flavor |
| Tomatoes | Repels aphids |
| Spinach | Improves soil health |
Some plants do not grow well with shallots. These plants can hinder their growth or attract pests. Here is a list of plants to avoid planting near shallots:
By choosing the right companions and avoiding the wrong ones, you can ensure your shallots thrive. Happy planting!

Managing pests and diseases is crucial for healthy shallot growth. Effective management ensures a bountiful harvest and prevents crop loss. This section covers common pests and disease prevention methods.
Several pests can harm shallots. These pests can cause significant damage if not controlled.
To control these pests, use insecticidal soap or neem oil. Introduce natural predators like ladybugs to keep aphids in check.
Preventing diseases is vital for shallot health. Diseases can spread quickly and destroy crops.
To prevent these diseases, follow these steps:
Regularly inspect plants for signs of disease. Remove and destroy infected plants immediately.
| Pest/Disease | Symptoms | Control Methods |
|---|---|---|
| Onion Thrips | Silver streaks on leaves | Insecticidal soap |
| Onion Maggots | Wilting plants | Crop rotation |
| Aphids | Curled leaves | Neem oil |
| Downy Mildew | Yellow spots on leaves | Good air circulation |
| White Rot | Rotting bulbs | Well-drained soil |
| Neck Rot | Soft neck of bulb | Remove infected plants |
Knowing the right time to harvest shallots is crucial. Proper timing ensures the best flavor and storage life. Below are some essential harvesting tips to help you get the most from your shallots.
Shallots are ready to harvest when their tops turn yellow and fall over. This usually happens in late summer. Pull one shallot from the ground to check. If the bulb is firm and the skin is papery, it's time to harvest.
Proper storage is key to keeping your shallots fresh. After harvesting, cure the shallots by laying them out in a single layer. Place them in a dry, well-ventilated area for two weeks. Once cured, trim the roots and tops.
| Step | Action |
|---|---|
| 1 | Lay shallots in a single layer. |
| 2 | Dry in a ventilated area for 2 weeks. |
| 3 | Trim roots and tops. |
Store the cured shallots in a cool, dark place. Use mesh bags or wooden crates for better air circulation. Properly stored shallots can last up to 12 months.
Sometimes, even with the best care, your shallots might face problems. Identifying and solving these issues early can save your crop. Here are some common problems and their solutions.
Overwatering is a common issue for shallot plants. Too much water can lead to root rot. Here are some signs to watch for:
Allow the soil to dry out before watering again. Ensure your soil drains well to prevent waterlogging.
Nutrient deficiencies can also affect shallot growth. Identifying these deficiencies is key to solving them. Below is a table that highlights common deficiencies and their symptoms:
| Nutrient | Symptoms |
|---|---|
| Nitrogen | Yellowing of older leaves, stunted growth. |
| Phosphorus | Dark green leaves, purple leaf tips. |
| Potassium | Yellowing leaf edges, weak stems. |
Use a balanced fertilizer to correct these deficiencies. Regular soil testing helps identify nutrient needs.
Early spring or late fall is ideal.
No, they need a frost-free period.
Plant bulbs 1 inch deep in soil.
Yes, full sun ensures optimal growth.
Water shallots once a week, or as needed.
Planting shallots at the right time ensures a bountiful harvest. Early spring or fall are ideal for planting. Ensure well-drained soil and adequate sunlight. Follow these tips, and you'll enjoy fresh, flavorful shallots. Start your planting journey now and relish the benefits of homegrown produce.
Happy gardening!