Gardening Made Simple.
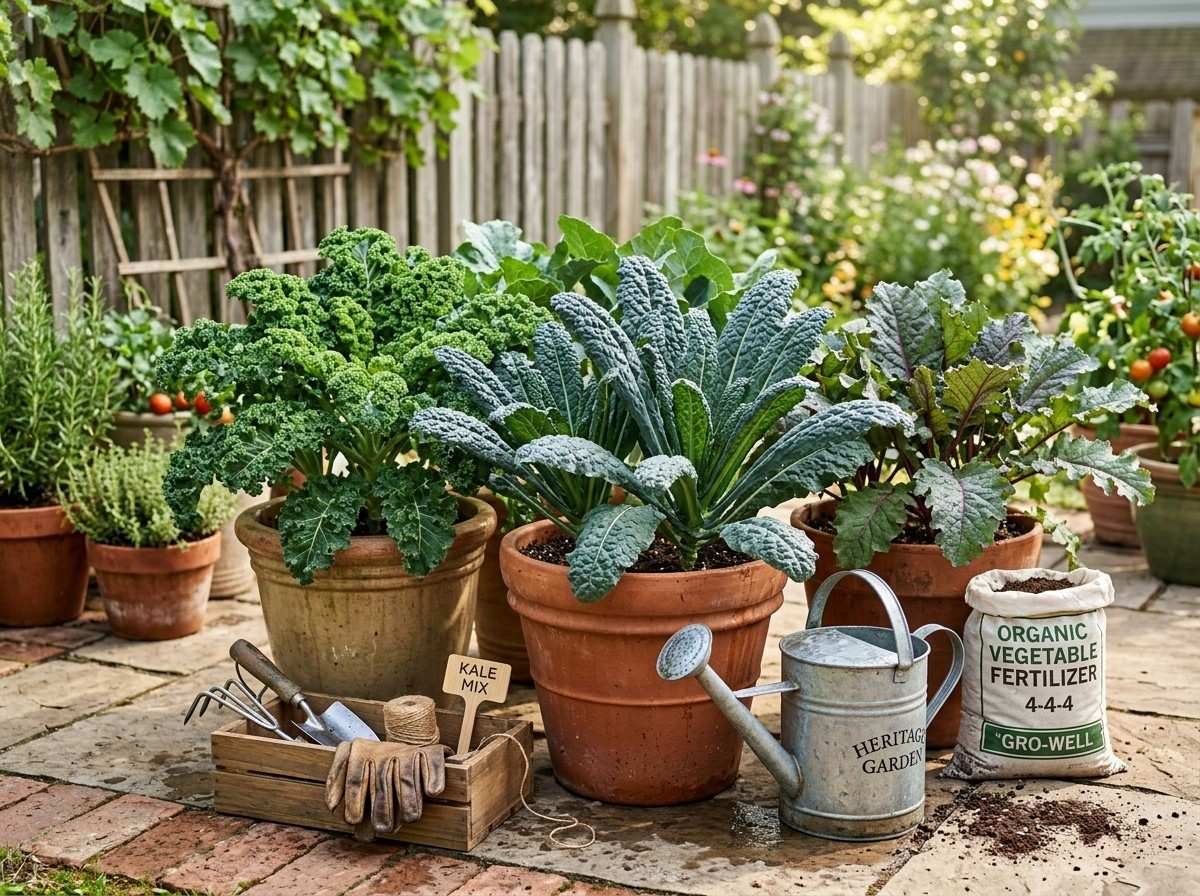
Kale is famous for its rich nutrients, easy growing habits, and fresh taste. Many people want to grow it but have little space or only a balcony. The good news is that How to Grow Kale in Pots is simple when you choose the right container, soil, and growing conditions. With proper care, you can enjoy fresh, home-grown kale even if you live in an apartment. This guide covers everything from choosing the best pot to watering, feeding, and harvesting your first leaves.
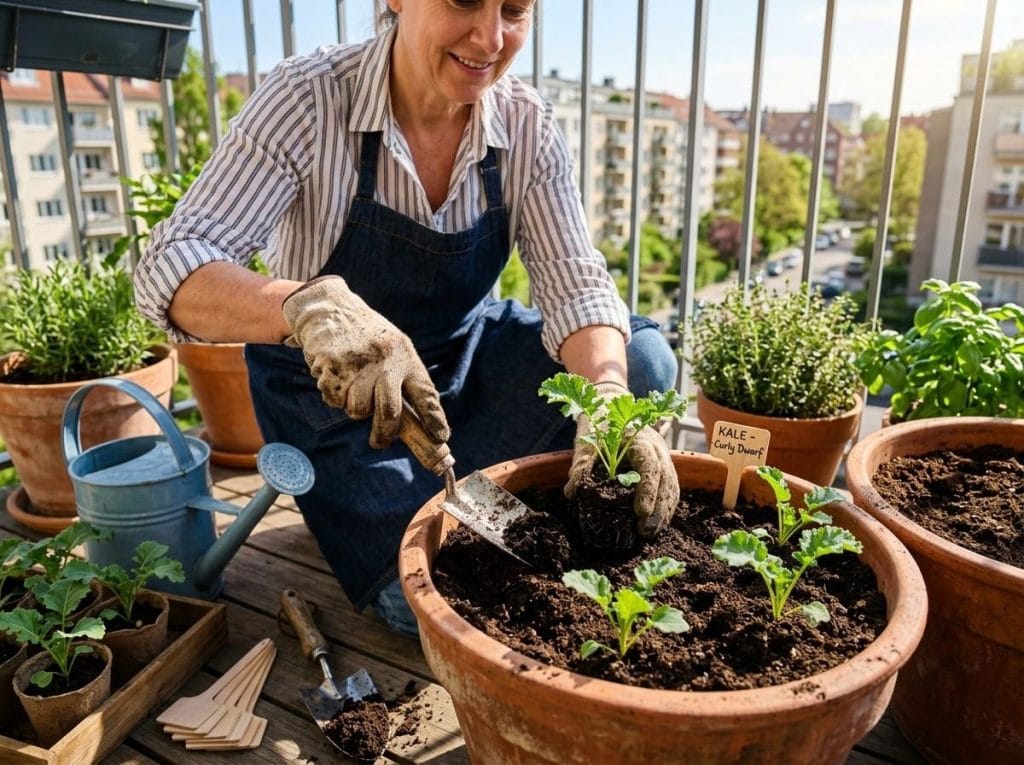
Growing kale in pots is more than just a space-saving solution. It’s practical, easy to manage, and lets you control conditions. If you live in a city, you can set pots on a balcony, patio, or window ledge. The compact root system of kale makes it perfect for containers. Pots also let you move your plants to catch sunlight or avoid harsh weather.
Pots give you control over soil quality. You can use a mix that drains well and has good nutrients. Plus, container gardening often means fewer weeds and pests. If disease does strike, you can isolate and treat the problem.
Another bonus: kale grows quickly. You can start harvesting leaves within weeks. Growing in pots also lets you extend the season. Move pots indoors or under cover if frost threatens—so you get fresh greens for longer.
Picking the best pot is the first step. Kale needs space for roots but not a huge container. Here’s what you should consider:
| Pot Material | Pros | Cons |
|---|---|---|
| Plastic | Lightweight, cheap, holds moisture | Can crack in sun, less attractive |
| Clay/Terracotta | Looks nice, natural, breathable | Heavy, dries out faster |
| Ceramic | Stylish, durable | Heavy, expensive |
| Fabric Grow Bags | Good drainage, roots breathe, easy to store | Can dry out quickly, not as sturdy |
A non-obvious tip: wider pots allow you to grow more plants together, which can shade the soil and keep roots cooler in hot weather.
Not every kale is the same. Some types do better in pots because they stay smaller, have tender leaves, or grow faster. Here are good options:
If you want fast harvests, baby kale is ideal. For beauty, Red Russian adds color. For cooking, Lacinato is popular. If you live in a hot area, pick a heat-tolerant type.
A smart tip: Mix different varieties in one pot. This gives you a blend of flavors and colors, and can reduce disease risk.
Kale likes rich, loose soil that drains well. Poor soil leads to weak plants and bitter leaves. Here’s how to make a good mix:
A non-obvious insight: If you reuse potting mix from previous plants, refresh it with new compost and remove old roots. This prevents disease and gives your kale a strong start.
You can start with kale seeds or buy young plants (seedlings). Both work well, but seeds are cheaper and give you more choice.
Once seedlings have two true leaves, thin them. Keep the strongest plant in each spot.
Seedlings give you a head start. You can buy them from nurseries or grow from seeds indoors.
Kale likes cool weather. The best time is early spring or fall. If you live in hot areas, wait until temperatures drop below 75°F (24°C).
A useful tip: If you want a steady supply, plant new seeds every 2–3 weeks. This “succession planting” keeps fresh leaves coming.
Kale needs consistent moisture but hates soggy roots. Pots dry out faster than garden beds, so regular watering is key.
A common mistake: letting pots dry out completely. This stresses the plant and makes leaves tough or bitter.
Another tip: Place a saucer under the pot to catch extra water, but empty it after an hour. Standing water can rot roots.
For healthy growth, water early in the day. This lets leaves dry before night and helps prevent disease.
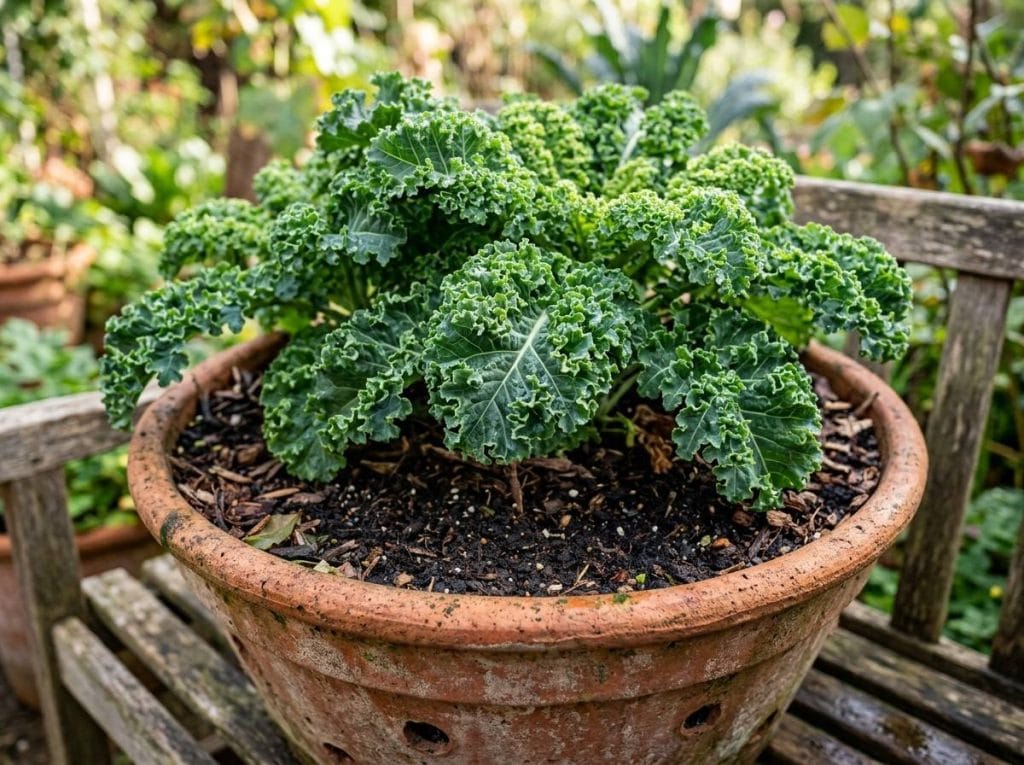
Kale is a “heavy feeder”—it needs lots of nutrients. Good soil helps, but extra feeding makes plants stronger and leaves tastier.
If leaves look pale, it’s a sign of nutrient shortage. Compost tea is a natural boost—just soak compost in water, strain, and pour on soil.
A beginner often misses: too much fertilizer can cause lush leaves but weak flavor. Stick to the schedule, and avoid overfeeding.
Kale loves sun but tolerates some shade. For best results:
Kale grows best at 60–75°F (16–24°C). Above 80°F, leaves may turn bitter. Below 50°F, growth slows but flavor improves.
| Temperature | Effect on Kale |
|---|---|
| 60–75°F | Strong growth, sweet leaves |
| 75–80°F | Slower growth, leaves may turn bitter |
| Below 50°F | Slow growth, flavor improves |
| Below 32°F | May survive, but growth stops |
If frost is coming, move pots indoors or cover with cloth. Kale is tough and survives light frost, but deep freeze can kill young plants.
A non-obvious tip: After a light frost, kale leaves often taste sweeter. Cold triggers the plant to make sugars.
Even in pots, kale faces threats. The most common are:
Diseases like powdery mildew and black rot are rare in pots, but can happen. Keep leaves dry, don’t overcrowd, and use clean soil.
One insight: Growing kale in pots above ground reduces slug problems. Slugs don’t climb well, so your leaves stay safer.
If pests appear, act fast. Remove affected leaves and spray with safe treatments.
Harvesting kale is simple, but technique matters. Done right, you get steady leaves for months.
Never take all leaves at once. The plant needs at least four leaves to keep growing.
If you want “baby kale,” cut leaves when they’re 2–3 inches tall. This is great for salads.
A mistake beginners make: harvesting too late. Old leaves become tough and bitter.
Pruning spent or yellow leaves helps air circulation and keeps plants healthy.
One benefit of pots is flexibility. You can grow kale longer than in the ground.
If you live in a mild area, you can grow kale all year. In cold places, try sowing seeds in late summer for fall harvests.
A useful tip: If you cut the main stem, kale often grows side shoots. These give you extra harvests even after the main plant slows down.
Kale in pots is easy, but issues can happen. Here are solutions for the most frequent problems:
A smart tip: If leaves show spots or holes, check under the leaf. Most pests hide there.
Once you harvest, use kale in many ways. It’s rich in vitamin K, vitamin C, and fiber. One cup of chopped kale has about 33 calories but provides over 100% of daily vitamin K.
Fresh kale is tastier and healthier than store-bought. If you harvest more than you can eat, store in fridge for up to a week. Wash and dry leaves before storage.
A non-obvious insight: Young leaves are softer and sweeter. Older leaves work better in cooked dishes.
Kale is popular, but how does it compare to other greens in pots?
| Green | Pot Size Needed | Growth Speed | Pest Resistance | Flavor |
|---|---|---|---|---|
| Kale | 12 inches | Medium | Good | Earthy, mild |
| Spinach | 8 inches | Fast | Medium | Soft, sweet |
| Lettuce | 8 inches | Fast | Low | Crisp, mild |
| Swiss Chard | 12 inches | Medium | Good | Earthy, slightly salty |
Kale stands out for its toughness and nutrition. It handles cool and warm weather better than lettuce or spinach. If you want easy growing and steady harvests, kale is a top choice.
Maria lives in New York City and grows kale on her balcony. She uses 14-inch plastic pots and mixes potting soil with compost. She plants Dwarf Blue Curled kale, waters every morning, and feeds every two weeks.
Her tip: “I move the pots around to catch morning sun and shade in the afternoon. My kale grows fast, and after the first frost, the leaves are sweeter. I harvest twice a week and use it in salads and soups.”
Maria’s experience shows that with care and the right setup, you can grow healthy kale even in a small urban space.
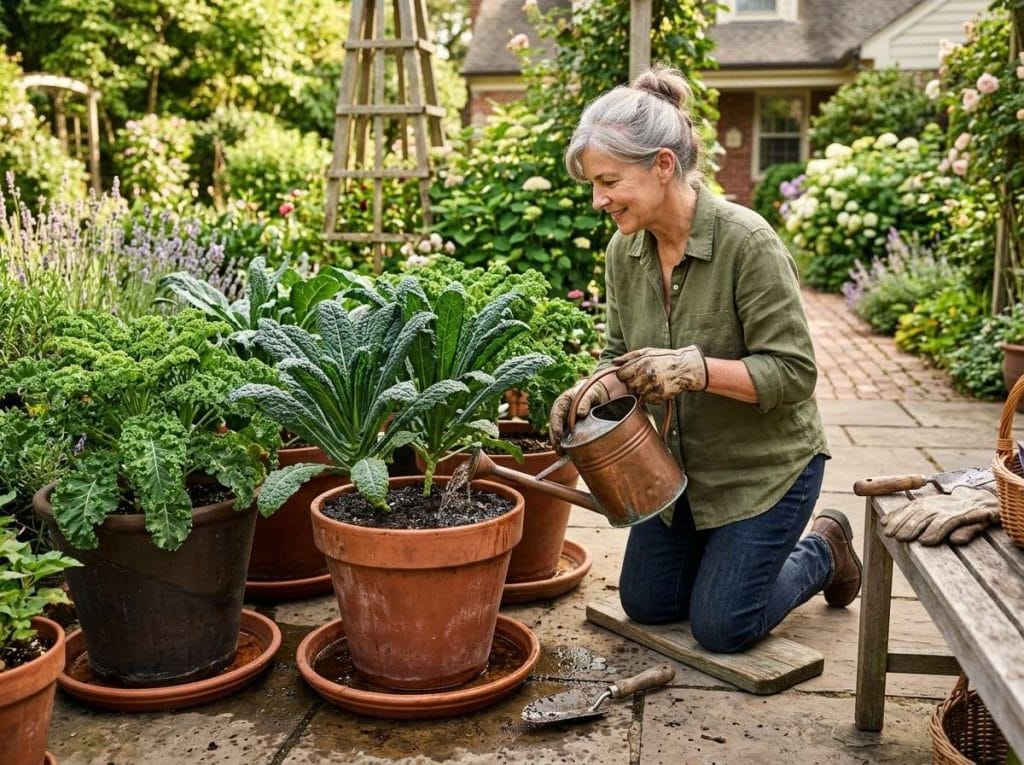
Kale seeds sprout in 5–10 days. You can start harvesting young leaves in 30–40 days. For full-size leaves, wait about 60 days. Timing depends on temperature and sunlight.
Yes. Kale grows well indoors if you provide enough light. Use a south-facing window or LED grow lights. Keep pots near 60–75°F. Water as needed, and feed every 2–3 weeks.
Check soil daily. Water when the top inch feels dry. In hot weather, water every day. In cool weather, every 2–3 days may be enough. Avoid letting soil dry out completely.
Organic liquid fertilizers, compost tea, or slow-release pellets work best. Feed every 2–3 weeks. Avoid high-nitrogen fertilizers that may make leaves taste weak.
Kale is less likely to get pests in pots than in the ground. But aphids, cabbage worms, and flea beetles can still appear. Check leaves often, remove pests by hand, and use insecticidal soap if needed.
Growing kale in pots is simple and rewarding. With the right pot, soil, and care, you can enjoy fresh, healthy greens year-round. Remember to check your plants often, feed and water regularly, and harvest leaves while they’re tender. For more details on growing kale and other greens, visit Gardener's Supply Company. Your balcony or patio can become a mini farm—start today and enjoy the results.