Gardening Made Simple.
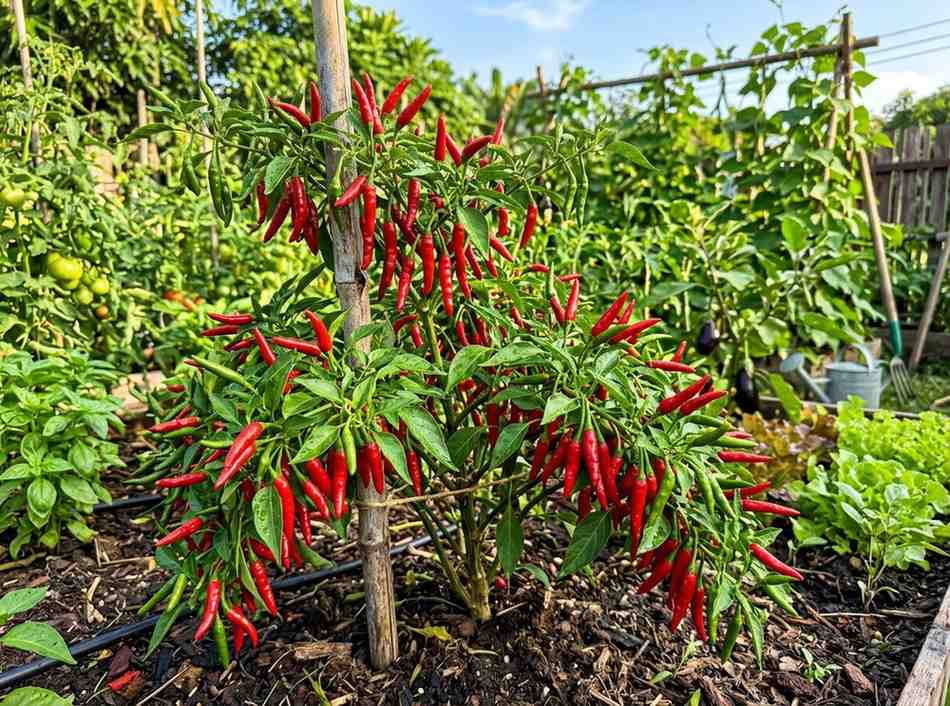
Growing Thai chili peppers at home is more than just a gardening project. It can bring color, flavor, and a touch of excitement to your kitchen. Thai chili peppers, also called Bird’s Eye chilies, are famous for their intense heat and bright red color. Whether you want to spice up your meals or try a new gardening challenge, these peppers are a great choice.
With the right steps, anyone—beginner or expert—can harvest a healthy crop of Thai chilies. In this guide, you’ll learn How to Grow Thai Chili Peppers, from choosing the right seeds to harvesting ripe peppers, along with practical tips that many beginners often miss.
Thai chili peppers are small but powerful. They usually measure between 1–2 inches long and can pack up to 100,000 Scoville Heat Units (SHU). This means they are much hotter than jalapeños, which average around 5,000 SHU. The plants themselves are compact, often staying under 2 feet tall, making them perfect for containers or small gardens.
There are several varieties, including Prik Kee Noo, Prik Chee Fah, and Prik Kaleang. Each has its own flavor and heat level. Thai chilies are used in many dishes, such as curries, salads, and stir-fries. Their popularity comes from the combination of heat and flavor—they’re not just spicy, but also slightly fruity.
| Variety | Size (inches) | Scoville Units | Color |
|---|---|---|---|
| Prik Kee Noo | 1–1.5 | 50,000–100,000 | Red/Green |
| Prik Chee Fah | 2–3 | 20,000–30,000 | Red |
| Prik Kaleang | 1–2 | 80,000–100,000 | Yellow/Red |
Many gardeners don’t realize that Thai chilies are perennials in warm climates. In areas with mild winters, plants can survive and produce for several years. In colder regions, they’re grown as annuals, meaning you replant each year.
Starting with the right seeds is essential. You can buy Thai chili pepper seeds from garden centers, online stores, or even collect them from fresh chilies. Look for seeds from reliable sources to avoid weak plants or diseases.
Check that seeds are dry, firm, and not damaged. Old or soft seeds often don’t germinate well. Some gardeners prefer organic or heirloom varieties, which can produce peppers with richer flavors.
Many beginners skip seed soaking, but it helps seeds sprout faster. Soak seeds in warm water for 4–8 hours before planting. This softens the shell and encourages growth.
Thai chili peppers need warmth. Start seeds indoors 8–10 weeks before the last frost. If you live in a tropical or subtropical area, you can plant directly outside.
Healthy soil is the foundation of successful chili pepper growth. Thai chilies thrive in well-draining, fertile soil.
A good mix should include:
Aim for a pH of 6. 0–7. 0. You can check pH with a simple kit from garden stores. If your soil is too acidic or alkaline, add lime or sulfur as needed.
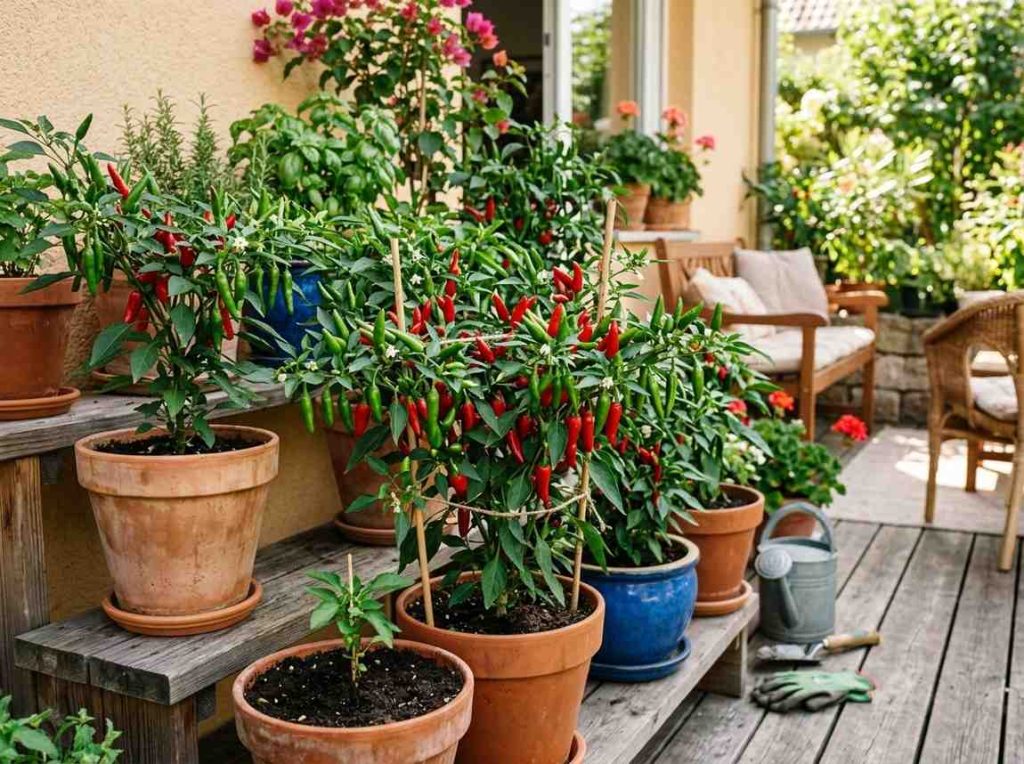
Thai chili peppers grow well in both containers and gardens. Containers are great for small spaces or patios. Choose pots at least 12 inches wide and 12 inches deep. Make sure pots have drainage holes to prevent root rot.
| Growing Location | Advantages | Considerations |
|---|---|---|
| Containers | Portable, easy to control soil, suitable for limited space | Needs frequent watering, limited root growth |
| Ground | More root space, less frequent watering | Harder to control soil quality, risk of pests |
Planting Thai chili seeds is simple, but a few details can make a big difference.
Seeds usually sprout in 7–14 days. Remove the cover once seedlings appear.
Give seedlings bright, indirect light. If you use grow lights, keep them 3–4 inches above plants. Water gently—too much can cause damping off, a disease that kills young plants.
When seedlings have 2–3 true leaves, thin them out. Keep the strongest plants and remove weaker ones.
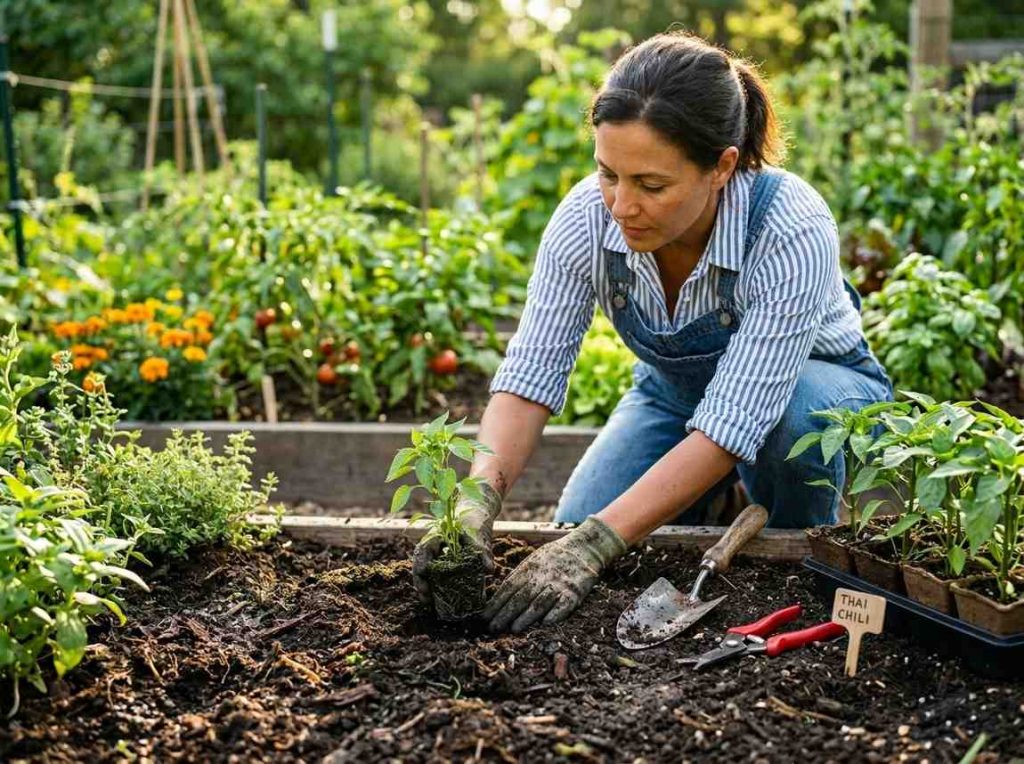
When your seedlings are 4–6 inches tall and have several leaves, they’re ready for transplanting.
Move seedlings outside for a few hours each day, gradually increasing time. This helps them adjust to sunlight and wind. After 7 days, they’ll be ready for planting.
Many beginners forget to water deeply after transplanting. This is important—it helps roots settle and reduces transplant shock.
Thai chili peppers love sunlight. They need at least 6–8 hours of direct sun daily. More sun means more peppers and stronger flavor.
Ideal growing temperatures are between 70°F and 90°F. If temperatures drop below 60°F, growth slows. In hot climates, protect plants from afternoon sun to avoid leaf burn.
One non-obvious tip: Thai chilies can tolerate short periods of high heat (over 95°F), but extended heat can cause flowers to drop. Shade cloths or moving pots can help.
Watering is often misunderstood. Thai chili peppers need consistent moisture, but hate soggy roots.
Signs of overwatering:
Signs of underwatering:
A practical tip: Use your finger to test soil moisture. If the soil feels dry an inch below the surface, it’s time to water.
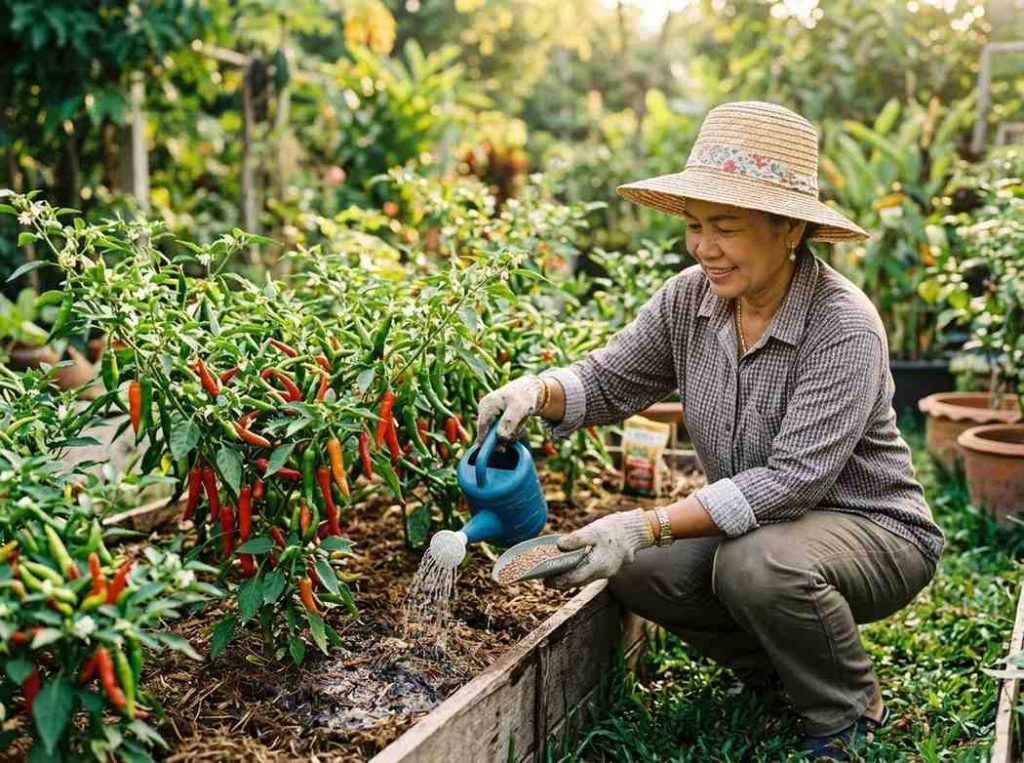
Thai chili peppers are heavy feeders. Fertilize regularly for strong plants and good yields.
Apply fertilizer every 2–4 weeks, following package instructions. Liquid organic fertilizers are gentle and easy to use.
Many beginners use too much fertilizer, causing leaf burn or poor fruit. Less is often better. Always water before and after fertilizing.
Pruning helps Thai chili plants stay healthy and productive.
Support plants with stakes or cages if they grow tall. This prevents branches from breaking under the weight of fruit.
Thai chili peppers attract some pests and diseases, but most problems are preventable.
| Pest/Disease | Symptoms | Prevention/Treatment |
|---|---|---|
| Aphids | Sticky leaves, curled stems | Spray with water, insecticidal soap |
| Spider mites | Yellow spots, webbing | Increase humidity, neem oil |
| Root rot | Wilting, brown roots | Improve drainage, reduce watering |
| Powdery mildew | White powder on leaves | Remove leaves, improve airflow |
One insight: Check the underside of leaves. Many pests hide there, and beginners often miss them.
Once plants reach 12–16 inches tall, they start to flower. Flowers are small and white. If conditions are right, each flower will turn into a chili pepper.
Thai chili peppers are self-pollinating, but wind or insects can help. Gently shake branches to improve pollination if you’re growing indoors.
Peppers grow quickly after pollination. They start green, then turn red, yellow, or orange as they ripen.
A tip: Don’t pick chilies too early. Waiting for full color gives the best flavor and heat.
Harvesting is exciting. You know the peppers are ready when they are fully colored and firm.
One non-obvious fact: Thai chili plants produce more if you harvest often. When peppers are picked, the plant puts energy into making new fruit.
Thai chilies can be used fresh, dried, or frozen.
Many cooks use Thai chilies in sauces, pastes, and stir-fries. They’re also great for pickling.
A tip: Wear gloves when handling large amounts. The oils can burn skin.
Every gardener faces challenges. Here are solutions to frequent issues:
A practical insight: If you’re growing in containers and plants look weak, check root space. Repotting in a larger container often solves the problem.
Once you master the basics, try these tips for even better results:
Many gardeners don’t realize that rotating crops and companion planting can make a big difference. These are small steps, but they often lead to healthier plants and bigger harvests.
It usually takes 90–120 days from seed to harvest. Seeds sprout in 1–2 weeks, plants flower in 2 months, and peppers mature a few weeks later.
Yes, Thai chilies grow well indoors if you provide enough light. Use grow lights for 12–16 hours daily. Keep plants near a sunny window and maintain temperatures above 70°F.
Thai chilies are much hotter than jalapeños and about the same as cayenne. They score 50,000–100,000 Scoville units. For comparison, bell peppers have zero heat, and habaneros can reach 300,000 SHU.
Dry chilies by spreading them on a tray in a warm, dry place. You can also use an oven at low heat (150°F) or a food dehydrator. Make sure peppers are fully dry before storing.
You can learn more about chili pepper types and their uses at the Wikipedia Chili Pepper page.
Growing Thai chili peppers is a rewarding experience. With careful attention, you’ll enjoy a steady supply of spicy, flavorful chilies right from your garden or balcony. The process requires patience and some trial and error, but the results are well worth it.
Whether you’re cooking Thai dishes or experimenting with new flavors, homegrown chilies can elevate your meals. Remember, small details—like proper watering and regular harvesting—make a big difference. With these steps and insights, you can confidently grow Thai chili peppers and enjoy their unique taste for months or even years.