
Gardening Made Simple.
If you want to grow your own fresh, tasty yellow onions right at home, you’re in the right place. How to Plant Yellow Onions is a simple process that can lead to a rewarding harvest, and yellow onions add a rich flavor to so many dishes—nothing beats the satisfaction of harvesting them yourself.
But how do you get started? You might wonder when to plant, what soil to use, or how to care for your onions as they grow. This guide will walk you through every step, making it easy for you to grow strong, healthy yellow onions.
By the end, you’ll have all the tips you need to enjoy your very own onion harvest. Ready to dig in? Let’s get started!
Choosing the right onion variety is important for a successful yellow onion garden. Different types grow better in different places. Picking the right type helps you get good onions that store well and taste great.
Several yellow onion types grow well in gardens. 'Walla Walla' is sweet and large. 'Texas Early Grano' has a strong flavor and good size. 'Copra' stores for a long time and grows well in many places. Choose a type that matches your taste and storage needs.
Onions grow best in cool weather but need full sun. Short-day onions start forming bulbs when daylight is about 10-12 hours. Long-day onions need 14-16 hours of daylight. Choose short-day types for southern areas and long-day types for northern areas. This helps onions grow big and healthy.
Preparing the soil is the first step in planting yellow onions. Good soil helps onions grow strong and healthy. It provides nutrients and proper drainage. Spending time on soil preparation leads to better onion bulbs.
Yellow onions prefer loose, well-drained soil. Soil that holds water too long can cause bulbs to rot. The soil should be rich in organic matter and have a pH between 6.0 and 7.0. This range helps onions absorb nutrients easily. Avoid heavy clay soils or very sandy soils. Both extremes can make growing onions difficult.
Mix compost or well-rotted manure into the soil before planting. This adds nutrients and improves soil texture. Work the compost into the top 6 to 8 inches of soil. This gives roots room to grow and access nutrients. If soil is too acidic, add lime to raise the pH. For sandy soil, add organic matter to hold moisture better. For clay soil, add sand and organic matter to improve drainage and loosen the soil.
Planting yellow onions correctly helps ensure a healthy and full harvest. Using the right techniques can make a big difference in growth and bulb size. Understanding how to plant seeds or sets, and knowing the right depth and spacing, sets you up for success.
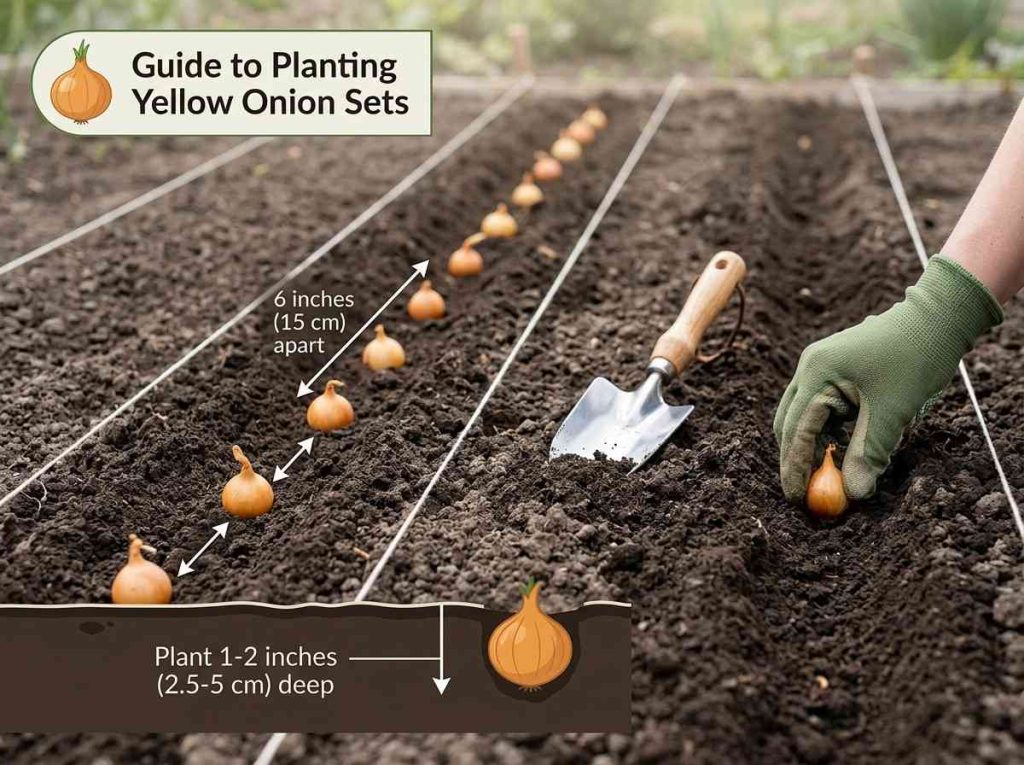
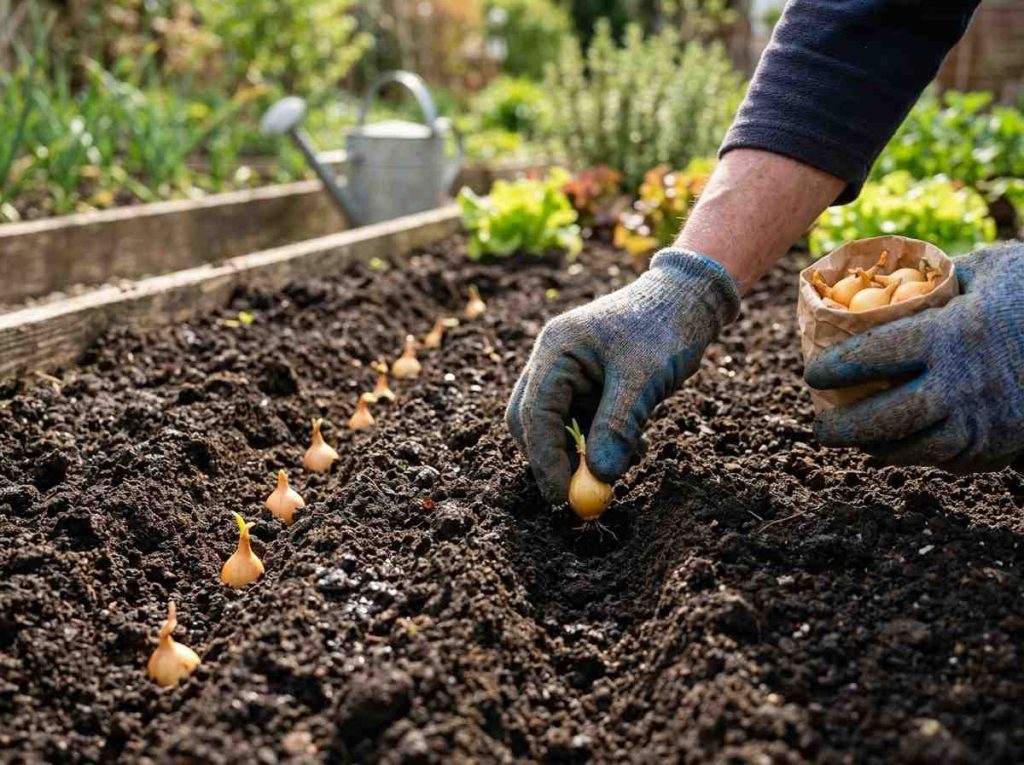
You can start yellow onions from seeds or sets. Seeds take longer but give you more variety choices. Sets are small onion bulbs that grow faster. They are easier for beginners and save time. Sets also have a better chance of surviving pests and diseases. Choose seeds if you want many types. Choose sets for a quicker harvest.
Plant yellow onions at the right depth for good growth. Place seeds or sets about 1 inch deep in the soil. Too deep or too shallow can harm growth. Space onions 4 to 6 inches apart in rows. Rows should be about 12 inches apart. This spacing allows enough room for bulbs to grow large. Proper depth and spacing improve air flow and reduce disease risk.
Caring for yellow onions is simple with the right steps. Good care helps onions grow big and healthy. Pay attention to water, food, and weeds. These factors make a big difference in your onion harvest.
Yellow onions need steady moisture. Water them deeply once or twice a week. Keep the soil moist but not soggy. Avoid wetting onion leaves to prevent disease. Water early in the day for best results.
Feed onions with a balanced fertilizer. Use one rich in nitrogen during early growth. Switch to low nitrogen and high phosphorus later. Apply fertilizer every few weeks. This helps onions grow strong and healthy.
Weeds steal nutrients from onions. Remove weeds regularly by hand or with a hoe. Mulch around onions to block weed growth. Mulch also keeps soil moist and cool. Keep your onion bed clean for best growth.
Managing pests and diseases is important for growing healthy yellow onions. These problems can reduce your crop size and quality. Early care can protect your plants and help you harvest better onions.
Onion maggots are small larvae that eat onion roots. They make plants weak and slow growth. Thrips are tiny insects that suck onion leaves. This causes leaves to turn silver and dry out. Cutworms can cut young onion plants at the soil line. They cause seedlings to fall over and die. Watch your onions often to spot these pests early. Remove any damaged plants to stop spread.
Fungal diseases like downy mildew and white rot affect onions. Avoid planting onions in the same spot every year. Rotate crops to reduce soil diseases. Use well-drained soil to prevent root rot. Water onions at the base to keep leaves dry. Remove dead leaves and debris from the garden. Use disease-resistant onion varieties when possible. Healthy plants fight diseases better and grow strong.
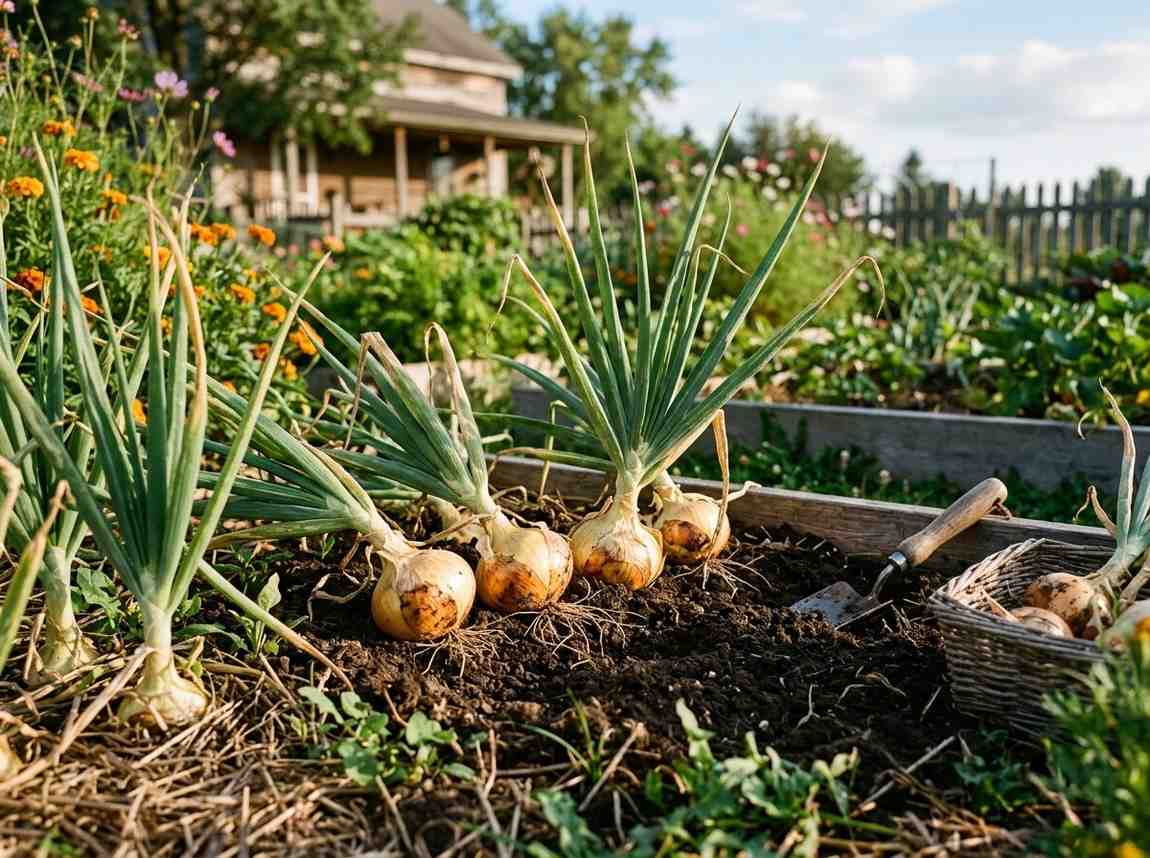
Harvesting yellow onions is an important step in your garden journey. Knowing when and how to harvest helps keep your onions fresh and tasty. Careful handling ensures they store well for months. Watch your onions closely during the final growth stage. This helps you pick the right time to dig them up.
Yellow onions are ready to harvest when their tops fall over. The green leaves turn brown and start to dry. The bulbs grow big and firm under the soil. The outer skins become dry and papery. If the bulbs feel soft or small, wait a few days more. Check several onions to get a clear sign of maturity.
Loosen the soil around the onions with a garden fork. Be careful not to damage the bulbs. Gently pull the onions from the ground by their tops. Shake off excess dirt but do not wash them. Lay onions out in a warm, dry place to cure. Turn them daily to dry all sides evenly. Store onions in a cool, dark, and dry spot after curing.
After harvesting yellow onions, proper storage is key. Good storage keeps onions fresh and tasty for months. It stops mold, sprouting, and rotting. Follow simple steps to store your onions right.
Curing dries onions after harvest. Spread onions in a warm, dry place. Keep them for two to three weeks. Airflow is important. Onions should feel dry and papery. The necks must be tight and closed. This process helps onions last longer.
Store cured onions in a cool, dark, and dry spot. Ideal temperature is 32 to 40°F (0 to 4°C). Humidity should be low to prevent rot. Use mesh bags or baskets for airflow. Avoid plastic bags that trap moisture. Check onions regularly. Remove any soft or damaged ones quickly.
Plant seeds about 1/4 inch deep in loose, well-drained soil for best growth.
Plant yellow onions in early spring, as soon as the soil can be worked.
Keep soil consistently moist but not soggy; water about 1 inch per week.
Use loose, sandy, or loamy soil with good drainage and a pH of 6. 0-7. 0.
Yellow onions usually take about 90 to 120 days to mature and be ready.
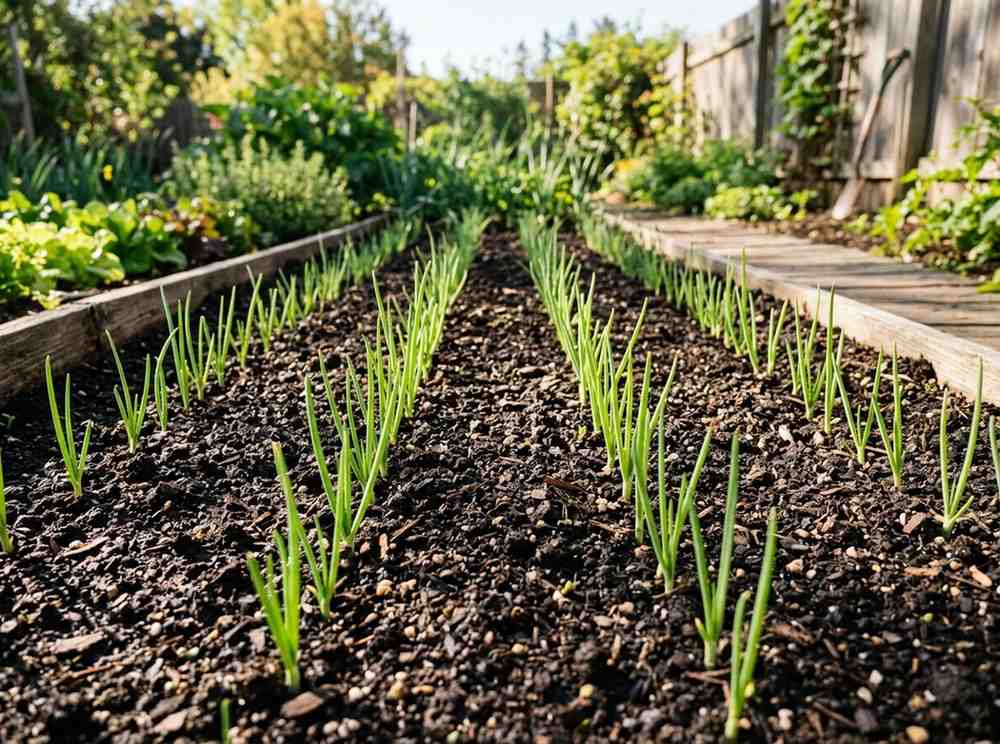
Planting yellow onions is simple and rewarding with the right steps. Choose healthy sets or seeds and plant them in loose soil. Water regularly but avoid overwatering to keep roots healthy. Give them plenty of sunlight for strong growth. Watch as the green tops grow tall and firm.
Harvest onions once the tops start to fall over. Enjoy fresh onions in your cooking or store them for later use. With patience and care, you can grow tasty yellow onions at home. A small garden effort brings big flavor to your meals.


