Gardening Made Simple.
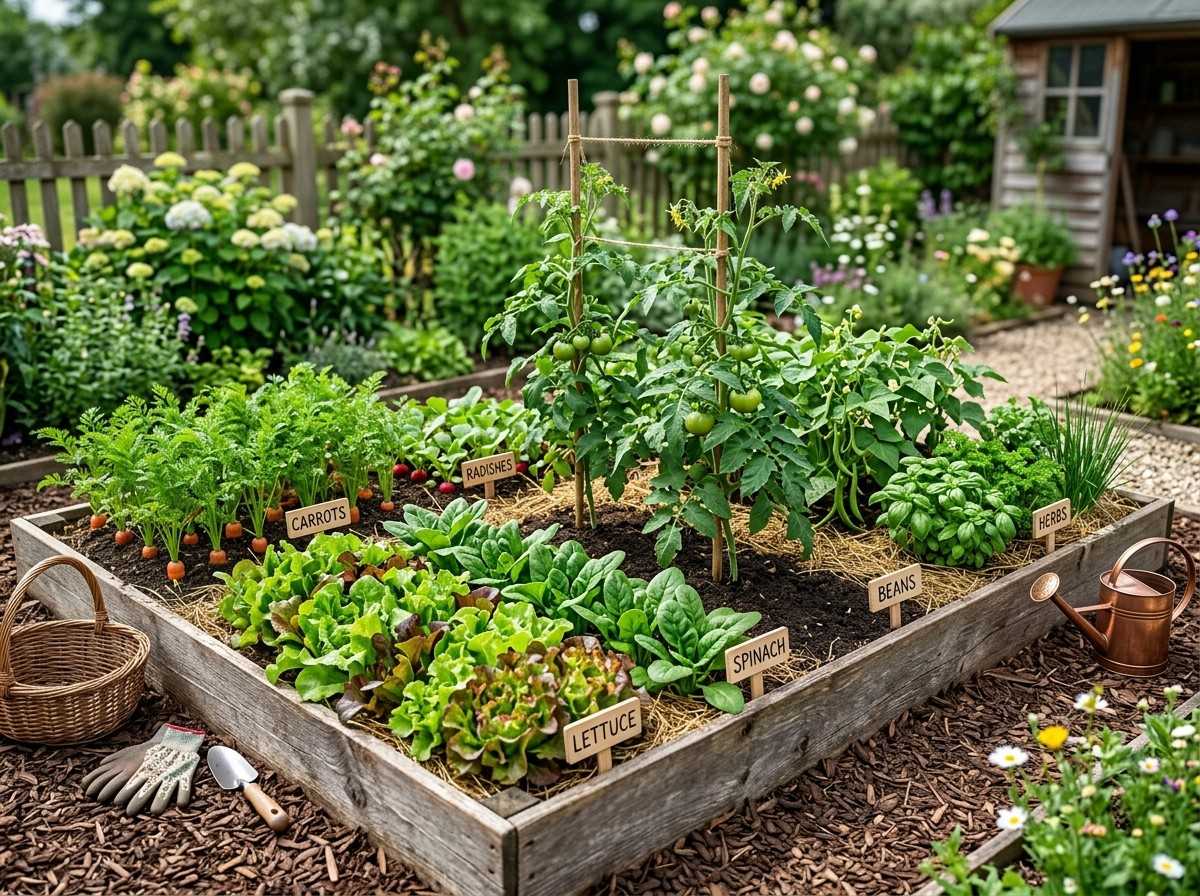
Starting a small vegetable garden is one of the most rewarding ways to enjoy fresh food, spend time outdoors, and learn about nature. Many people feel nervous about gardening, worrying it will be too hard or take too much time.
In reality, you do not need a huge yard, expensive tools, or special skills to get started. Anyone with a bit of space—whether a backyard, balcony, or even a sunny windowsill—can grow their own vegetables. The key is understanding some basic steps, making smart choices for your space, and being ready to learn as you go.
This guide will show you exactly how to start a small vegetable garden, avoid common mistakes, and enjoy a successful harvest, even if you are a complete beginner.
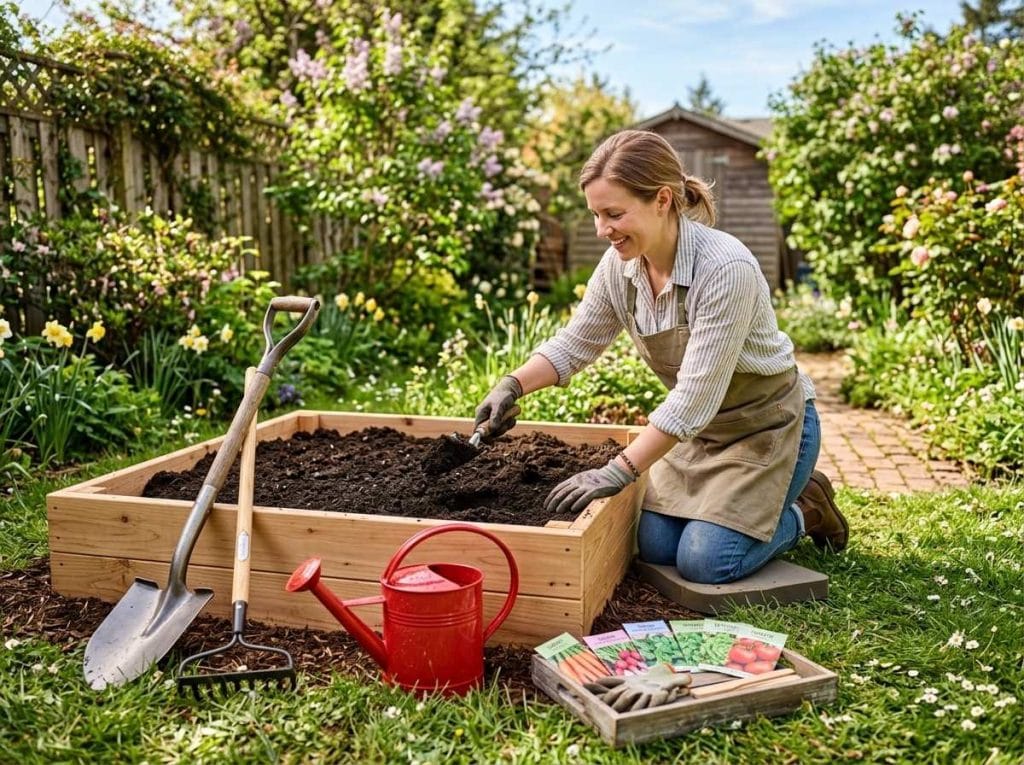
Growing your own vegetables has many benefits beyond just saving money at the store. First, fresh vegetables taste better and are more nutritious because you harvest them at their peak. You also know exactly what went into your food—no chemicals you didn’t choose, no long shipping times. Gardening can reduce stress, help you stay active, and provide a sense of accomplishment. It is also a practical way to teach children about healthy eating and responsibility. Even a small garden can supply a family with plenty of salad greens, tomatoes, or beans during the growing season.
Before you pick up a shovel or buy seeds, take some time to plan your garden. Good planning will save you time, money, and frustration later.
Your garden’s success depends greatly on location. Vegetables need at least 6 hours of direct sunlight each day. Look for a spot that is sunny most of the day, with level ground and good air movement. Avoid areas near large trees or buildings that cast shade. If you only have a balcony or patio, you can use containers, but still aim for a place with as much sun as possible.
Proximity to a water source is important. Carrying water far every day gets tiring. Try to place your garden close to a hose or tap, but not in a low spot where water pools after rain.
For beginners, a small garden is easier to manage. Many people start too big and quickly feel overwhelmed. A good size for a first garden is about 4 feet by 8 feet (1.2 m x 2.4 m) or even smaller. This space can produce a surprising amount of food. If you want to use containers, start with 3-5 large pots.
Both have pros and cons. Raised beds warm up faster in spring and drain well, but they require buying or building boxes and filling them with soil. In-ground beds use what you have, but may need more work to prepare.
Here is a comparison to help you decide:
| Feature | Raised Bed | In-Ground |
|---|---|---|
| Soil Quality | Control by filling with good mix | Depends on your yard’s soil |
| Drainage | Excellent | Varies (may be poor in clay) |
| Setup Cost | Medium to High | Low |
| Ease of Access | Easy (less bending) | More bending/kneeling |
| Weed Control | Easier | Harder |
If your soil is heavy clay, a raised bed may be easier. If cost is a concern, starting in-ground is fine, especially for a small plot.
Pick vegetables you and your family like to eat. Some crops are easier for beginners, such as lettuce, radishes, bush beans, and cherry tomatoes. Start with no more than 4-6 types your first year. Avoid crops that need lots of space, like corn or pumpkins, unless you have a large area.
Think about your climate. Some plants, like spinach and peas, prefer cool weather. Others, like peppers and cucumbers, need heat. Local garden centers often sell varieties that do well in your region.
For small spaces, choose compact or dwarf varieties. Look for terms like “bush,” “patio,” or “baby” on seed packets.
Once you have a plan, it’s time to prepare your site for planting. This step is important for healthy, strong plants.
Remove any grass, weeds, or existing plants from your chosen spot. For a small garden, this can be done by hand or with a sharp shovel. Be sure to pull out roots, not just cut off the tops. If you have time, you can cover the area with cardboard and mulch for several weeks to smother weeds before planting.
Healthy soil is the secret to a good garden. Most vegetables prefer soil that is loose, drains well, and is rich in organic matter. You can test soil texture by picking up a handful—if it stays in a tight ball, it may be too heavy (clay); if it falls apart, it may be too sandy.
It’s wise to test your soil’s pH and nutrients, especially if you are planting in the ground. Many garden centers sell simple test kits, or you can send a sample to your local extension service. Most vegetables prefer a pH between 6.
0 and 7. 0.
If your soil is poor, add compost or well-rotted manure. Spread 2-3 inches (5-7.5 cm) on top and mix it into the top 6-8 inches (15-20 cm) of soil. This improves both nutrition and texture.
For raised beds, use rot-resistant wood like cedar, bricks, or even sturdy plastic. Bed height should be at least 8-12 inches (20-30 cm). Fill with a mix of good garden soil and compost.
For containers, choose pots at least 12 inches (30 cm) wide and deep for most vegetables. Make sure they have drainage holes. Use a high-quality potting mix, not plain yard soil.
Now comes the fun part—choosing what to grow. You can start vegetables from seed or buy small plants called seedlings. Each has pros and cons.
Seeds are less expensive and offer more variety. Some vegetables, like carrots and beans, grow best when seeded directly in the garden. Read the packet for planting depth and spacing.
Transplants are young plants started in greenhouses. Crops like tomatoes, peppers, and broccoli often do better when planted as seedlings, especially in areas with short growing seasons.
Choose seeds and plants from local garden centers, online stores, or seed catalogs. Local sources often carry varieties suited to your climate.
Look for healthy seedlings with green leaves and strong stems. Avoid plants that are yellow, wilted, or root-bound (roots circling the bottom of the pot).
Planting is more than just putting seeds in the ground. Timing, spacing, and technique matter.
Vegetables fall into two groups:
Check the last frost date in your area and follow seed packet guidelines. Some crops can be started indoors and transplanted when the weather warms.
Follow instructions on the seed packet or plant tag. Most seeds are planted at a depth about 2-3 times their width. Seedlings should be planted at the same depth they were growing in their pots.
Water well after planting, but do not flood the soil. Keep it moist until seeds sprout or seedlings begin growing.
Proper spacing is key. Crowded plants compete for light, water, and nutrients, and are more likely to get diseases.
Here is a quick reference for common vegetables:
| Vegetable | Seed Spacing | Row Spacing |
|---|---|---|
| Lettuce (leaf) | 2 inches (5 cm) | 10 inches (25 cm) |
| Radish | 1 inch (2.5 cm) | 6 inches (15 cm) |
| Bush Beans | 2 inches (5 cm) | 18 inches (45 cm) |
| Tomato | 18-24 inches (45-60 cm) | 24-36 inches (60-90 cm) |
| Cucumber | 12 inches (30 cm) | 36 inches (90 cm) |
If space is tight, try vertical gardening. Grow cucumbers or beans up a trellis or fence.
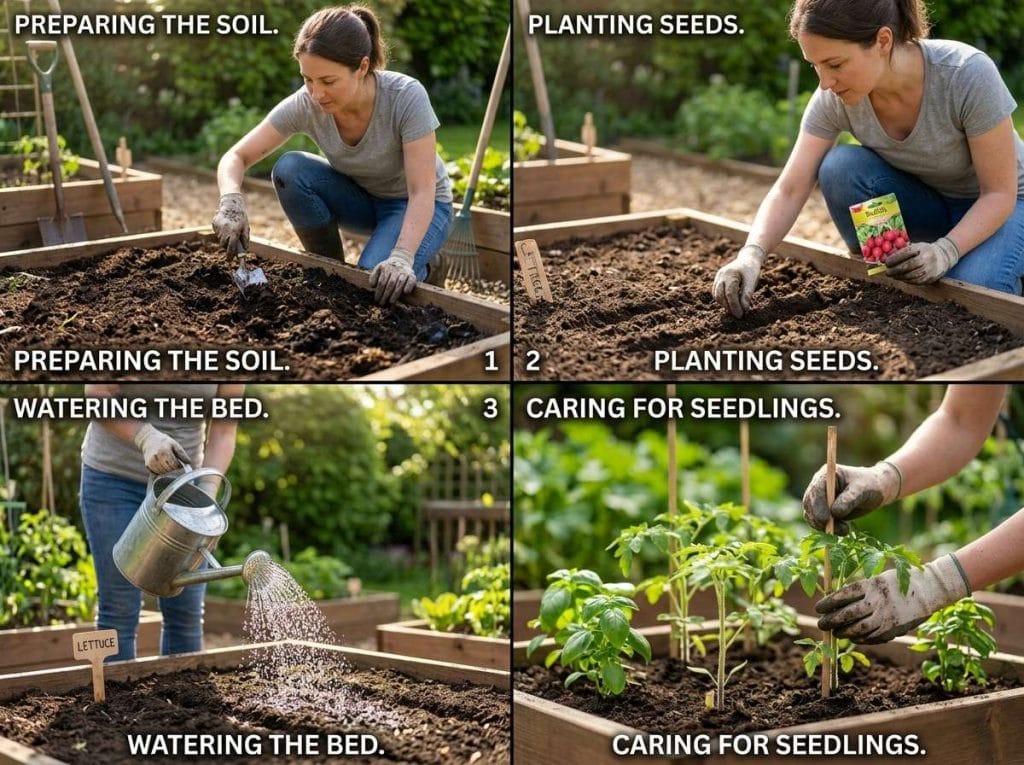
Your garden will need regular attention to grow well. The main tasks are watering, feeding, weeding, and keeping an eye out for problems.
Vegetables generally need about 1 inch (2.5 cm) of water per week. It is better to water deeply and less often, rather than a little bit every day. Deep watering encourages strong roots.
In hot or windy weather, containers may need water every day. Water early in the morning to reduce disease risk and evaporation.
Non-obvious tip: Push your finger 1-2 inches (2.5-5 cm) into the soil. If it feels dry, it’s time to water. Automatic watering systems can save time for busy gardeners.
Most vegetables are “heavy feeders. ” They use a lot of nutrients to grow fast and produce fruit. Mix compost or a balanced organic fertilizer into the soil before planting. During the season, side-dress (spread fertilizer beside the rows) with compost or use a liquid fertilizer every 2-4 weeks.
Do not over-fertilize, especially with products high in nitrogen. This can cause leafy growth but poor fruit and root development.
Adding a layer of mulch (like straw, leaves, or grass clippings) around your plants helps keep moisture in, stops weeds, and keeps soil temperatures steady. Mulch also adds organic matter as it breaks down.
Weeds compete with vegetables for water and nutrients. Pull weeds when they are small, before they go to seed. Mulch will reduce weeds, but you may still need to pull some by hand. Try to weed once a week.
Some vegetables, like tomatoes, peas, and pole beans, need support. Use stakes, cages, or trellises to keep them off the ground. This improves air flow and makes harvesting easier.
Even small gardens can have problems with insects or diseases. The key is to notice issues early and act quickly.
Some common pests are aphids, slugs, caterpillars, and beetles. Check your plants’ leaves (top and bottom) every few days. Look for holes, sticky spots, or chewed edges.
If you spot a few bugs, pick them off by hand. For larger problems, spray plants with a strong jet of water or use insecticidal soap.
Non-obvious tip: Attract beneficial insects like ladybugs and lacewings by planting flowers such as marigolds or alyssum nearby. These natural helpers eat pests.
Most plant diseases spread in wet conditions or when air cannot move between plants. Water at the soil level, not on the leaves. Space plants properly. Remove dead or sick plants quickly to keep problems from spreading.
Rotate crops each year if possible. For example, do not plant tomatoes in the same spot year after year, as this can build up disease in the soil.
Harvesting at the right time makes a big difference in taste and quality. Each crop has its own signals for when it is ready.
Harvest in the morning when it’s cool for the best flavor. Use clean scissors or pruners to avoid damaging plants.
Another important point: Don’t wait for everything to look perfect. Homegrown vegetables may look different from store-bought, but they usually taste much better.
With a few tricks, you can enjoy fresh vegetables longer—even into fall or winter.
For urban gardeners, growing herbs or greens in containers indoors is also an option during winter.
Many gardeners started with small plots and were surprised by their success. For example, a family in Ohio turned a 4x8-foot bed into summer salads for five people, plus extra tomatoes for sauce. In a city apartment, three large containers supplied enough basil, lettuce, and cherry tomatoes for weekly meals.
One key to their success was focusing on easy crops and planting at the right times.
Another insight: Some beginners expect instant results. Most vegetables take 30-90 days from planting to harvest. Patience is part of the process, but you will see growth within a couple of weeks.
Even experienced gardeners make mistakes. Here are some of the most common errors beginners make—and how to avoid them:
Gardening does not have to be expensive. Here is a rough estimate of costs for a small beginner garden (4x8 ft bed or 3-5 containers):
| Item | Estimated Cost (USD) |
|---|---|
| Seeds/Seedlings | $10–$30 |
| Soil & Compost | $20–$50 |
| Containers or Lumber (if raised bed) | $20–$60 |
| Basic Tools | $15–$40 |
| Fertilizer & Mulch | $10–$25 |
Reuse containers and tools in future years. Save seeds from some crops to plant again.
You do not need many tools to get started. For a small garden, these basics are enough:
Buy quality tools—they last longer and work better.
Gardening is a lifelong learning process. Local garden clubs, extension services, and online forums are great places to ask questions and share experiences. Reliable websites like the University of Minnesota Extension offer free guides and tips for all skill levels.
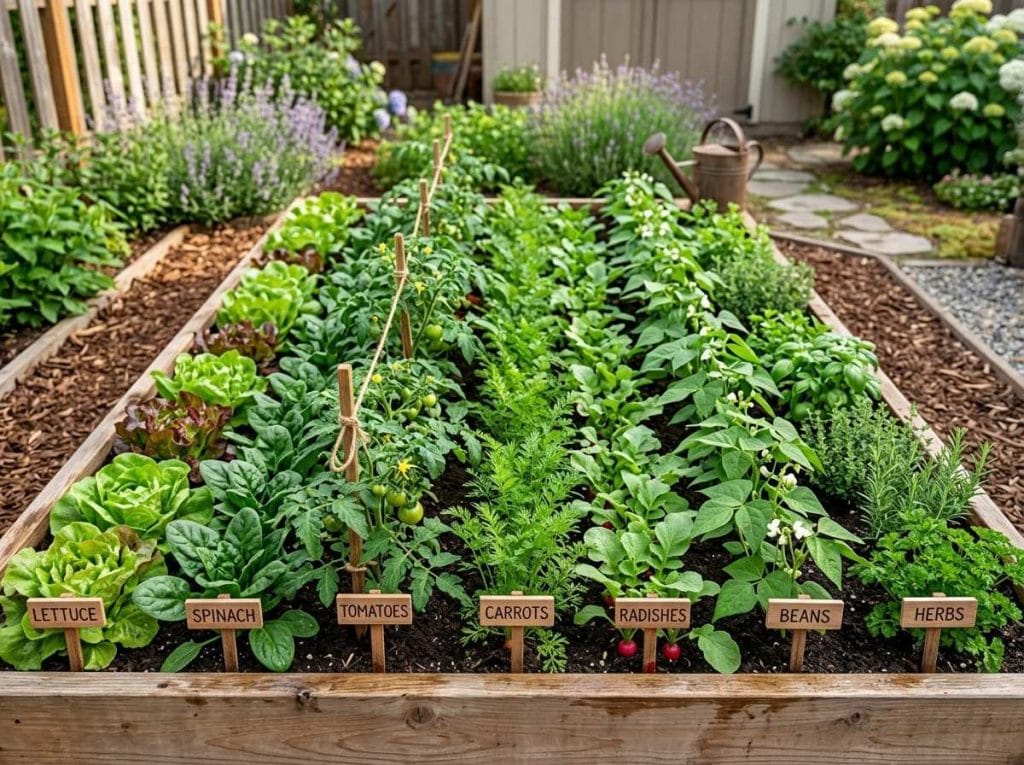
Most small gardens need 2–4 hours per week for watering, weeding, and harvesting. Some weeks may need more work, especially at planting time. With practice, you will find your own routine.
Yes, many vegetables grow well in containers. Leafy greens, herbs, cherry tomatoes, and peppers are good choices. Make sure your space gets enough sunlight and use large pots with good drainage.
Inspect your plants often. Remove affected leaves or bugs by hand if possible. For bigger problems, try organic controls like insecticidal soap. Prevent issues by spacing plants, watering at the base, and rotating crops each year.
Check seed packets or plant labels for harvest times. In general, pick leafy greens and herbs when young and tender, root crops when they reach full size, and fruiting crops (like tomatoes) when fully colored and slightly soft.
Over time, yes. The first year has setup costs, but many supplies can be reused. You save money on produce and enjoy fresher, tastier food. Growing your own also means fewer trips to the store and less packaging waste.
Starting a small vegetable garden is both simple and satisfying. With careful planning, patience, and attention to your plants’ needs, you will enjoy fresh, homegrown food and the joy of nurturing life from seed to harvest. Remember, every gardener learns by doing—do not worry about making mistakes.
The best time to start is now. Happy gardening!