Gardening Made Simple.
Imagine watching your tender tomato seedlings wilt and die just days after moving them outside. That heartbreak hits hard for any gardener. Proper transplanting turns those fragile starts into strong plants that pump out juicy fruits all season. Learning how to transplant tomato plants will help you avoid shock, boost growth, and enjoy a healthy, productive harvest.
You start seeds indoors or buy them from a nursery. The big shift to the garden can shock them if done wrong. Get it right, and you'll harvest buckets of tomatoes. Skip the steps, and you risk stunted growth or total loss. This guide walks you through every part of tomato transplanting. You'll learn how to time it, prep your site, plant deep, and care after. By the end, your garden will thrive with healthy vines heavy with red orbs.

Think of your tomato seedlings as kids heading to their first day of school. They need time to adjust. Rush the process, and they flop. Take it slow, and they bloom.
Soil warmth matters more than the air for tomato transplanting. Aim for ground temps above 60°F, or 15°C. Cold soil slows root growth and invites rot.
Check your local frost date. In most U.S. zones, wait two weeks after the last freeze. For zone 5 gardens, that might mean mid-May. Zone 9 folks can go earlier, around early April.
Grab a soil thermometer from any garden store. Stick it in a few inches deep. Test on a sunny afternoon for the truest read. If it's too cool, hold off. Your plants will thank you with faster growth.
Hardening off builds tough cell walls on your seedlings. It preps them for wind, bright sun, and wild temp swings outdoors. Without it, they burn or snap like dry twigs.
Start the process over seven to ten days. Day one, set them outside in shade for an hour in the morning. Add time each day, and ease into full sun by the end. Bring them in at night if frost looms.
University extensions like those from Cornell suggest tweaking this for your area. In cooler spots, stretch it to two weeks. Watch for wilting leaves. If they droop, cut back the exposure. This gradual shift cuts transplant shock by half, based on grower reports.
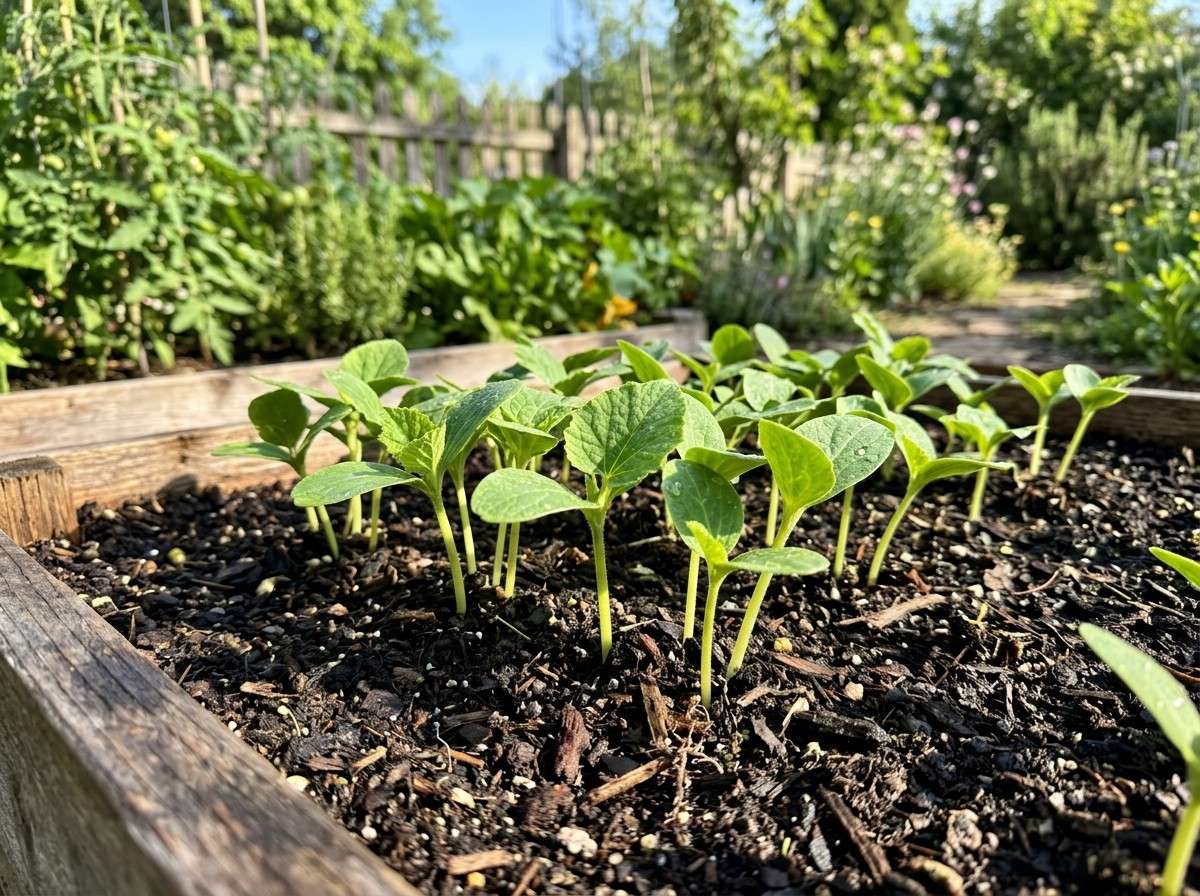
Look for plants six to ten inches tall with thick stems. They should have a solid root ball that holds soil when you tip the pot. Skip leggy ones stretched thin from low light.
Healthy starts show deep green leaves and no flowers yet. Flowering indoors wastes energy on fruit too soon. Check roots by peeking at the bottom. White and fibrous means go time.
If they're root-bound, that's okay with care. But avoid yellow leaves or spots. Those signal stress. Pick sturdy picks for the best tomato transplanting results.
Your garden spot sets the stage for success. Poor prep leads to weak plants and sad yields. Nail this, and tomatoes explode with vigor.
Tomatoes love soil with great drainage and lots of organic stuff. Mix in compost or aged manure to boost that. Aim for a pH between 6.0 and 6.8—test with a kit to confirm.
Work amendments into the top foot of dirt. This feeds roots as they spread. For nutrients, add bone meal to the hole for phosphorus kick.
Dig in a slow-release organic fertilizer now. Brands like Espoma work well. It releases steady food without burning young roots. Healthy soil means fewer diseases and bigger fruits.
Space determinate tomatoes 18 to 24 inches apart. Indeterminate types need 24 to 36 inches. This lets air flow and cuts down on blight risks.
Crowded plants trap moisture, inviting fungi. Good spacing also grabs max sun—tomatoes need eight hours daily. Think of it as giving each vine room to stretch.
Rodale's Organic Life often shares stories of growers who space right and dodge epidemics. One farmer in Ohio tripled his yield by opening up rows. Follow suit for air and light that fights off trouble.
Set up cages, stakes, or trellises before you plant. Mature vines get heavy with fruit—disturbing roots later snaps stems.
For bushy types, use sturdy cages at least four feet tall. Stake climbers with bamboo or metal posts tied loose. Trellises work for rows, saving space.
Install them deep in the soil for stability. Wind won't topple them. This front-loads work and spares your plants stress down the line.
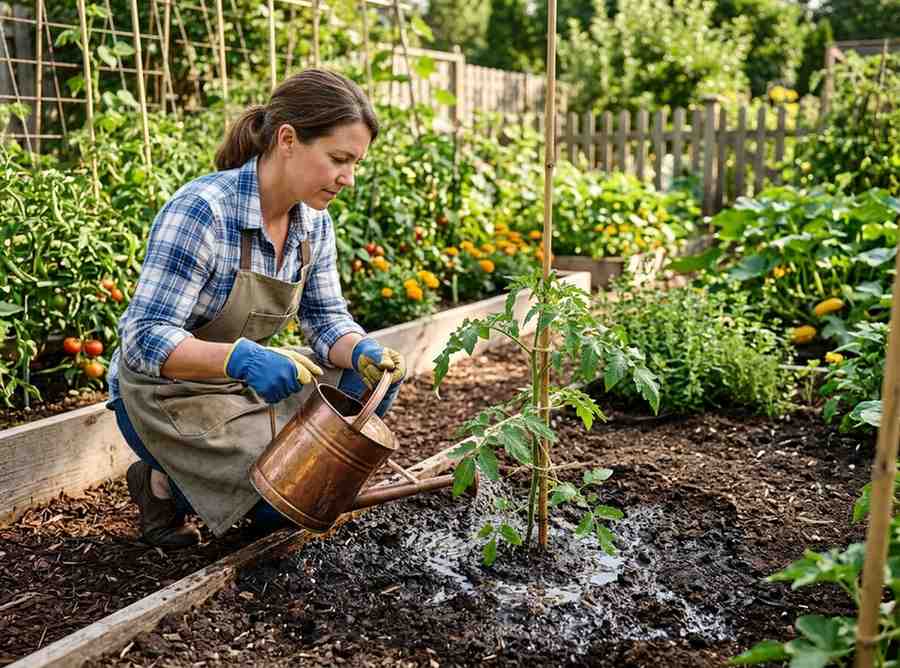
The actual move demands care. Treat roots like fragile glass. Done well, deep planting sparks a root boom.
Tomatoes sprout extra roots along buried stems. That's why deep planting fixes tall, spindly starts. Bury up to the first true leaves for a sturdy base.
Strip off lower leaves first. Expose four to six inches of stem. Dig a hole deep enough to cover it all but the top third.
For super tall ones, try a trench. Lay the stem horizontal in a shallow ditch. Cover with soil, leaving the top up. This method, loved by old-timers, doubles root power fast.
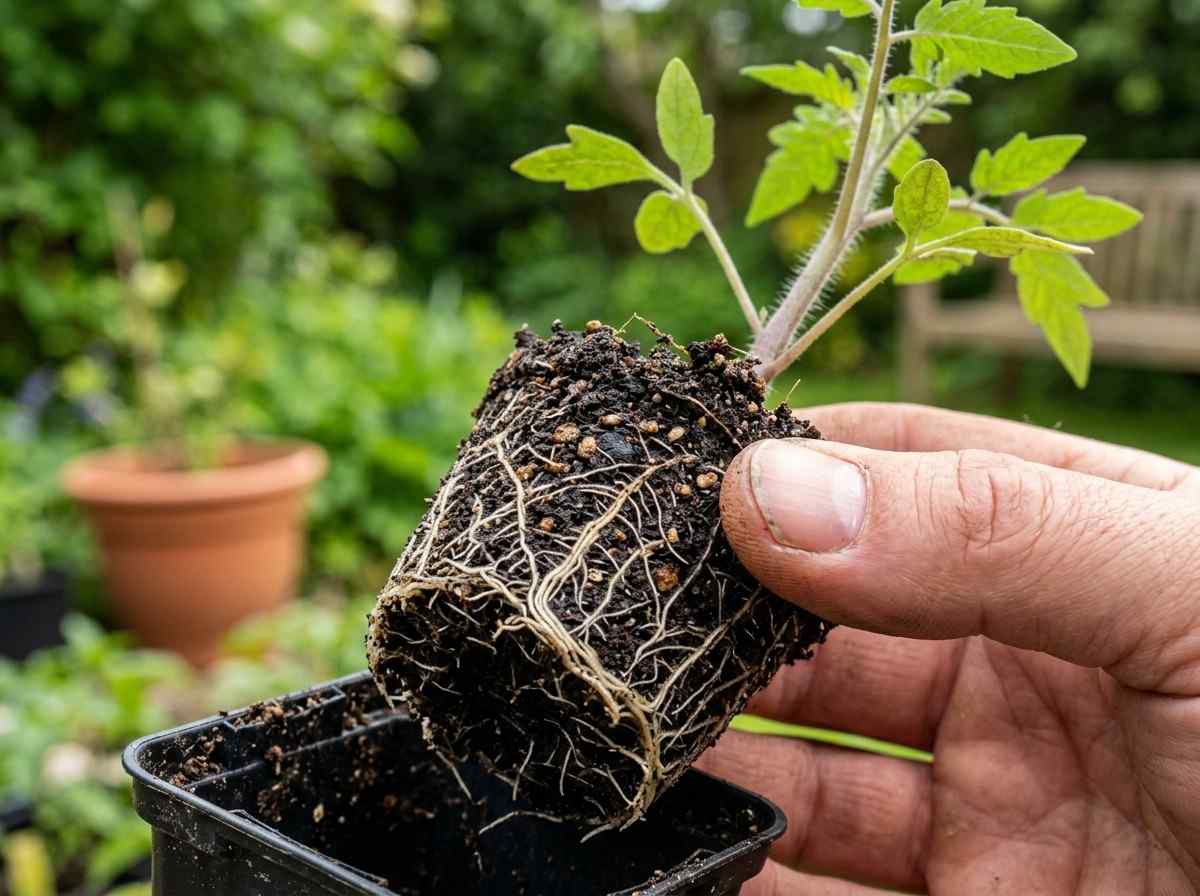
Root-bound pots show circling roots at the edges. Gently tease them out with your fingers. This nudges them to grow outward, not in loops.
Score the sides lightly with a fork if they're tight. Avoid ripping— just loosen. Water the pot an hour before to ease removal.
Keep the ball intact as much as you can. Shake off extra dirt, but don't bare-root them. Gentle hands mean less shock and quicker settle-in.
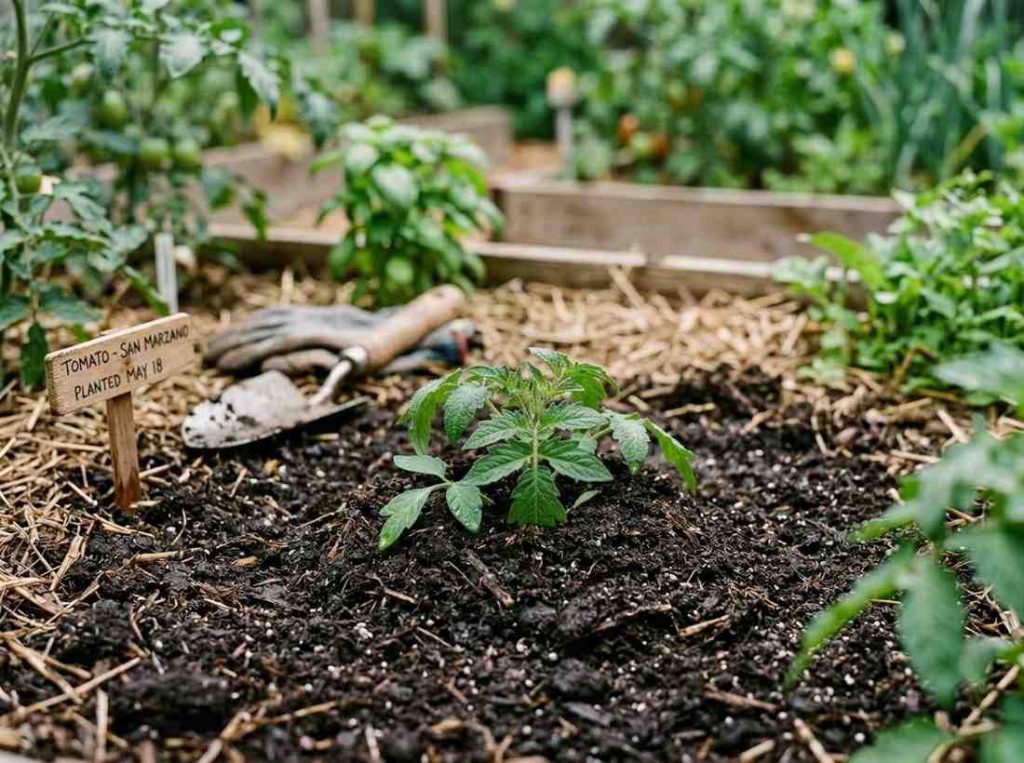
Bury so only the top one-third shows above soil. This protects from sun and builds anchors. For standards, that's about eight inches deep.
Fill around with loose soil. Firm it gently with your hands—no stomping. Pat down to snug the roots without packing tight.
Water as you go to settle layers. Air pockets kill roots quick. Your deep-planted tomato will stand tall and grow strong from day one.
After planting, the real watch begins. New spots stress plants. Smart care helps them root deep and shoot up.
Soak the area right after planting. Use a gentle stream to reach six inches down. This packs soil and chases out air gaps.
Give about a gallon per plant at first. Then, water when the top inch dries—every few days early on. Deep soaks beat shallow sips for strong roots.
Mulch around the base with straw. It holds moisture and cools soil. Watch for wilting; it signals thirst.
Newbies face harsh sun and bugs. Drape row covers over them for the first week. They block wind and cut light to 50 percent.
Shade cloth works too, or try a milk spray—mix one part milk to nine water. It fights sunscald on leaves. Remove covers once they perk up.
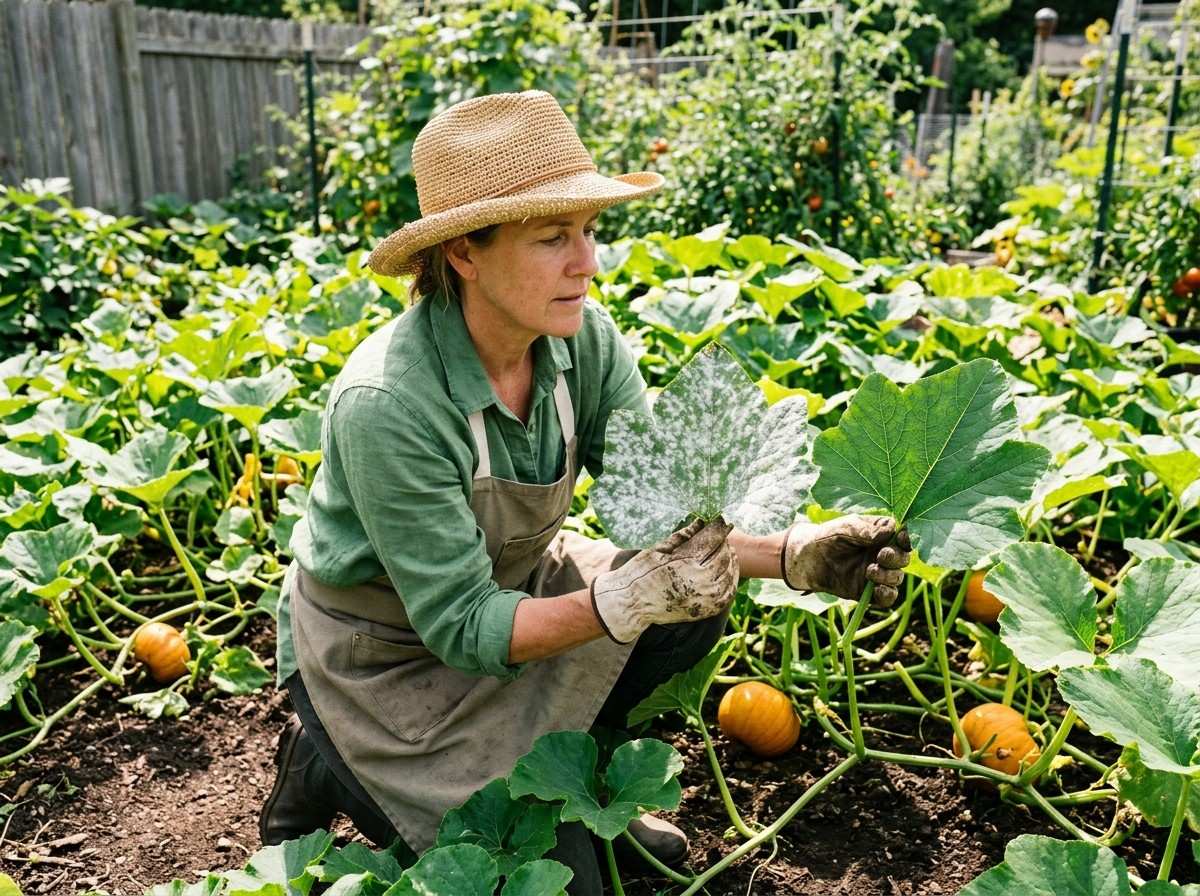
For pests, check for cutworms at night. Collar stems with cardboard tubes. Flea beetles jump on young leaves—dust with diatomaceous earth. Quick fixes keep damage low.
Wait ten to fourteen days before feeding heavy. Let roots recover first. High nitrogen too soon pushes leaves over fruits.
Start with a root booster like diluted fish emulsion. It aids establishment without overload. Then, shift to balanced feeds every two weeks.
Soil tests guide you later. Tomatoes pull potassium for fruit set. Steady nutrients mean steady harvests.
Transplanting tomatoes right sets you up for loads of fresh eats. Key moves like hardening off, soil tweaks, and deep planting make the difference. Your garden will reward the effort with vines bursting at the seams.
Grab your tools and head out. Follow this tomato transplanting guide, and you'll slice into homegrown beauties by July. What's your first variety? Plant it strong.
Transplant tomatoes after the last frost when the soil is warm and seedlings have 4–6 true leaves.
Plant them deeper than they were in the pot, covering part of the stem to encourage stronger root growth.
Harden off seedlings before transplanting and water them well to help them adjust to outdoor conditions.
Yes, water thoroughly right after transplanting to help settle the soil and support root establishment.
Yes, tomatoes grow well in containers if you use nutrient-rich soil and provide enough sunlight and water.