Gardening Made Simple.
Growing your own food is rewarding, especially when space is limited. If you love okra but don’t have a garden, don’t worry—planting okra in containers is possible and surprisingly easy. Whether you have a small balcony, patio, or just a sunny spot by the window, you can enjoy fresh, tender okra pods right from your own home.
This guide will walk you through everything you need to know, from picking the right container and soil to harvesting your first crop. You'll also discover practical tips and solutions to common problems, making sure your container okra grows strong and healthy.

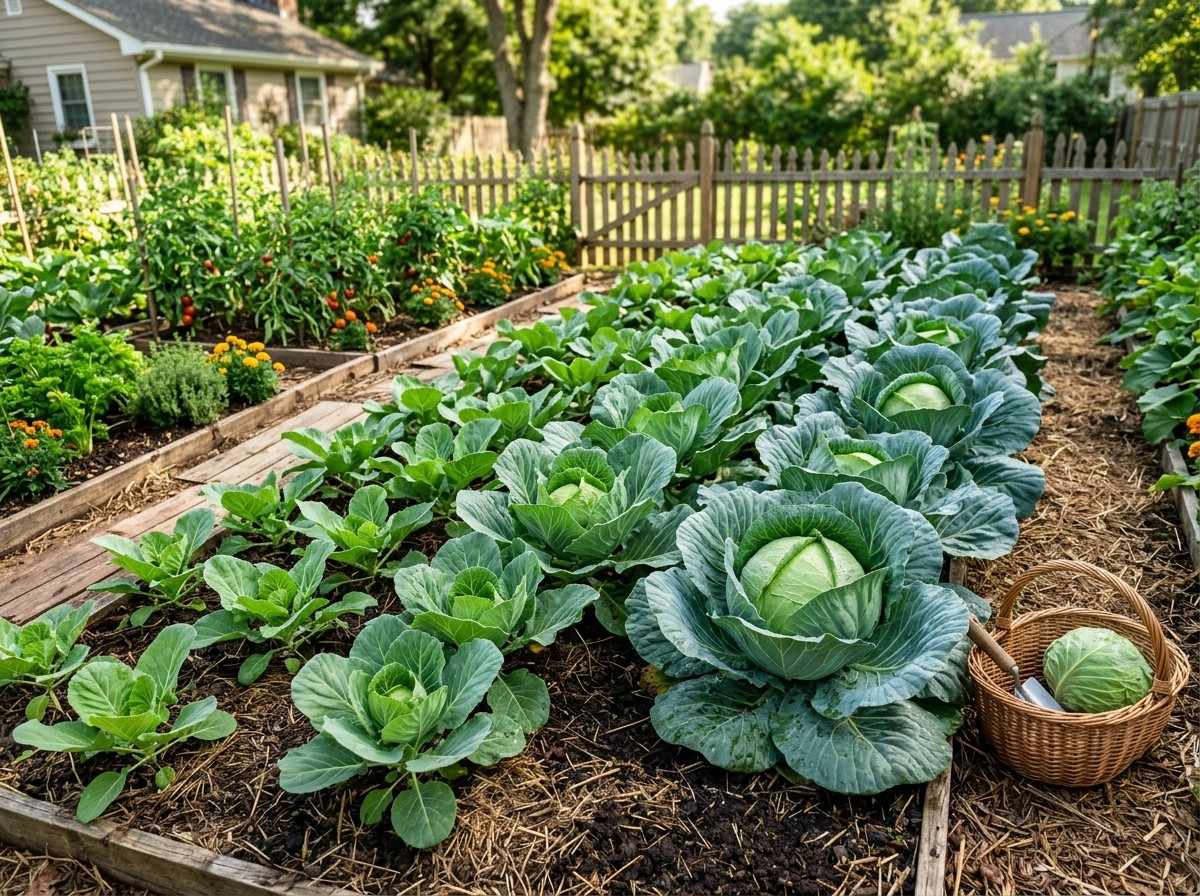
Container gardening is perfect for people with limited outdoor space. Okra is a hardy plant that adapts well to pots and can thrive even in urban environments. When you grow okra in containers, you control the soil quality, water levels, and sunlight exposure.
This control reduces the risk of soil-borne diseases and pests. Container gardening also lets you move your plants to chase the sun or protect them from storms.
Growing okra in containers is especially helpful in cooler climates. You can start plants indoors, then move them outside when the weather warms up. Fresh okra tastes much better than store-bought, and growing your own means you always have young, tender pods for your meals.
Not every okra variety grows well in a pot. Shorter, more compact types are best for containers. Here are some top choices:
Most container gardeners prefer varieties that stay under 4 feet tall. Dwarf okra types need less support and adapt better to the limited root space in pots.
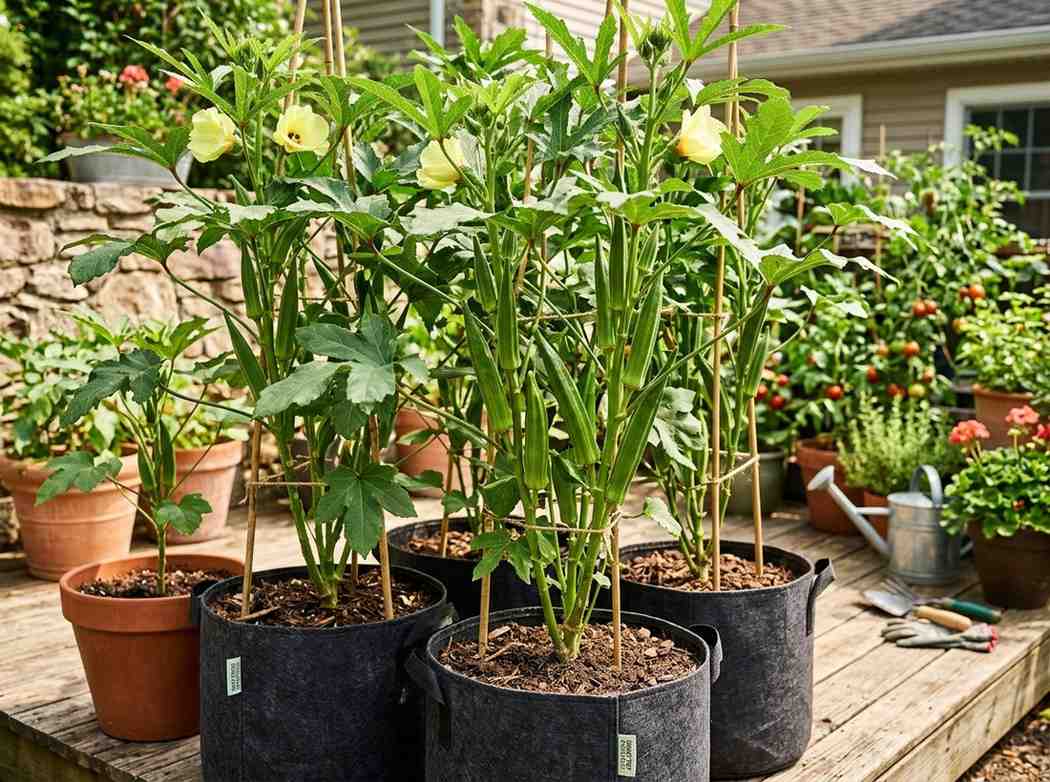
Okra grows a deep taproot, so choosing the right container is crucial for healthy growth. The pot must be deep, wide, and have good drainage.
| Container Size | Okra Plants (Max) | Notes |
|---|---|---|
| 3-5 gallons (12-14 inches deep) | 1 plant | Minimum size for healthy roots |
| 10 gallons (16-18 inches deep) | 2 plants | Best for larger varieties |
| Grow bags (15 gallons+) | 3-4 plants | Flexible and easy to move |
Always pick pots with drainage holes to prevent root rot. Food-grade plastic, ceramic, fabric grow bags, and clay all work, but fabric pots are light, breathable, and easy to handle.
Okra needs well-draining, fertile soil with a slightly acidic to neutral pH (6.0–7.0). Standard garden soil is too dense for containers. Instead, use a mix that holds moisture but drains quickly.
Mix these ingredients together before filling your container. Add a handful of slow-release organic fertilizer pellets to boost nutrients.
A non-obvious tip: Okra roots are sensitive to waterlogging. If your container sits on a hard surface, raise it slightly with bricks or pot feet to allow excess water to drain.
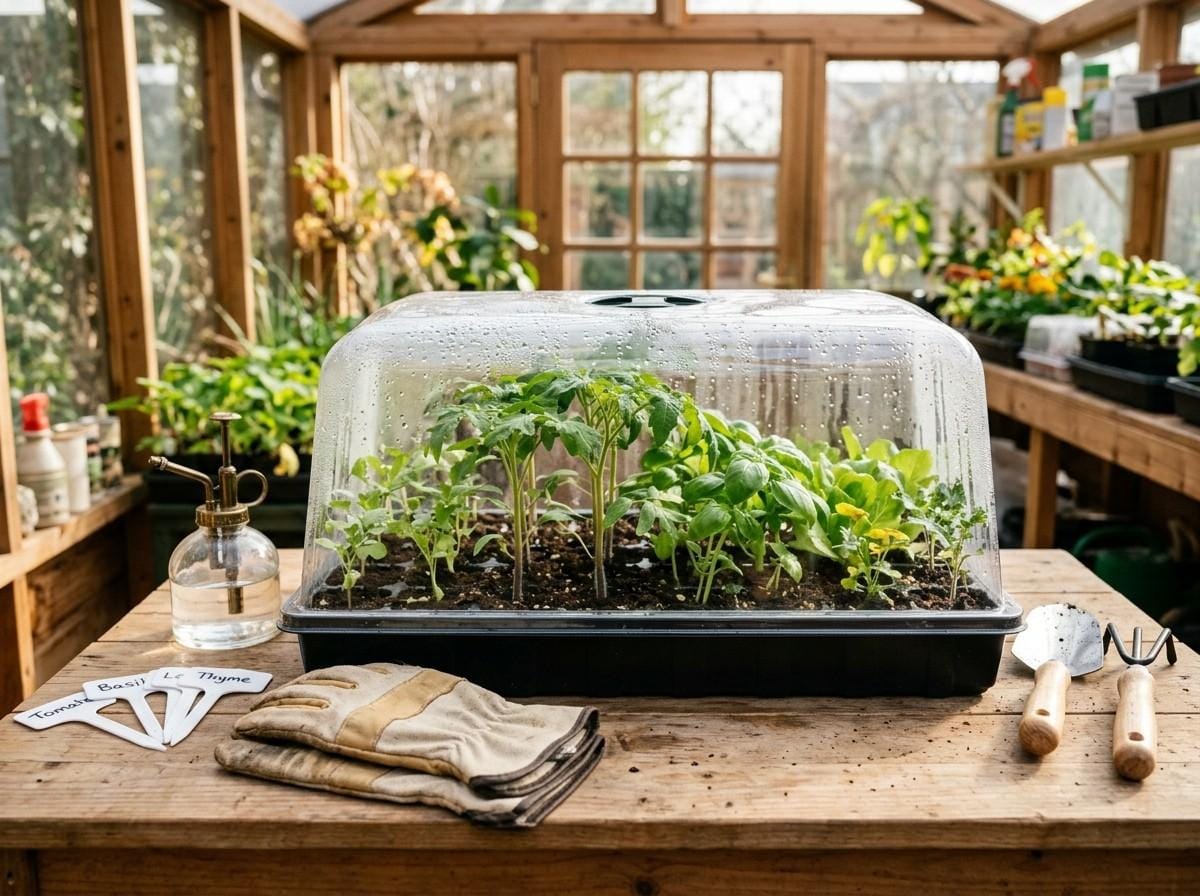
Starting okra from seed is easy and often works better than transplanting, as okra dislikes root disturbance. Here’s how to do it:
A practical insight: Don’t plant okra seeds too early. Wait until nighttime temperatures are consistently above 55°F (13°C). Okra loves heat and cold will stunt its growth.
Container okra dries out faster than garden okra, especially during hot weather. Regular, deep watering is essential, but never let the soil get soggy.
| Weather | Water Frequency | Tips |
|---|---|---|
| Cool/Spring | 2-3 times per week | Check top inch of soil |
| Hot/Summer | Daily or as needed | Morning watering best |
| Rainy | Reduce as needed | Ensure drainage |
Feed okra with a balanced liquid fertilizer every 2–3 weeks. If you use compost-rich soil, fertilize less often. Avoid too much nitrogen—it makes leaves lush but reduces pod yield.
Extra tip: Okra is sensitive to dry spells. If the plant wilts, pods may become tough and fibrous. Mulching the surface with straw or dry leaves helps retain moisture.

Okra is a sun-loving crop. It needs at least 6–8 hours of direct sunlight each day. Place your containers where they get the most sun, such as a south-facing balcony or patio.
Okra thrives in warm temperatures—ideally 75–95°F (24–35°C). If you live in a cool area, start seeds indoors and move the pots outside once the weather is warm. For very hot climates, a little afternoon shade can prevent scorching.
A tip beginners often miss: Okra grown in low light will be leggy, weak, and produce fewer pods. If you can’t provide enough sunlight, consider using a grow light.
Okra can grow tall, especially in good conditions. Even compact varieties may need support in containers, especially if wind is a problem.
Supporting okra prevents the container from tipping over and keeps pods off the ground, reducing disease risk.
Even in containers, okra can face challenges. Here’s how to handle the most common issues:
A non-obvious insight: Container okra is less likely to get nematode problems, which are common in garden soil.
Okra pods are ready to harvest about 50–60 days after planting, depending on the variety. Pick pods when they are 2–4 inches long—any larger, and they become tough and fibrous.
Harvesting regularly encourages the plant to produce more pods. If you miss a pod and it grows too large, remove it to keep the plant productive.
A practical tip: If you want to save space, plant basil or marigolds in the same large pot as okra. These companion plants help repel pests and make good use of the extra room.
| Week | Task | Details |
|---|---|---|
| 1–2 | Seed sowing | Soak and plant seeds; keep warm and moist |
| 3–4 | Thinning | Keep strongest seedling per container |
| 5–8 | Feeding & staking | Start liquid fertilizer; add support |
| 9–12 | Watering & mulching | Increase watering frequency; add mulch |
| 13+ | Harvesting | Pick pods every 1–2 days |

Okra usually takes 50 to 60 days from planting seeds to first harvest in containers, depending on variety and growing conditions. Warmer weather and plenty of sun help speed up growth.
A single 3–5 gallon container should have only one okra plant. In larger pots (10 gallons or more), you can grow two plants. Overcrowding reduces air flow and yield.
Pods become tough if they grow too large or if the plant is stressed (from lack of water or nutrients). Harvest pods when they are 2–4 inches long for best texture.
Yes, but okra needs 6–8 hours of direct sunlight or a strong grow light. Indoors, pollination may be lower, so gently shake flowers or use a soft brush to move pollen.
A balanced liquid fertilizer (like 10-10-10) every 2–3 weeks works well. Too much nitrogen gives lots of leaves but fewer pods. Use compost for extra nutrients.
Growing okra in containers is practical, even for beginners. With the right variety, soil, and care, you’ll enjoy a steady supply of fresh, homegrown okra. For more details about vegetable container gardening, visit the Wikipedia: Container Gardening page. Start small, follow these steps, and you’ll be amazed at how much food you can grow in a pot. Happy gardening!