Gardening Made Simple.
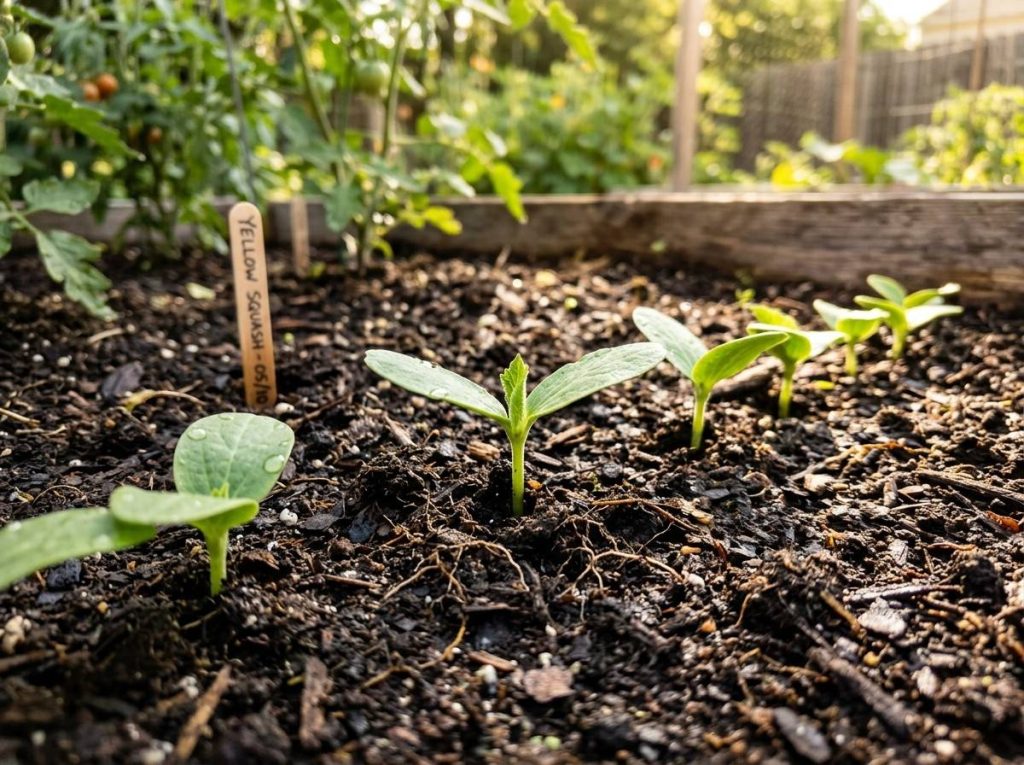
Planting yellow squash is a rewarding way to grow your own fresh vegetables at home. Yellow squash, also known as summer squash, is popular for its mild taste, tender texture, and quick harvest time. It’s a favorite among gardeners because it’s easy to grow, produces a high yield, and can thrive in many climates.
Learning How to Plant Yellow Squash will help you achieve healthier plants, bigger harvests, and better results from seed to harvest. Along the way, you’ll discover practical tips and avoid common mistakes that often challenge beginner gardeners.
Yellow squash comes in two main types: crookneck and straightneck. Both varieties have similar growing needs, but their shapes differ. Crookneck squash has a curved neck and a bumpy skin, while straightneck is, as the name suggests, straight with a smoother surface. Both are harvested young for the best flavor and texture. The plant itself grows as a bush, not a vine, which makes it easier to fit into smaller garden spaces.
Yellow squash is a warm-season crop, meaning it grows best in temperatures between 70°F and 95°F (21°C to 35°C). It does not tolerate frost, so timing your planting is important. Most yellow squash varieties mature quickly, often ready for harvest in as little as 40 to 55 days after planting. This rapid growth means you can enjoy several harvests throughout the summer if you plant more than once.
The first step in planting yellow squash is selecting what to grow. You can start with seeds or buy young plants (seedlings) from a nursery.
| Aspect | Seeds | Seedlings |
|---|---|---|
| Cost | Lower | Higher |
| Variety choices | Many | Limited |
| Time to harvest | Longer (add 1-2 weeks) | Shorter |
| Transplant shock | None | Possible risk |
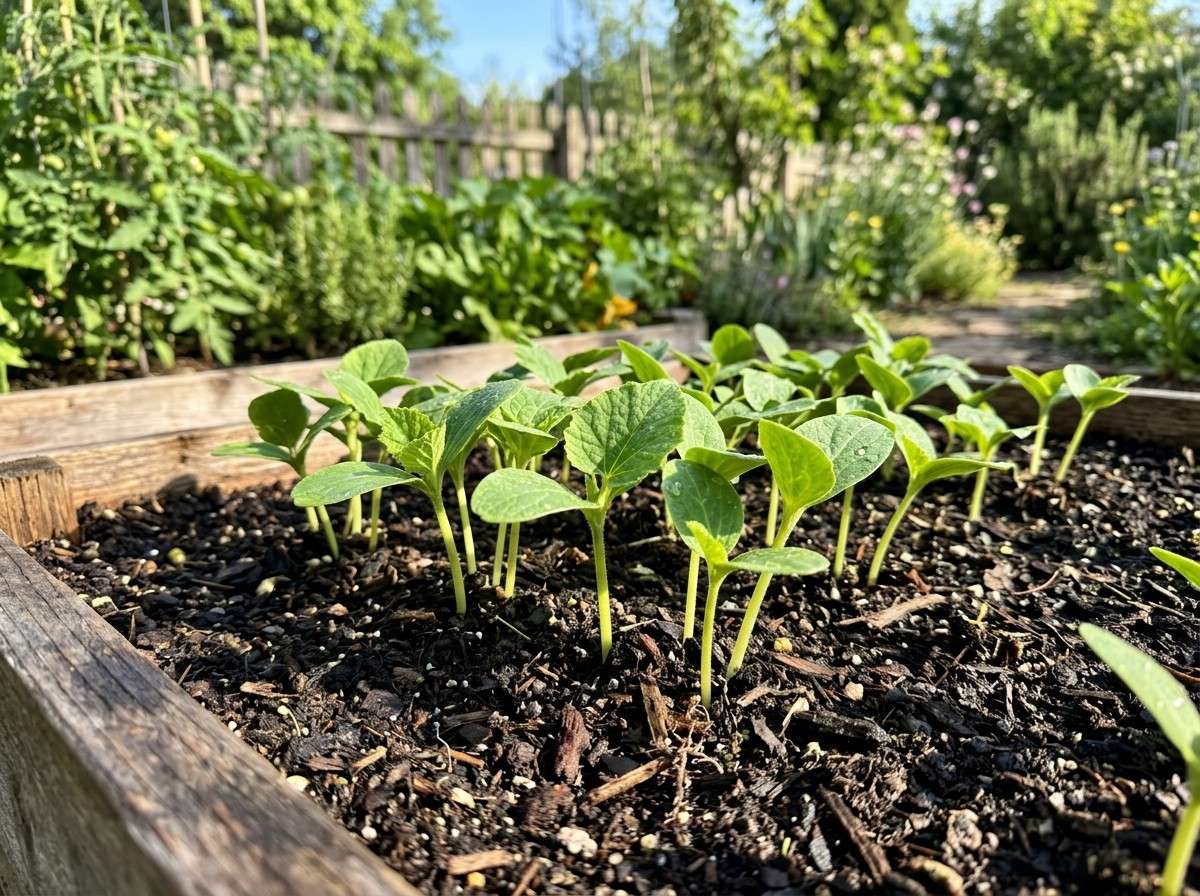
Seeds are best if you want more variety or a larger crop at a lower cost. Direct sowing in the garden is simple, and yellow squash seeds sprout quickly in warm soil. Seedlings are great if you want a head start or have a short growing season. Just be gentle when transplanting to avoid damaging the roots.
Many beginners overlook disease-resistant varieties. Some modern hybrids resist common problems like powdery mildew or squash vine borers. Look for terms like “disease resistant” or specific codes (e.g., PMR for powdery mildew resistance) on seed packets. This small choice can dramatically reduce pest and disease headaches later.
Yellow squash needs rich, well-drained soil. The roots spread wide but not deep, so soil quality in the top 12 inches is most important. Ideally, your soil pH should be between 6.0 and 6.8.
Many gardeners skip soil testing, but knowing your soil’s pH and fertility prevents problems later. For example, yellow squash struggles with blossom end rot if calcium is low or pH is off. A simple test now saves frustration later.
Yellow squash loves full sun, which means at least 6-8 hours of direct sunlight each day. Without enough sun, plants grow slowly and produce fewer fruits. The spot should also be protected from strong winds, which can break the large leaves and stems.
Space is key. Squash plants can spread 3-4 feet across. Crowding leads to poor air flow, which encourages disease. Plant away from tall crops like corn or sunflowers that could shade your squash.
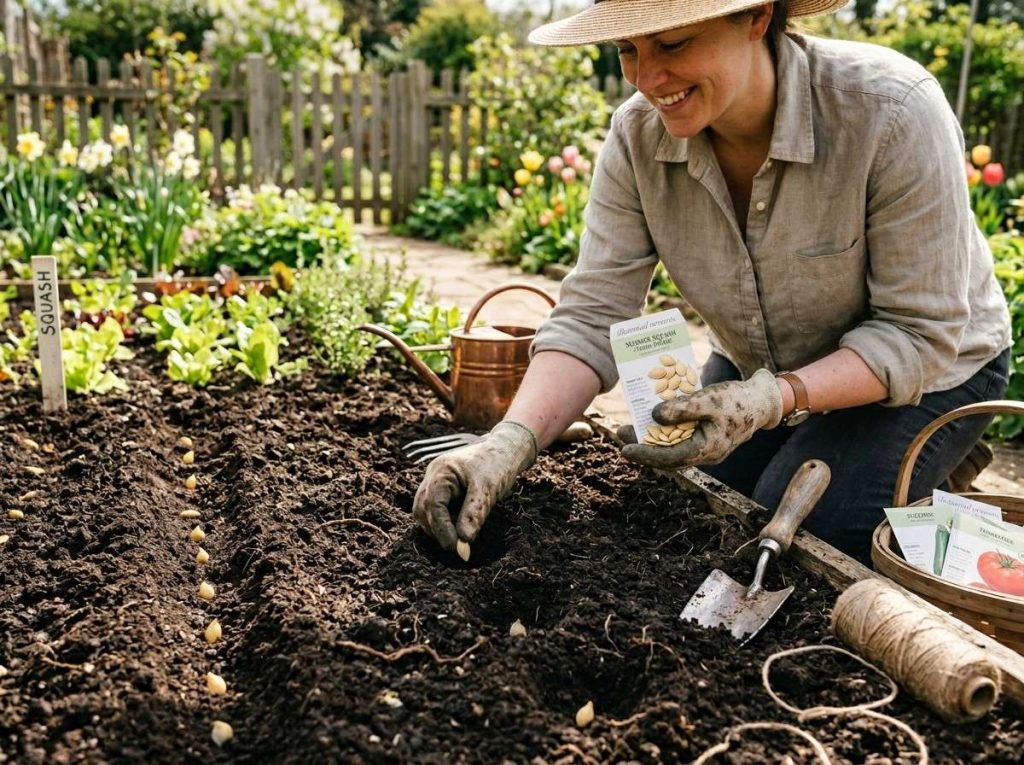
Timing is everything with yellow squash. The soil must be warm before planting—at least 65°F (18°C) at a depth of 2 inches. Planting too early leads to slow growth or seed rot.
A common error is planting too early. Even one late frost can kill young squash plants. If in doubt, wait a week.
You’re ready to plant! Here’s a step-by-step process.
| Method | Plant Spacing | Row/Hill Spacing |
|---|---|---|
| Row | 18-24 inches | 3-4 feet |
| Hill | 2-3 plants per hill | 3-4 feet |
Don’t be tempted to plant too close together. Crowding leads to weak plants and more disease.
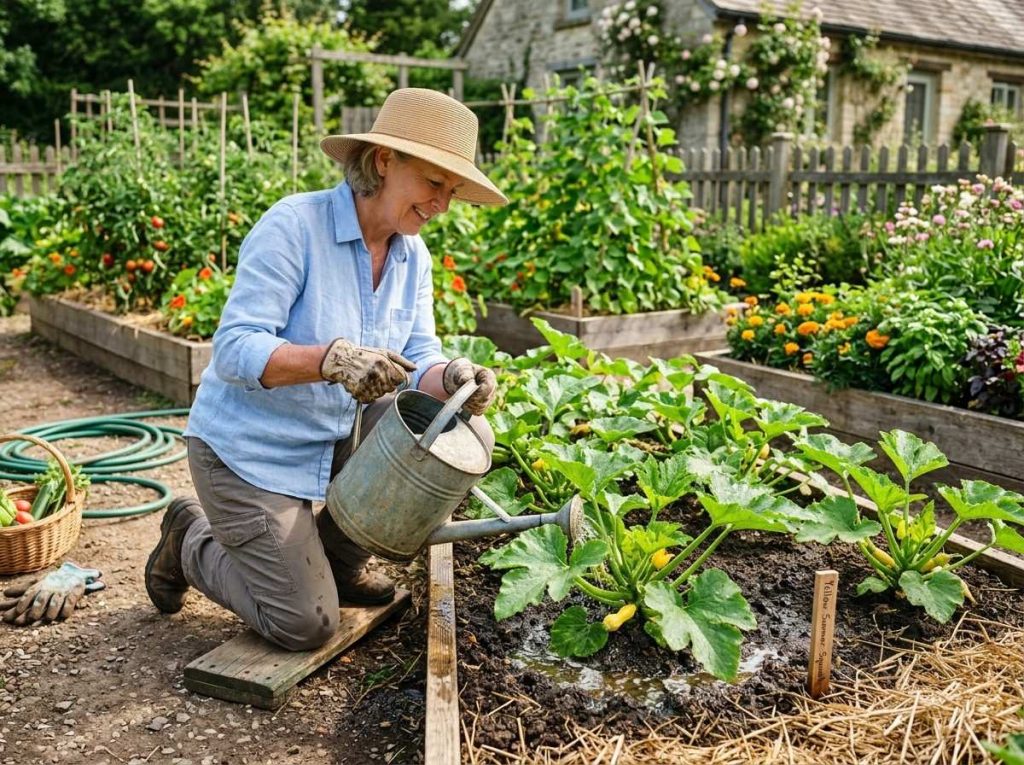
Yellow squash needs consistent moisture but hates soggy roots. The goal is to keep soil evenly moist, not wet.
It’s best to water in the morning, at the base of the plant, to keep leaves dry and reduce disease risk. Soaker hoses or drip irrigation work well.
Once plants are 6 inches tall, add 2-3 inches of mulch (straw, shredded leaves, or grass clippings) around the base. Mulch keeps soil moist, blocks weeds, and prevents soil from splashing onto leaves (reducing disease).
Many gardeners overwater squash, thinking more is better. In fact, too much water can lead to root rot, especially in heavy soils. If unsure, poke your finger 1-2 inches into the soil—if it feels dry, water; if not, wait.
Yellow squash is a heavy feeder. It needs steady nutrients to keep producing.
Avoid high-nitrogen fertilizers, which can make the plant grow lots of leaves but few fruits.
| Stage | Fertilizer Type | How Much |
|---|---|---|
| Pre-planting | 10-10-10 granules | 1-2 lbs per 100 sq ft |
| When fruit sets | Compost or 5-10-10 | 1 cup per plant |
| Midseason boost | Compost tea | 1 gallon per plant |
A little goes a long way—too much fertilizer can burn roots or encourage pests.
Yellow squash produces both male and female flowers. The first flowers are usually male and do not produce fruit. Female flowers have a small squash at the base.
Pollination is done by bees or other insects. If you see lots of flowers but no squash forming, poor pollination may be the problem. You can help by planting flowers nearby to attract bees. In cool or rainy weather, you may need to hand-pollinate: use a small brush or cotton swab to transfer pollen from a male to a female flower.
Many beginners don’t realize that the first squash flowers rarely set fruit. The plant often produces several male flowers first, then female flowers a week or two later. This is normal—be patient!
Like any garden crop, yellow squash has enemies. Knowing what to watch for helps you act fast.
Prevention: Cover young plants with row covers until they flower. Hand-pick pests or use insecticidal soap for aphids. Destroy infested plants if borers are inside the stem.
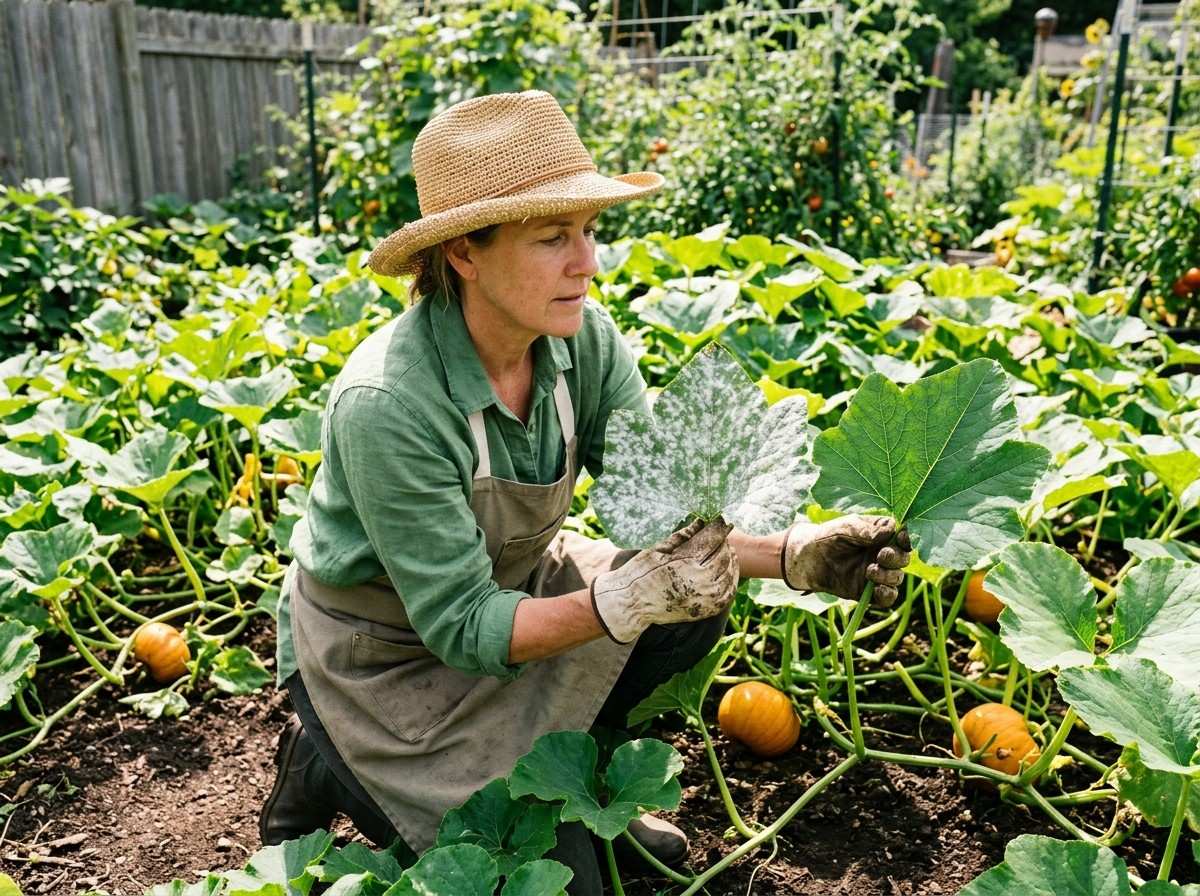
Prevention: Space plants well, water at the base, and remove infected leaves. Choose resistant varieties where possible.
| Problem | Symptoms | Solution |
|---|---|---|
| Powdery mildew | White spots on leaves | Remove leaves, spray with neem oil |
| Squash vine borer | Wilting, frass at stem base | Cut stem, remove larva, mound soil over wound |
| Aphids | Curling leaves, sticky sap | Spray with insecticidal soap |
| Poor pollination | Fruits shrivel and drop | Hand-pollinate flowers |
After a bad pest or disease outbreak, don’t plant squash (or any cucumber family crop) in the same spot next year. Rotate crops to a different part of your garden for at least 2-3 years to break pest cycles.
Yellow squash is best when picked young and tender. Large, mature squash are tough and have more seeds.
Use a sharp knife or garden scissors to cut the squash from the stem, leaving a small piece of stem attached. Avoid twisting or pulling, which can damage the plant.
Yellow squash is best eaten fresh but will keep in the refrigerator for up to a week in a perforated plastic bag. For longer storage, slice and freeze, or use in relishes and pickles.
Frequent harvesting encourages the plant to produce more squash. Don’t let any fruits become “giants” on the vine, or production will slow dramatically.
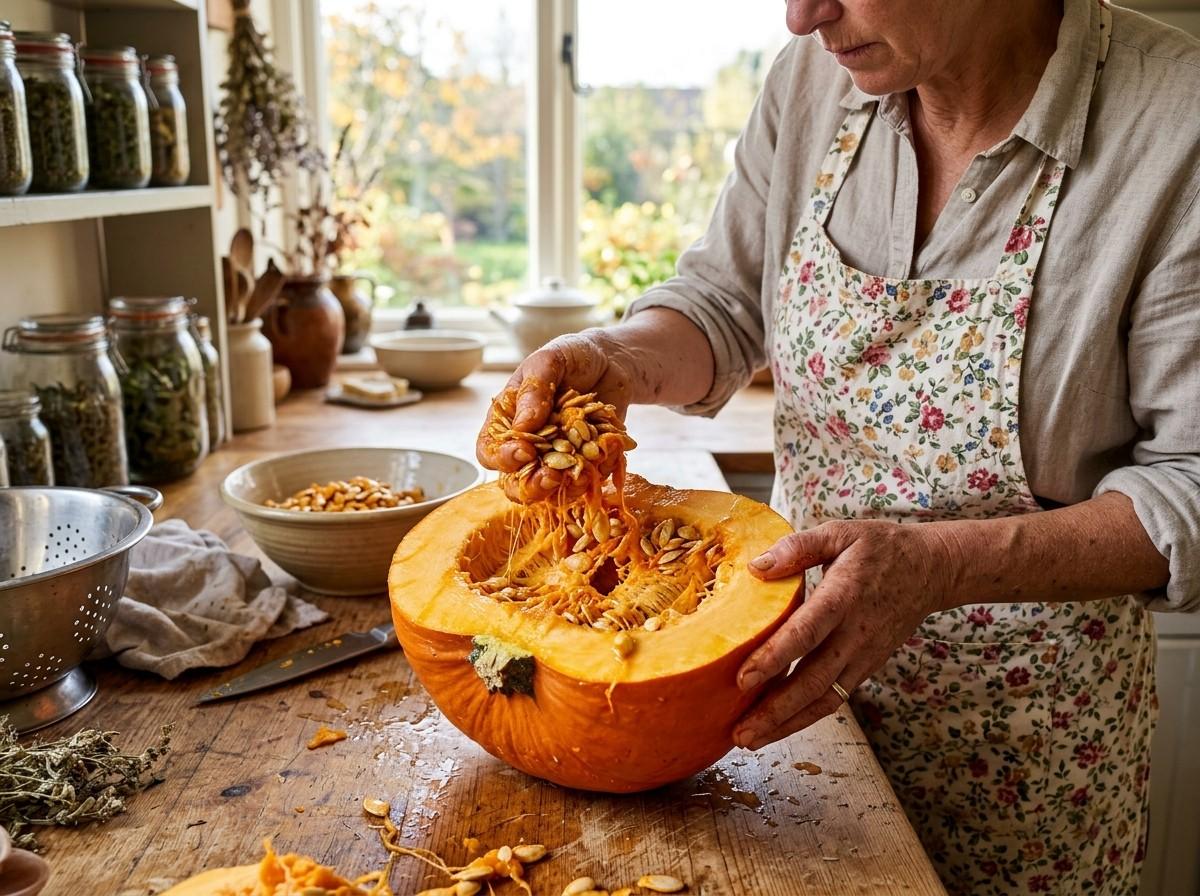
If you want to save seeds, let a few squash mature on the plant until the skin is hard and the color deepens. Cut them open, scoop out seeds, and wash off the pulp. Dry seeds completely before storing in an envelope in a cool, dry place.
Note: Squash varieties can cross-pollinate with other types in the same family, so saved seeds may not grow true unless you isolate plants.
Yellow squash can grow well in containers if you have limited space. Choose a pot at least 18 inches wide and 16 inches deep, with good drainage. Use high-quality potting mix and fertilize more frequently, as nutrients wash out of pots quickly.
Containers make it easier to control soil and move plants if weather gets too hot or wet.
Want even better squash? Here are a few expert tips:
These small steps can double your harvest and keep plants productive longer.
Most yellow squash varieties take 40 to 55 days from planting to harvest if grown from seed. If starting with seedlings, you can often pick squash in 30 to 40 days. Weather and soil conditions can speed up or slow down growth.
This usually happens because the first flowers are male and do not set fruit. Female flowers appear later. Sometimes, poor pollination due to rainy weather or few bees is the cause. Hand-pollinate with a small brush if needed.
Yellow squash needs at least 6-8 hours of direct sun each day. In too much shade, plants become weak, and fruits are small or don’t form at all. If your garden is shady, try growing in containers that you can move to sunnier spots.
Start with row covers to protect young plants, remove pests by hand, and encourage beneficial insects like ladybugs. Use insecticidal soap for aphids, and check stems for vine borers regularly. Rotate your crops each year to prevent pest buildup.
No, but they are similar. Both are types of summer squash. Yellow squash is usually yellow, with a curved or straight neck, while zucchini is green and straight. They have similar growing needs and can be used in many of the same recipes. For more details, visit the Wikipedia page on summer squash.
Growing yellow squash is simple, productive, and fun—even for beginners. With a little planning, the right variety, and steady care, you’ll be harvesting fresh, delicious squash all summer long. Don’t be afraid to try different varieties or new methods each season.
Every garden is unique, and with experience, you’ll find what works best for your space and tastes. Happy gardening!