Gardening Made Simple.
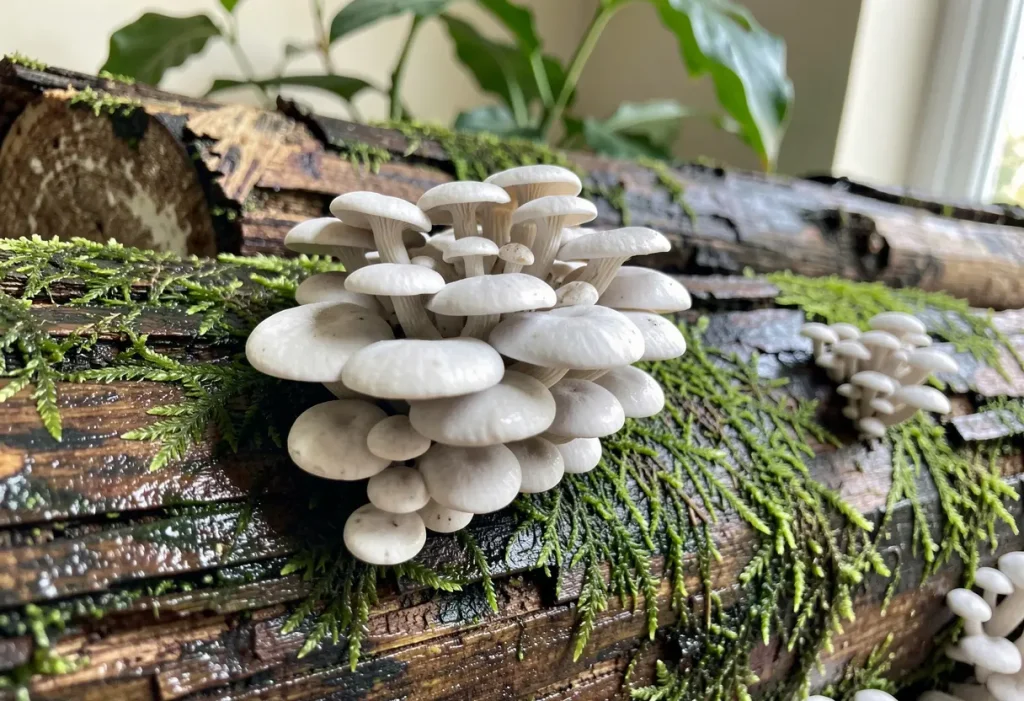
Are you ready to discover a simple and rewarding way to grow your own fresh oyster mushrooms at home? Whether you want to save money, enjoy healthy food, or explore a fun new hobby, learning how to grow oyster mushrooms makes it easier than you might think to enjoy fresh, delicious mushrooms right from your own kitchen.
In this guide, you’ll learn step-by-step how to create the perfect environment, choose the right materials, and watch your mushrooms thrive. Keep reading, and by the end, you’ll have everything you need to start growing delicious oyster mushrooms yourself.

Choosing the right spawn is the first step in growing healthy oyster mushrooms. Spawn is the material that contains the mushroom mycelium. It acts like seeds for your mushroom crop. Picking good spawn affects how well your mushrooms grow and how fast they will appear.
Good spawn gives you strong, fast-growing mushrooms. Poor spawn can cause slow growth or contamination. So, understanding the types of spawn and where to buy them helps you start with confidence.
Oyster mushroom spawn comes in several forms. Grain spawn is popular. It uses grains like wheat or rye as a base for the mycelium. This spawn grows quickly and spreads easily in the growing substrate.
Sawdust spawn uses small wood pieces. It is ideal for wood-based growing methods. Sawdust spawn takes longer to colonize but suits some growers better.
Plug spawn looks like small wooden dowels. These plugs are pre-inoculated with mycelium. They work well for outdoor logs or large wood blocks.
Buy spawn from trusted suppliers. Quality spawn is clean and fresh. Check for suppliers who specialize in oyster mushrooms. They often test their spawn for contamination.
Local mushroom farms or online stores offer good options. Look for reviews and ratings from other growers. Avoid very cheap spawn; it may be weak or contaminated.
Choose spawn that matches your growing method. Grain spawn fits most beginners. Sawdust or plug spawn suits specific setups.
Selecting the right substrate is key to growing healthy oyster mushrooms. The substrate provides food and support for the mushrooms. Choosing a substrate that fits your environment and resources helps mushrooms grow fast and strong. Different substrates affect yield, taste, and texture. Understanding common options and how to prepare them makes the process easier and more successful.
Oyster mushrooms grow well on many materials. Straw is a popular choice because it is easy to find and cheap. Sawdust from hardwood trees works well too. Coffee grounds offer nutrients and are often available for free. Cardboard and paper can be used if shredded and moistened. Each substrate has benefits and limits. Choose one based on what you can get easily and afford.
Preparing the substrate correctly is crucial. Start by cutting or shredding the material into small pieces. This increases surface area for mushroom growth. Next, soak the substrate in water for several hours. It should be moist but not dripping. Sterilize or pasteurize the substrate to kill unwanted bacteria and molds. Use hot water or steam for this step. Let the substrate cool before adding mushroom spawn. Proper preparation helps mushrooms colonize faster and prevents contamination.
The inoculation process is the first key step in growing oyster mushrooms. It involves adding mushroom spawn to a prepared growing material, called substrate. This step starts the growth of mushroom mycelium, which later produces the mushrooms.
Proper care during inoculation helps avoid contamination and improves mushroom yield. Cleanliness and correct technique are very important here.
Sterilizing the substrate kills unwanted bacteria and fungi. This protects the mushroom spawn from harmful microbes. You can sterilize by boiling, steaming, or using a pressure cooker. Heat the substrate for at least one hour to ensure it is clean.
Allow the substrate to cool before adding spawn. Cool substrate helps the mycelium grow faster and stronger.
Mix the mushroom spawn evenly into the cooled substrate. Use clean hands or gloves to avoid contamination. Spread the spawn throughout the substrate to help quick colonization.
Place the inoculated substrate in clean bags or containers. Seal them well to keep out air and contaminants. Store in a dark, warm place to encourage mycelium growth.
Creating the right environment is key to growing healthy oyster mushrooms. They need specific conditions to grow fast and strong. Proper temperature, humidity, light, and airflow help mushrooms develop good size and flavor.
Small changes in the growing space can affect mushroom growth a lot. Paying close attention to these factors ensures a better harvest. Here are the main points to focus on for the best results.
Oyster mushrooms grow best between 55°F and 75°F (13°C to 24°C). Temperatures outside this range can slow growth or stop it. Keep the space warm but not hot.
Humidity should stay around 80% to 95%. Too little moisture dries mushrooms and stops growth. Too much moisture invites mold and bacteria.
Use a spray bottle or humidifier to keep moisture steady. Check temperature and humidity daily with a simple meter. Adjust heat or mist as needed.
Oyster mushrooms need light but not direct sunlight. A few hours of indirect light per day is enough. Avoid bright or harsh light that can dry mushrooms.
Good airflow helps mushrooms breathe and grow. Stale air causes problems like mold and weak stems. Use a fan or open windows to keep air moving.
Do not let strong wind blow directly on the mushrooms. Gentle, steady airflow is best. Proper light and air help mushrooms grow thick and healthy.
Caring for mushroom beds is key to growing healthy oyster mushrooms. It helps the mushrooms grow strong and tasty. Proper care keeps the environment clean and ideal for growth. Pay close attention to moisture and cleanliness. These affect the quality and amount of your harvest.
Keep the mushroom beds moist but not soaked. Use a spray bottle to mist the beds gently. Water them once or twice a day. Avoid strong water streams that can damage the delicate mushrooms. Use clean, room-temperature water. Check the beds daily to keep moisture levels steady. Mushrooms need a damp environment to grow well.
Check the beds often for any signs of mold or bad smells. Contamination can ruin your mushroom crop quickly. Remove any discolored or slimy patches immediately. Use clean tools and wear gloves when handling the beds. Keep the growing area tidy and free from dirt. Good air flow helps prevent unwanted mold and bacteria. Early detection is crucial to save your mushrooms.
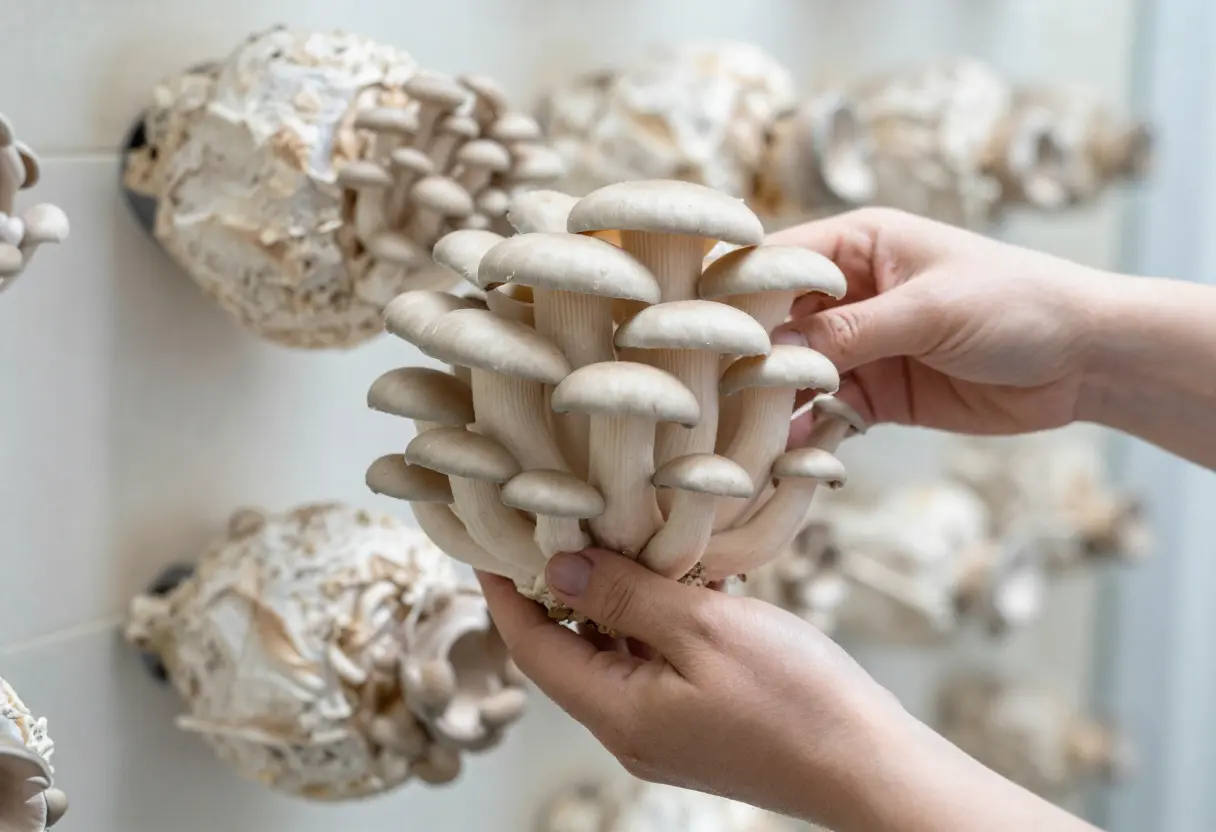
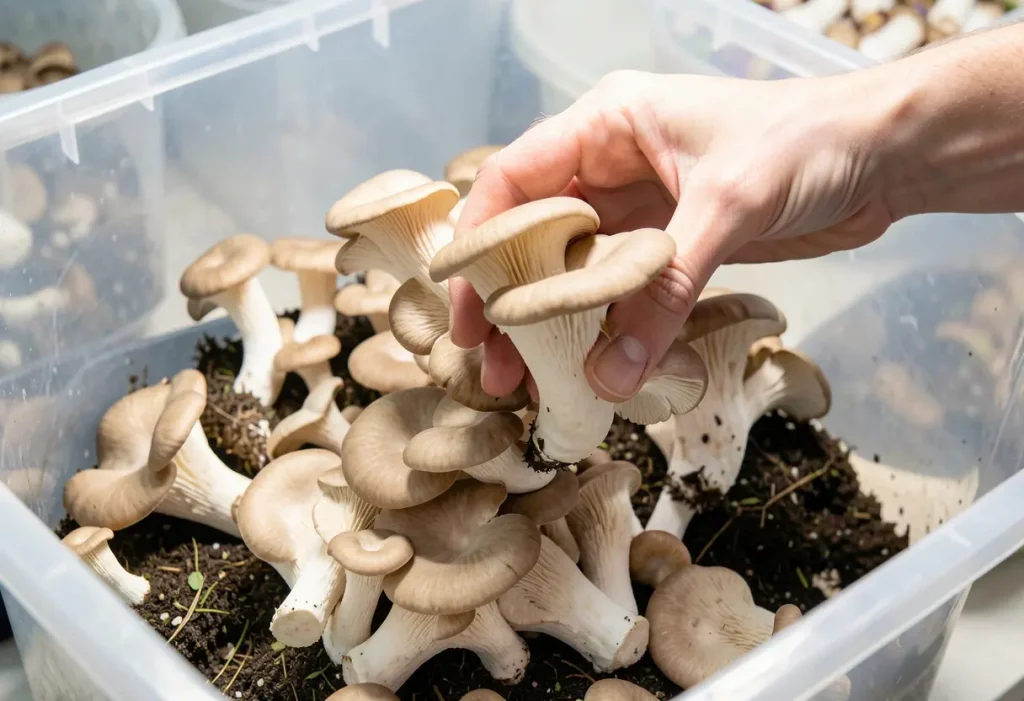
Harvesting oyster mushrooms is an important step in growing them successfully. Picking mushrooms at the right time ensures the best taste and texture. Proper harvesting also helps the mushrooms grow again for another round.
Oyster mushrooms are ready to harvest when their caps are fully open. The edges of the caps should be flat or just starting to curl up. Avoid waiting too long, as the caps can become dry or start to drop spores. The gills under the cap should be visible and light in color. Picking at this stage gives you fresh, tender mushrooms.
Use a sharp knife or scissors to cut the mushroom stems. Cut close to the base, but avoid damaging the growing area. Handle mushrooms gently to prevent bruising. Do not pull the mushrooms from the substrate, as this can hurt the mycelium. After harvesting, store the mushrooms in a cool, dry place for best freshness.
Extending your oyster mushroom harvests lets you enjoy fresh mushrooms for a longer time. Growing more than one crop from the same setup saves money and effort. It also makes your mushroom growing more productive and rewarding.
Oyster mushrooms grow in waves called flushes. After the first harvest, the substrate still holds nutrients. Keep the environment moist and cool to help new mushrooms grow. Mist the substrate daily to keep it damp. Avoid soaking it too much, or the mycelium may get damaged. Good air flow helps fresh mushrooms form. Be patient; new flushes can take one to two weeks to appear.
After several flushes, the substrate loses nutrients and looks tired. You can reuse it by mixing with fresh substrate. Break the old substrate into small pieces and add fresh straw or sawdust. This mix helps mycelium grow strong again. Sterilize the new mix before adding spawn. Keep the reused substrate moist and warm. This process can give you extra harvests without starting from scratch.
Growing oyster mushrooms can sometimes lead to common problems. These issues may slow growth or damage your crop. Understanding how to fix these problems helps keep your mushrooms healthy. This section covers the most frequent troubles and how to solve them.
Pests like flies and mites often attack oyster mushrooms. They can harm the mycelium or fruiting bodies. Keep your growing area clean to reduce pests. Use fine mesh screens to block insects. Remove any infected mushrooms quickly to stop spread.
Fungal diseases such as green mold also affect growth. Green mold can cover the mushroom bed and kill the mycelium. Avoid excess moisture and poor airflow, which encourage mold. Use fresh, sterile substrate and tools to lower infection risk.
Slow or no mushroom growth may result from poor conditions. Check humidity and temperature regularly. Oyster mushrooms grow best at 60-75°F and 80-95% humidity. Too much light can also stop mushrooms from forming.
Uneven or small mushrooms may signal nutrient deficiency. Use a well-balanced substrate with straw or sawdust. Make sure the substrate is fully colonized before fruiting. Adjust air exchange to avoid stale air that harms growth.
You need oyster mushroom spawn, straw or sawdust, water, and a clean container or bag.
Oyster mushrooms usually grow and are ready to harvest in 3 to 5 weeks.
Keep the temperature between 55°F and 75°F for the best oyster mushroom growth.
Mist the mushrooms lightly every day to keep the growing medium moist but not wet.
Oyster mushrooms can grow well both indoors and outdoors with proper shade and humidity.
Growing oyster mushrooms is a fun and rewarding activity. Start with clean materials and good air flow. Keep the right temperature and moisture for best results. Check your mushrooms daily to catch any problems early. With patience and care, you will see them grow quickly.
Enjoy fresh mushrooms straight from your own home. This simple guide can help anyone begin mushroom growing easily. Try it yourself and watch your garden flourish.