
Gardening Made Simple.
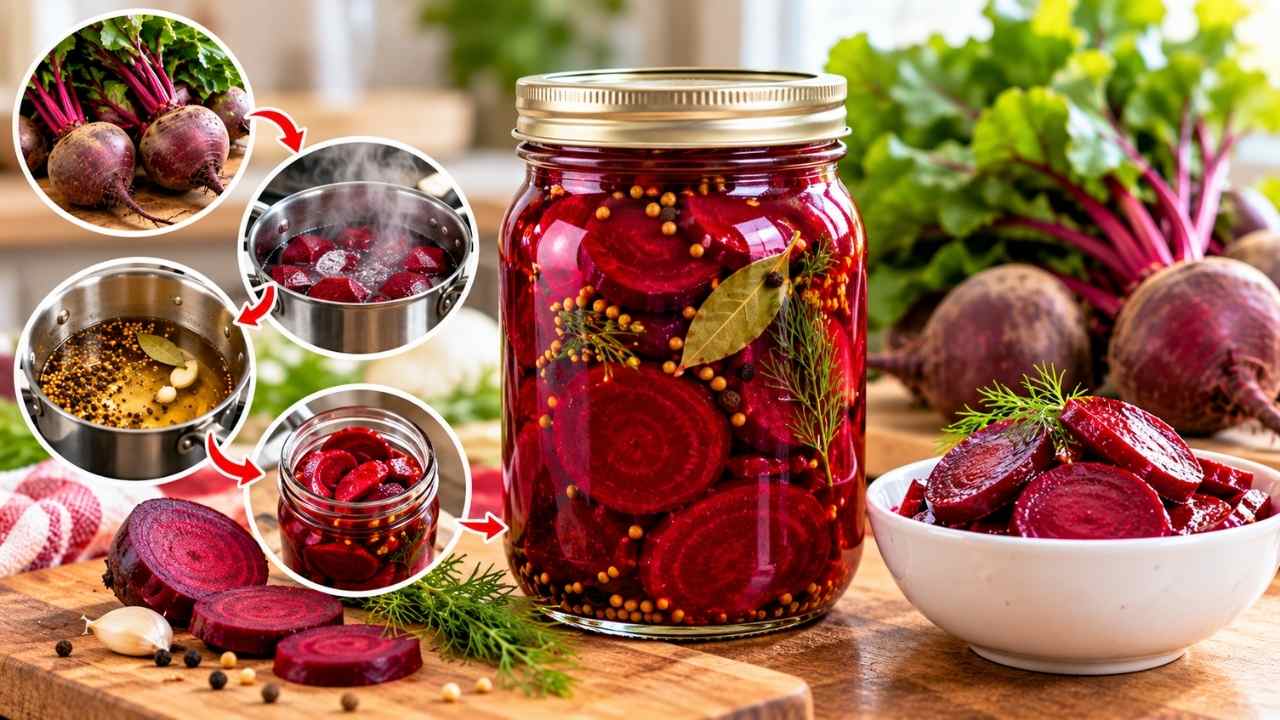
How to make pickled beets depends on whether you want a shelf-stable jar or a quick refrigerator version. For classic canned beets, first cook and peel 5 pounds of fresh beets, prepare a vinegar brine with sugar and spices, pack hot jars with ½ inch of headspace, then process them in a boiling water bath for 30 minutes.
That sequence matters. Cooking softens the beets, while the acidic brine creates the familiar sweet-and-tangy flavor. In addition, water-bath processing helps seal the jars for storage. In 2026, safe home canning still depends on following a tested process and checking local altitude guidance when it applies.
Key Update:
To make pickled beets for pantry storage, cook the beets until tender, remove their skins, prepare a boiling vinegar brine, fill hot jars, and process the sealed jars in a boiling water bath. During the 30-minute processing period, the beets must remain covered by at least 1 inch of boiling water.
The most important distinction is between canned pickled beets and refrigerator pickled beets. After it seals, a properly processed jar may be stored in a cool, dark place. By contrast, a refrigerator version is not shelf-stable because it skips the water-bath step.
Gather the ingredients before heating the brine. As a result, having hot jars ready makes packing easier and reduces the time that cooked beets sit at room temperature.
A clean knife or plastic spatula is also useful for releasing trapped air bubbles. In addition, use a damp paper towel to wipe the jar rims before applying the lids.
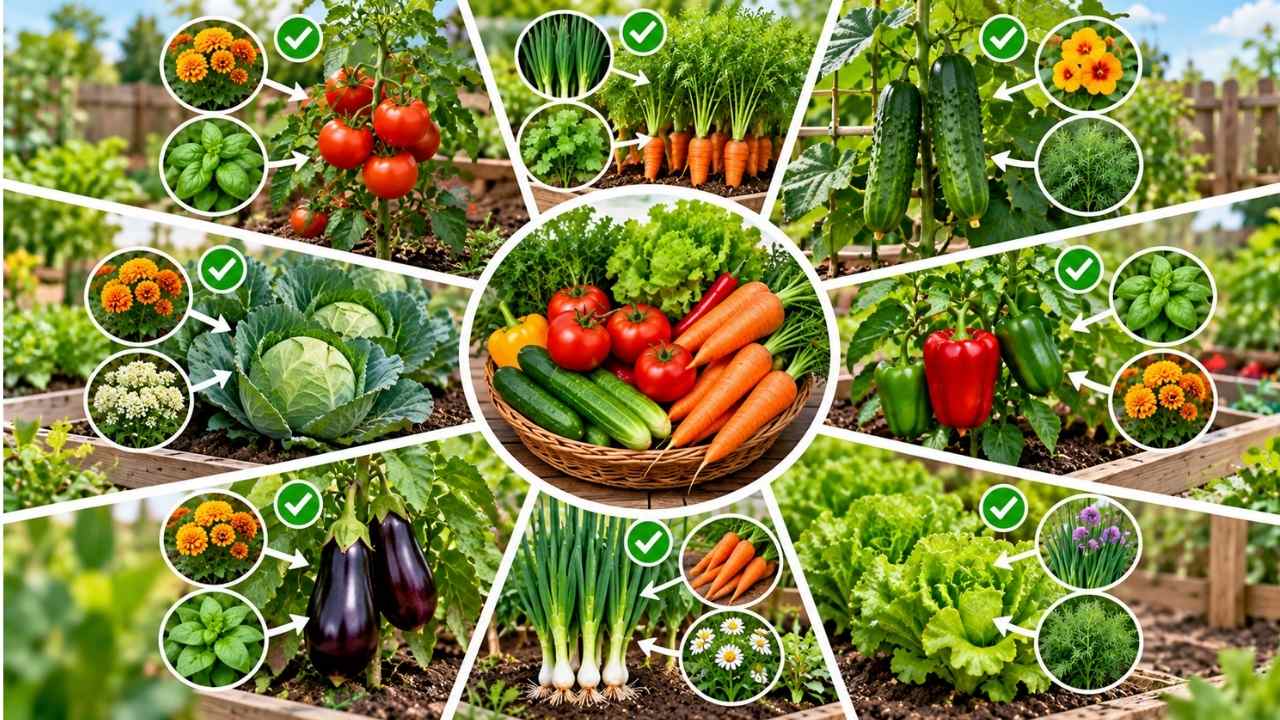
Read More: Companion Planting Chart for Vegetables
Place the trimmed beets in a large pot and cover them with water. Bring the water to a boil, then reduce the heat and simmer until a fork passes into the beets easily. Usually, this takes about 20 to 25 minutes, although larger beets may need more time.
Drain the beets after cooking and reserve 1 cup of the cooking liquid for the brine. Let the beets cool only until they are comfortable to handle. Then rub or slip away the skins with your fingers or a paper towel.
After peeling, trim the ends. Next, slice the beets into rounds, cut them into cubes, or quarter them. Although the shape does not change the basic process, pieces of similar size pack more evenly and are easier to remove from the jar.
A fork should enter the beet without excessive force. If the center is still firm, continue simmering rather than trying to peel or pack the beet early. Otherwise, undercooked pieces can be difficult to cut and may create uneven texture in the finished jar.
The brine uses white vinegar for acidity, granulated sugar for sweetness, pickling salt for seasoning, ground cloves for warmth, and reserved beet water for color and balance. To begin, combine these ingredients in a saucepan after straining the reserved cooking liquid.
Bring the mixture to a rapid boil over high heat. Then stir until the sugar and pickling salt dissolve completely. The brine should be hot when it reaches the jars because hot liquid helps maintain the intended packing process.
| Ingredient | Amount | Purpose |
|---|---|---|
| White vinegar | 4 cups | Provides the sharp acidic flavor and forms the base of the brine. |
| Granulated sugar | 2 cups | Balances the vinegar with a pronounced sweet note. |
| Pickling salt | 1½ teaspoons | Seasons the beets without adding unnecessary additives. |
| Ground cloves | ½ teaspoon | Adds a warm spiced flavor; cinnamon and allspice can be used instead. |
| Reserved beet water | 1 cup | Contributes beet color and rounds out the liquid mixture. |
For a traditional flavor, use the cloves. Alternatively, a cinnamon-and-allspice blend gives the beets a softer baking-spice character. However, avoid changing the vinegar quantity in a shelf-stable recipe unless you are using a separately tested formula.
Pack the prepared beets into hot sterilized jars while the brine is hot. Leave about ½ inch of headspace from the top of each jar. Carefully pour in enough brine to cover the beets while maintaining approximately ¼ inch to ½ inch of headspace.
Headspace gives the liquid room to expand during processing. Consequently, overfilled jars can leak while boiling, while excessive empty space may interfere with the seal. For that reason, measure the space at the top rather than filling each jar by eye.
Fingertip tight means the ring is secure but not forced down with maximum pressure. Therefore, tightening the bands too aggressively can prevent air from venting during processing.
Process the filled jars for 30 minutes once the water returns to a rolling boil. First, put a rack inside a large stockpot, add enough water to fill it halfway, and bring the water to a boil before lowering in the jars.
The jars must be covered by at least 1 inch of water. Keep the pot covered during processing. If the boil stops after the jars enter the pot, wait until the water returns to a rolling boil before counting the 30 minutes.
Remove the jars from the pot and place them on a towel. Then leave them undisturbed for 12 to 24 hours. Moving the jars too soon can interfere with the sealing process.
After cooling, inspect the center of each lid. A properly sealed lid is depressed rather than raised or flexible. If a jar does not seal, refrigerate it and use it as a refrigerator pickle rather than storing it in the pantry.
Before relying on a shelf-stable method, compare the process with guidance from the National Center for Home Food Preservation. In addition, processing times can require adjustment at higher elevations, so local extension guidance is worth checking when relevant.
Canned pickled beets require more preparation but are designed for cool, dark storage after successful sealing. Refrigerator beets are faster because they skip the water bath, yet they must remain refrigerated and should not be treated as pantry food.
| Feature | Water-bath version | Refrigerator version |
|---|---|---|
| Cooking and peeling | Required | Required |
| Hot vinegar marinade | Required | Required |
| Water-bath processing | 30 minutes | Skipped |
| Storage | Cool, dark place after a confirmed seal | Refrigerator only |
| Best use | Longer-term pantry planning | Small batches and quicker serving |
For the refrigerated option, pour a hot or warm cider-vinegar marinade over sliced beets. Next, let the beets cool, then refrigerate them. A small household batch may be more practical this way because there is no need to prepare a canner or process multiple jars.
For additional recipe ideas, compare the traditional preparation on Allrecipes with quick refrigerator variations from Belly Full. Nevertheless, use any variation carefully when shelf stability is the goal.
Most problems come from treating a refrigerator recipe like a canning recipe or from changing the acid balance. The following checks, therefore, address the errors that most directly affect texture, sealing, and storage.
Choose beets that are close in size when possible. As a result, similar-sized vegetables tend to finish cooking at roughly the same time, which makes peeling and cutting more consistent. Keep about 1 inch of stems and roots attached during cooking to help limit color loss.
Reserve the cooking water before adding the beets to a colander. Once the liquid is gone, it is difficult to recreate the same beet-colored brine. Furthermore, straining that liquid before combining it with the vinegar removes small pieces of skin or sediment.
For a long-term pantry plan, label each jar with the processing date. Store sealed jars in a cool, dark place and inspect the lids before use. Discard any jar with a bulging lid, leakage, an unusual odor, or other signs of spoilage.
The supplied shelf-stable formula uses white vinegar. However, a refrigerator version can use a warm cider-vinegar marinade, but changing vinegar in a canning recipe may alter its tested acidity.
Keep about ¼ inch to ½ inch of headspace when adding the brine. Also, the preparation instructions describe roughly ½ inch of space from the jar top during packing.
Process the filled jars for 30 minutes in a covered boiling water bath after the water reaches a rolling boil again.
Do not store it in the pantry. Instead, refrigerate the unsealed jar and use the beets as refrigerator pickles.
Peeling is part of the preparation because the skins are rubbed off after cooking. Once the beets are cool enough to handle, a paper towel makes the task easier.
Skip the water bath, pour hot or warm cider-vinegar marinade over sliced cooked beets, let them cool, and refrigerate them.
Keeping the jars under at least 1 inch of boiling water helps maintain consistent heat around the jars throughout the 30-minute water-bath process.
Your Jar-Ready Finish
Learning how to make pickled beets is mainly a matter of keeping the sequence intact: cook, peel, brine, pack, process, and cool. Choose the canned method when you need pantry storage. On the other hand, choose the refrigerator method when you want a smaller batch without water-bath processing.
Before storing the jars, confirm that each lid is depressed and that the jars cooled undisturbed for 12 to 24 hours. If you are above sea level or unsure about a canning detail, verify the current instructions with a local food-preservation extension service before proceeding.
Subscribe to the blog and newsletter to get new updates in simple, clear words straight to your inbox.
Recent Articles
Related Articles
Keengarden is your simple, friendly guide to growing healthy plants, fixing garden problems, and choosing the right tools.
© 2025 keengarden. All rights reserved. Designed by Affpilot